How to Install TrueConf Server on Windows in 15 Minutes?
Detailed instruction on installation of TrueConf Server video conferencing system.
To get familiar with all the features of software video conferencing server TrueConf Server, we suggest that you get a free version of our product.
You can find installation packages and guides in the following articles:
Step 1: Download TrueConf Server Free and Get Your Registration Key
Carefully fill out all the fields in the form and click on Submit & Download to download the distributive.
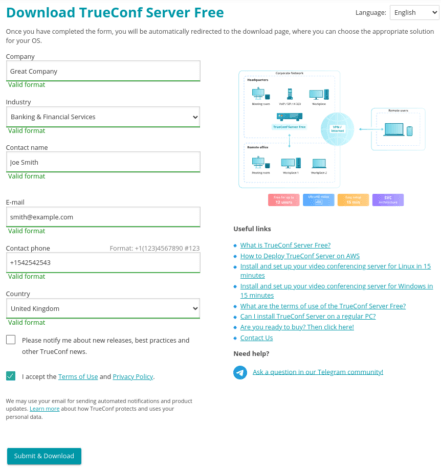
A registration key will be sent to the email address that you provided.
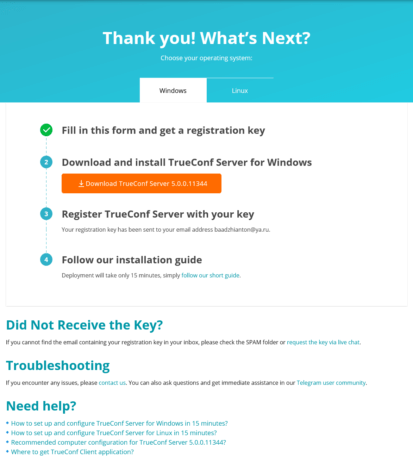
Step 2: Install TrueConf Server
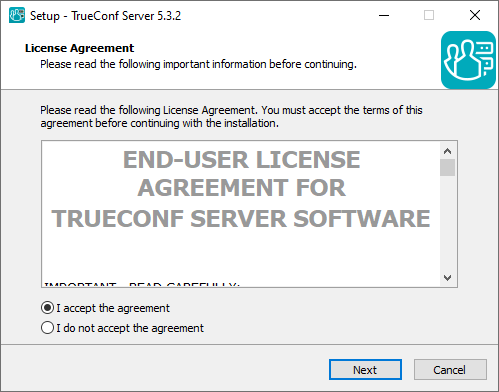
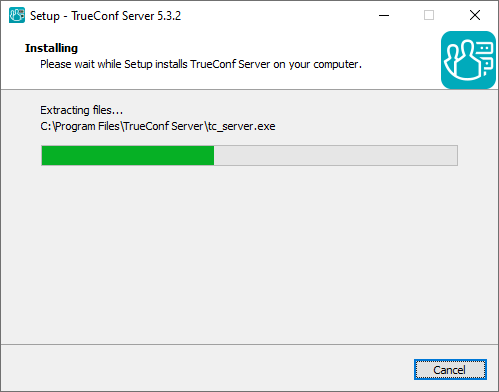
After launching the installation package, install the server on your PC by following these instructions:
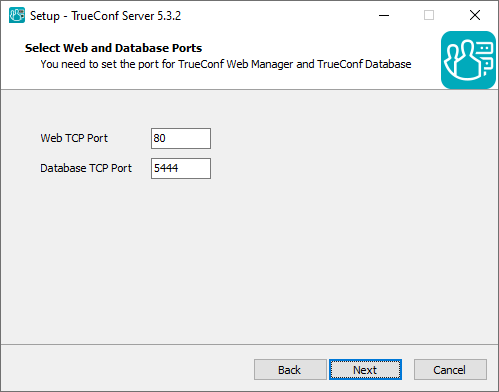
During the server installation you need to choose Web TCP Port and Database TCP Port. By default, these ports are 80 (or 8888) and 5444, if these values are available. However, you can also choose any other ports.
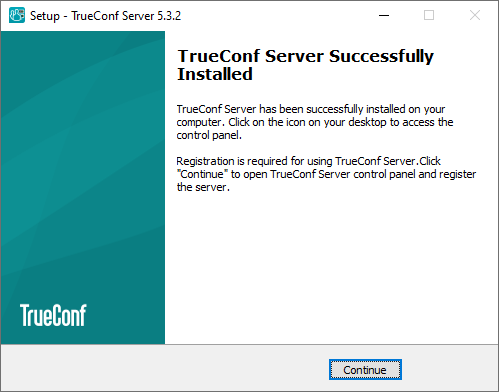
Your browser will automatically open TrueConf Server Control Panel (Web interface for configuring the server) after installation.
Step 3: Sign in to the control panel
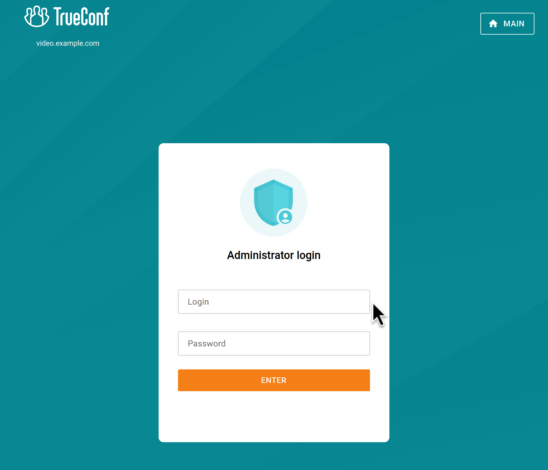
When installation is complete, you will see the browser window for signing in to the control panel (this window will be opened automatically). A person will be allowed to access the control panel, if his/her OS account is added to the TrueConf Server Admin group. The account you used to install TrueConf Server will be added to this group automatically. In other words, there is no default login: you need to know the login and password of the user whose account was added to the OS where the server is installed. So, to sign in to the control panel, just enter the system login and password of this user, and you will proceed to server registration (Step 4):
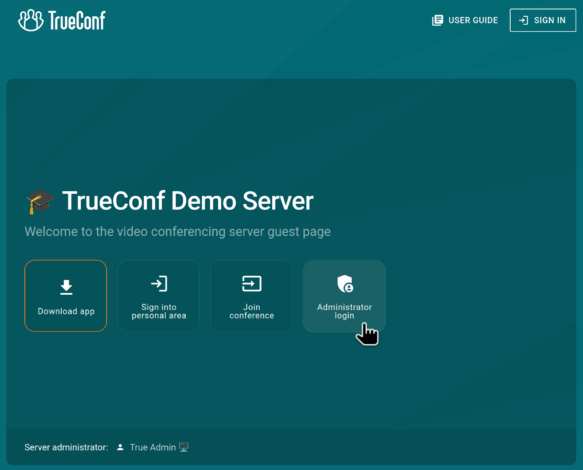
Later to access the control panel, you will need to open the guest page, click Administrator login, and enter the login and password of the same OS user.
Step 4: Register Your Server
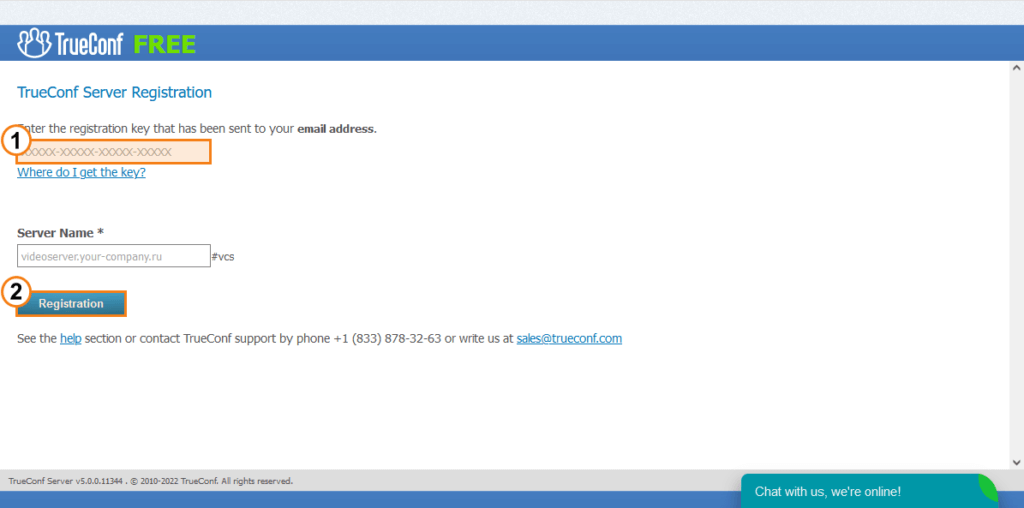
To launch the video conferencing server in a local network, one should first register it. For this purpose, you will need the free registration key, received at step 1 after filling out the form. Enter the key in the corresponding field and click Registration:
Step 5: Start the Server
Once the server is successfully registered, a sign will appear at the top of TrueConf Server Control Panel’s window:

Now you need to add users on the server side and share with them the link to download client applications.
Step 6: Adding Users in TrueConf Server
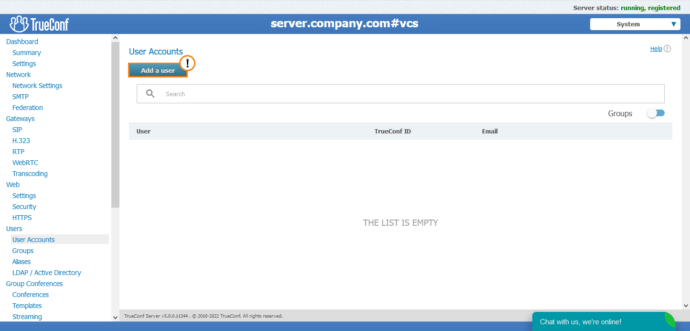
Go to the User Accounts tab and click Add User button:
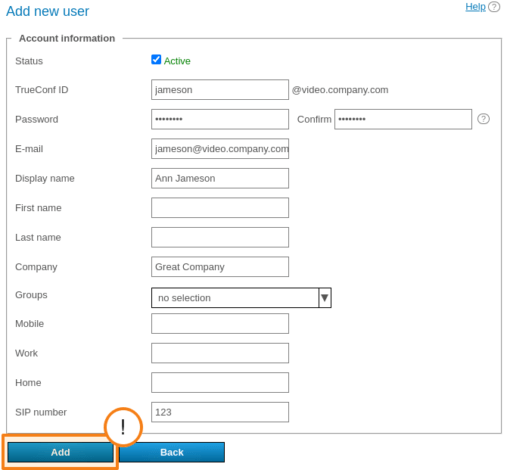
Fill out required fields. The following fields have to be filled: TrueConf ID (login), password and its confirmation, email, display name (TrueConf ID is used as a default value for this field). Click Add:
After creating accounts on the server-side, please share TrueConf IDs and passwords among users who will use video conferencing in LAN.
In TrueConf Server Free, there are no restrictions on the number of created user accounts. In addition, the free version allows 1 SIP/H.323/RTSP connection and enables you to create a public conference with one guest participant. Restrictions are imposed on the number of online users (50) and PRO licenses (10) required for participation in conferences. For more details, check out the comparison of free and premium versions and description of the licensing policy.
Step 7: Setting up the External and Internal IP Address
To enable users to connect to your TrueConf Server instance from outside your LAN, you must make the server externally visible. You must set up the external IP on your router. Read our tutorial about how to do this.
Step 8: Client Applications
All users must install client applications to conduct video conferences. You just need to share among them a link to the guest page where applications (for all supported operating systems) and brief connection guides are available.
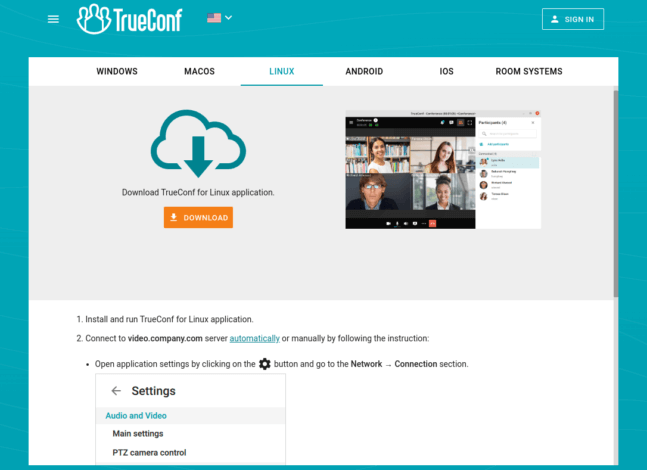
The link to the Guest page can be found in the Web → Settings tab in the TrueConf Server Control Panel.
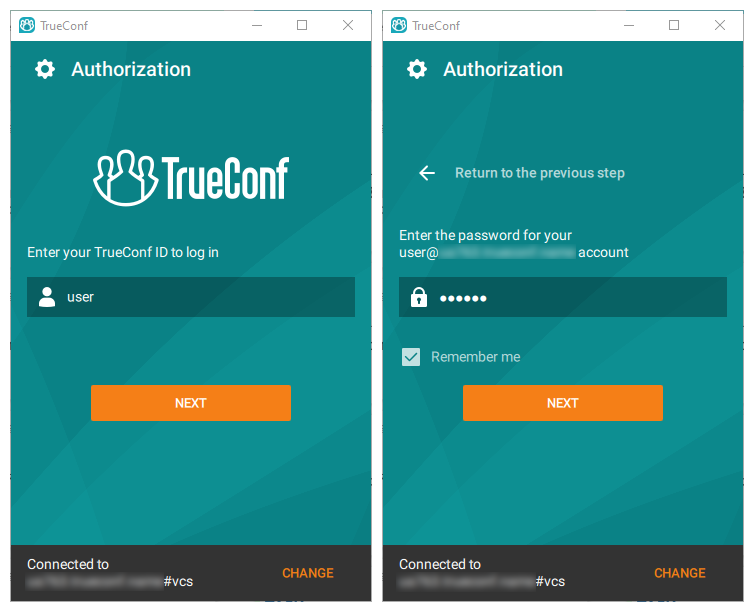
Step 9: Log in to the TrueConf Client Application
When launching the client application, please enter the TrueConf ID and the password you received from your server administrator.
Step 10: Create a Video Conference
Check out the documentation for each solution to find detailed guides on how video conferences can be created in client applications and software or hardware endpoints.
See also
- More on TrueConf Server Free
- How-To Video Tutorials for Users
- WhatsApp community where you can ask questions about TrueConf solutions
If you have any questions, please contact us on 1-347-TRUECNF (1-347-878-3263) or at sales@trueconf.com.
Other Resources:


