How to Turn Raspberry Pi into a Video Conferencing Server
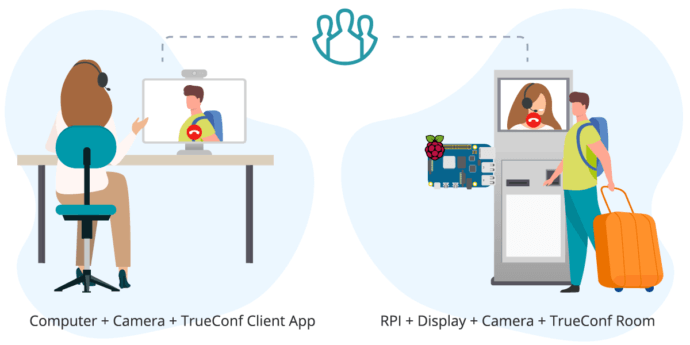
TrueConf offers a trial video conferencing solution for the Raspberry Pi 4 single-board computer. With this microcomputer and TrueConf software, you can create self-service systems in public places, information kiosks located near tourist sites, or use it to build “Smart Home”.
For this configuration we provide a special version of TrueConf Room designed for ARM architecture. You can install this software on your Raspberry Pi for free by following the guide below.
Required equipment
Minimum equipment requirements for video conferencing are listed below:
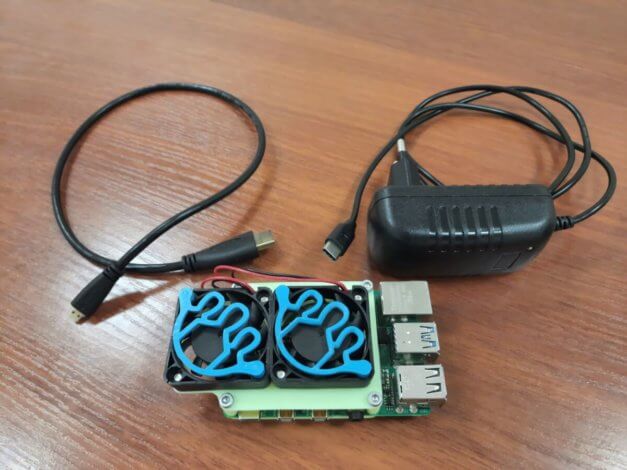
- Raspberry Pi 4 microcomputer
- MicroSD class 10 memory card with at least 8 GB capacity
- Power supply with USB Type-C connector, AC 220 V, DC 5 V / 3 A
- Micro-HDMI to HDMI cable
- Keyboard and mouse
- USB webcam
- Monitor or TV panel with HDMI input
- If your monitor does not support HDMI audio output, you can use a USB speakerphone, a USB headset, or connect speakers or headphones to the 3.5mm (mini-jack) output.
Warning!
The Raspberry Pi gets hot when the microcomputer board is in use, so it is recommended to equip your board with an active cooling system. In this way you will prevent CPU performance from slowing down, while the board will operate in a normal mode.

Please note that the Raspberry Pi board is not equipped with a 3.5mm audio input, so it is recommended to use a webcam with a built-in microphone. Otherwise you will need a USB headset, microphone or speakerphone.
You will also need a computer with a card reader to prepare the memory card.
Step 1: Setting up your TrueConf account
To use video conferencing on your Raspberry Pi in a bundle with TrueConf Room application, you need to sign in with either your TrueConf Server account or TrueConf Online cloud service. In the first case, you can request your login details from the administrator of your video conferencing server. To connect to the cloud service, create an account on our website.
Step 2: Installing the operating system
TrueConf Room for Raspberry Pi is designed for the 64-bit Raspberry Pi OS 11 (based on Debian 11). So, you will need to install this operating system on the memory card.
- Download Raspberry Pi OS 11 with Desktop distro from the official website.
- Download and install the Raspberry Pi Imager software on your PC.
- Insert the MicroSD card into your PC and run the Raspberry Pi Imager.
- Click Choose OS → Use custom and select the downloaded Raspberry Pi OS image file in the opened window.
- Click Choose SD card and specify your memory card.
- Click Write, confirm the data deletion from the memory card, and wait until the process of writing the operating system is finished.
Step 3: Startup and initial setup of the operating system
- Insert the memory card into the corresponding slot of the single-board computer. Then you will need to connect:
- power supply in the USB Type-C connector (do not connect to the electricity yet)
- monitor with micro-HDMI – HDMI cable to HDMI0 connector (audio output is supported)
- network cable into the Ethernet port (it is also possible to use the built-in Wi-Fi)
- keyboard, mouse, webcam, and microphone (if necessary) to available USB ports.
- Plug the power supply into an outlet, thus starting up the Raspberry Pi.
- When the OS is booted, enter the login pi and password raspberry to access the system.
- You will see the Welcome to Raspberry Pi window where one can configure some preliminary OS settings. Enter a new user password and select the network for connection if you are using Wi-Fi.
Step 4: Installing the TrueConf Room
- Download the TrueConf Room distro for Raspberry Pi from our website and move it to the single-board computer (if the computer is connected to the Internet, you can download the installation file directly on the device):
- We recommend that you install TrueConf Room using the command line. To do this, go to the directory containing the saved deb package and run the command:
1sudo apt install -yq ./trueconf-room.debwheretrueconf-room.debis the name of the installation package.
Step 5: Using Video Conferencing on Raspberry Pi
Using TrueConf Room on a single-board computer is no different than using it on Windows or Linux-based desktops. Follow our instructions to get started with the application.
- Login to the TrueConf Room control panel.
- Configure connection to the TrueConf Server instance or TrueConf Online service.
- Set up additional settings, if necessary.
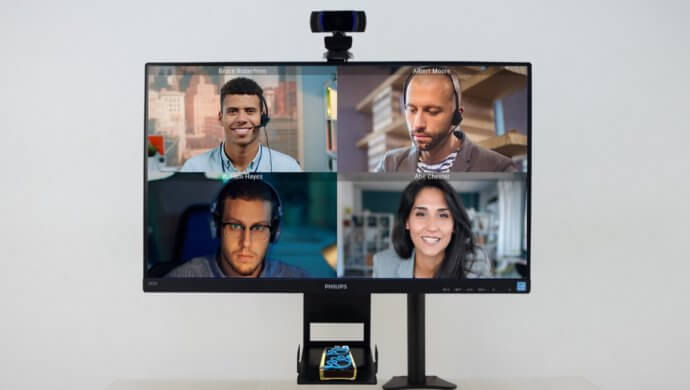
- Make video calls and hold conferences on your Raspberry Pi 4.
Join our WhatsApp community, where you can share your experiences with TrueConf Room built for the ARM architecture:


