How to use OBS Studio virtual camera in TrueConf client application
The virtual camera is a software solution that emulates the work of a hardware camera. Such a feature may come in handy if you want to restream someone else’s presentation from a different conference or incorporate additional video content directly to your conference. This feed will be displayed in your video window in the layout.
Installing the plugin for connecting a virtual camera in OBS Studio and testing it in TrueConf.
- Install OBS Studio 27. You can view the previous versions of OBS and install the required version from GitHub or the official site by clicking on the Previous Releases button.
- After installing the required version of OBS Studio, you will need to install the plugin obs-virtual-cam to add the virtual camera to the list of tools. The plugin will be installed in the folder with the main program.
- The VirtualCam feature will become available in the Tools menu in the upper panel. OBS Studio will create multiple virtual cameras and you will need to select the target camera (the one that will now be used). Then, enable it by clicking Start.
- Open your TrueConf client application. Click on the Settings button
 . Then, go to Audio and video → Video → Camera settings. Select the camera created at step 3.
How to use the virtual camera in TrueConf
Re-streaming from an external video source or YouTube stream with OBS+VLC
During a conference or call, you may need to demonstrate content from an external source to other meeting participants. For example, you may want to show a live webinar held on YouTube or discuss a certain video stored on this platform.
You can do it with the Screen sharing feature in your TrueConf client application. However, in this case, you will be able to capture either the entire screen or a browser window. Due to this reason, the application will display the UI elements that are not related to video.
If it is necessary to show content without any UI elements related to OS, browser, and so forth, you can use OBS Studio. This solution will also offer you multiple features for creating scenes with content, for example, you may try branding your stream as it is shown in our article.
To re-stream content in such a way, you will need OBS with installed VLC Video Source feature. This feature will automatically become available after the installation of the VLC player.
- Create a new scene and add VLC Video Source.
- Click OK in the Create/Select source context menu.
- Another pop-up will be displayed; here, you will need to configure the source and add the paths to local files or links to Internet media sources to the playlist.
- After creating the playlist, make sure that the virtual camera feature is enabled. Then, go to your TrueConf application, start a conference, and share the selected content. You will be able to control the playback of media files directly from OBS.
Streaming local files with the virtual camera
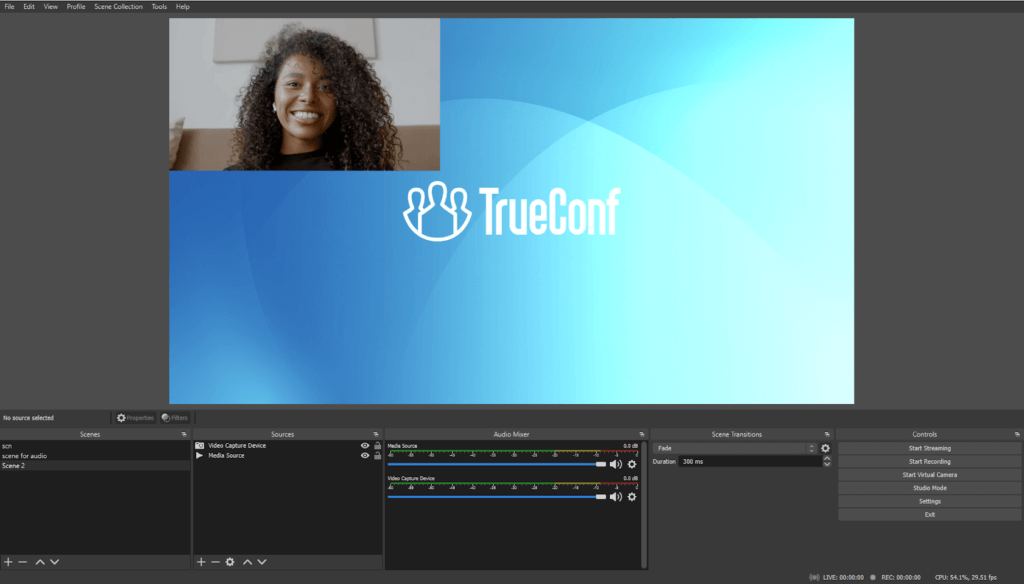
During a conference, it may be necessary to share video content and display the feed of a speaker’s camera in one of the layout windows. To achieve this goal, you will need to combine two features of OBS, the virtual camera and media source.
Create a Scene. Add a Media Source in the Sources section: select the local file that you want to play.
Then you will need to add Video Capture Device in the Sources section and select the camera that should be captured. Then, select the size of displayed elements in the working area:
Go to TrueConf, start a conference, and select the required camera. The playback will start within OBS where you can play, stop or rewind the video.
What should I do if audio cannot be sent?
If there are audio issues when VLC Source is used in OBS, you will need to try an alternative method.
You will need to start video playback via a VLC application and then capture the window of this application. To learn how this feature can be used, please check this article.
To capture the video stream in VLC:
- Copy the URL to the video that should be streamed during the conference.
- Open the VLC application (not the plugin within OBS).
- Click the Media button in the upper part of the application screen.
- Select the Open Network Stream option in the context menu. Then, enter the URL in the input field and click the Play button.
Then, return to OBS, go to Sources, create Window Capture and select the VLC application window.
If you want to play the video without displaying any UI elements, enable the full screen playback mode in the VLC application. Then, you can go to the tab of any application, and only the captured window will be displayed.
After that you will be able to start streaming to your conference with the virtual camera.


