How to install Jitsi Meet video conferencing server
Jitsi Meet is free and open source software that allows you to create and deploy video conferencing solutions. Jitsi Meet is based on WebRTC open standard technology for browser-based conferences. Additionally, with Jitsi you can use client applications for Linux, macOS, Windows, iOS, and Android to run video meetings.
Warning!
Please note that Jitsi Meet cannot be used as a full-fledged video conferencing platform. It is a free solution designed to demonstrate capabilities of 8×8’s cloud-based service. Jitsi developers do not plan to add enterprise-grade capabilities into their product, while the implementation of such essential business features as Active Directory/LDAP integration, NAT traversal, SIP support, conference recording, etc. requires installation and setup of additional plugins and software packages. Additionally, Jitsi does not provide a number of basic features, such as meeting scheduling (all Jitsi meetings are in fact virtual rooms).
Finally, Jitsi Meet installation and maintenance requires advanced programming and Linux admin skills.
Compare Jitsi with TrueConf Server on-premises video collaboration platform
Do you want to deploy Jitsi Meet? You’ve come to the right place! Read this guide to learn how to install and set it up.
System requirements
The following packages are required for Jitsi Meet installation:
- gnupg2
- nginx-full
- sudo
- OpenJDK 8/OpenJDK 11
Below you can find the list of ports that you will need to open in your operating system or forward to an external network:
- 80/tcp – to verify/renew SSL certificate with Let’s Encrypt
- 443/tcp – for general access to Jitsi Meet
- 10000/udp – for audio and video communication within your network
- 22/tcp – if you use SSH to connect to the server (it is a default value, if you use a different port, specify it instead of 22).
Jitsi Meet can be deployed on Debian/Ubuntu and openSUSE. For example, in this article we will install Jitsi Meet on Debian 10.
sudo -V command and install it using apt install sudo as a root user. If you would like to add a user with the username user to the sudo group, use sudo usermod -a -G sudo user.Jitsi Meet basic modules
Jicofo is an XMPP component. It’s a process responsible for connecting client apps to video meetings. During conferences, it can send invitations, perform load balancing when using multiple XMPP servers, etc. Jicofo has its own HTTP API /about/health that allows checking Jicofo’s status.
Jitsi Videobridge is a key component of the system. When transmitting video and audio between the participants, it acts as an intermediary, which means it performs RTP/RTCP termination and sets the bitrate limits in both directions for each client. Jitsi Videobridge contains its own HTTP API (/colibri/debug) for monitoring.
Based on the Simulcast architecture, Jitsi Videobridge is not responsible for transcoding and consumes relatively few CPU resources.However, Simulcast significantly increases the client-side load as compared to other architectures.
Several video bridges can be connected to the Jitsi videoconferencing system with each new conference assigned to one of them.
Jigasi – external extension designed for participating in Jitsi conferences via SIP telephony (a separate extension required).
Jibri is a set of tools for recording and/or streaming a meeting hosted on Jitsi Meet. It works by launching a Chrome instance rendered in a virtual framebuffer and capturing and encoding the output with ffmpeg. It is intended to be run on a separate machine (or a virtual machine), with no other apps using the video or audio devices. One Jibri supports only one recording at the same time.
Prosody is a cross-platform XMPP server written in Lua.
 Step 1: Installing Additional Packages
- Get a list of available updates for all packages from the repositories connected to your operating system:
|
1 |
sudo apt update |
2. Install the required packages:
- apt-transport-https. As Jitsi repository requires an HTTPS connection, you need to install the package apt-transport-https in order for APT to establish an HTTPS connection to the Jitsi repository.
- gnupg2. Required for working with PGP keys.
- nginx-full. High performance web server. Requires the installer to configure a virtual host on the web server to maintain Jitsi Meet.
- curl. Command line tool for transferring data with URL syntax. It is required for downloading the PGP key.
- ufw. Firewall for opening ports.
|
1 |
sudo apt install apt-transport-https gnupg2 nginx-full curl ufw -y |
Step 2: Setting up a domain name
For correct operation of Jitsi Meet, the system host name should correspond with the domain name which will be used for your Jitsi Meet instance.
- Choose the domain which will be used for your server. For example,
myjitsi.example.org. - To configure the domain name, use the hostnamectl utility from the systemd toolkit to manage the system’s hostname:
|
1 |
sudo hostnamectl set-hostname myjitsi.example.org |
3. Add the same domain name to the /etc/hosts file:
|
1 2 3 |
127.0.0.1 localhost x.x.x.x myjitsi.example.org |
where x.x.x.x.x is the public IP address of your server.
Step 3: Configuring the firewall
To connect users to your Jitsi Meet server instance you need to configure the firewall by opening the required ports with ufw. To do this, please run the commands below in the following sequence:
|
1 2 3 4 5 6 7 8 9 |
sudo ufw allow 80/tcp sudo ufw allow 443/tcp sudo ufw allow 10000/udp sudo ufw allow 22/tcp sudo ufw enable |
Check the status of the firewall with this command:
|
1 |
sudo ufw status verbose |
If these ports are open, you will see the following output:
|
1 2 3 4 5 6 7 8 9 10 11 12 13 14 15 16 17 18 19 20 21 |
Status: active To Action From -- ------ ---- 22/tcp ALLOW Anywhere 80/tcp ALLOW Anywhere 443/tcp ALLOW Anywhere 10000/udp ALLOW Anywhere 22/tcp (v6) ALLOW Anywhere (v6) 80/tcp (v6) ALLOW Anywhere (v6) 443/tcp (v6) ALLOW Anywhere (v6) 10000/udp (v6) ALLOW Anywhere (v6) |
Step 4: Adding the Jitsi package to the repository list
- Use curl to import the official GPG key of the Jitsi repository:
|
1 |
curl https://download.jitsi.org/jitsi-key.gpg.key | sudo sh -c 'gpg --dearmor > /usr/share/keyrings/jitsi-keyring.gpg' |
2. Add a link to to a stable repository:
|
1 |
echo 'deb [signed-by=/usr/share/keyrings/jitsi-keyring.gpg] https://download.jitsi.org stable/' | sudo tee /etc/apt/sources.list.d/jitsi-stable.list > /dev/null |
Step 5: Installing Jitsi Meet
Before the installation process, get a list of available packages from the Jitsi repository:
|
1 |
sudo apt update |
Install Jitsi Meet:
|
1 |
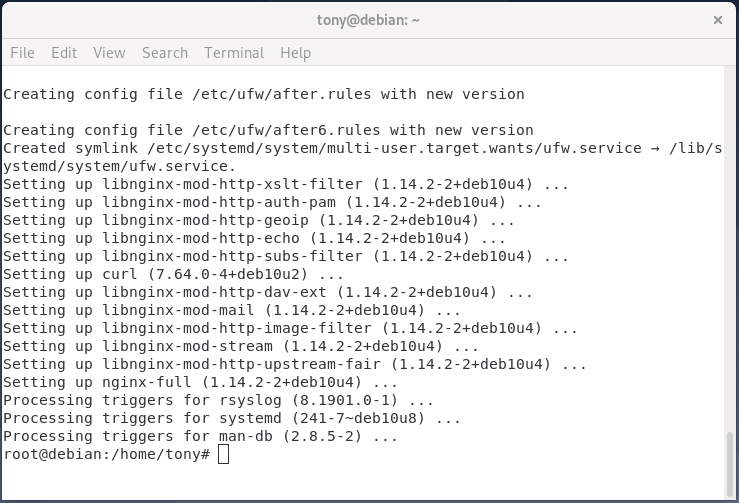
apt install jitsi-meet |
You will also be prompted to enter the host name of your Jitsi Meet instance. If you have a domain, you can use your domain name, for example myjitsi.example.org. Alternatively, you can enter the IP address of your computer (if it is static).
This host name will be used to configure the virtual host within Jitsi Meet, as well as to connect users to conferences.
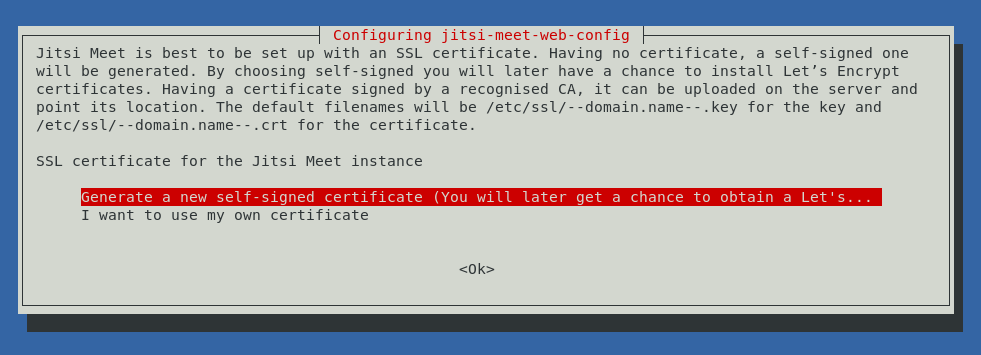
You can generate a self-signed SSL certificate, or reject this option if you already have a commercial certificate and you are going to use it instead.
Step 6: User authentication
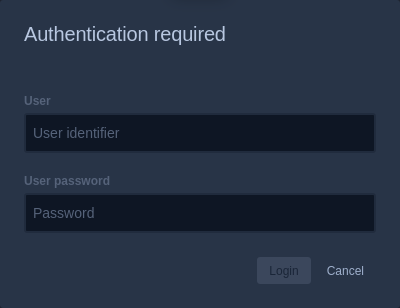
By default, Jitsi Meet is set up so that any user can connect to your server and create a conference. However, you can change this scenario and allow only authorized users to create conferences. In this case, when creating a new room Jitsi Meet will ask for username and password. In order to do it, you will need to edit the configuration files.
In the following examples the variable your_hostname will be used instead of the domain name.
Activate mandatory authentication
- Using any text editor, open the file
/etc/prosody/conf.avail/[your_hostname].cfg.lua
2. Find the line authentication = "anonymous" in the VirtualHost "[your_hostname]" block and replace it with the following line:
|
1 |
authentication = "internal_hashed" |
This will limit the access of anonymous users to your platform and introduce mandatory authentication by username and password.
3. Add the following section in the end of the file:
|
1 2 3 4 5 6 7 |
... VirtualHost "guest.your_hostname" authentication = "anonymous" c2s_require_encryption = false |
This allows anonymous users to join a conference created by an authenticated user on the server. The guest should know the unique conference address and password (if it is set).
4. Open another file etc/jitsi/meet/your_hostname-config.js in a text editor and uncomment the line // anonymousdomain: 'guest.example.com', replace guest.example.com with your real Jitsi Meet hostname.
This data is necessary to indicate to Jitsi Meet which internal hostname should be used for unauthenticated guests.
After that, specify the domain that will be used to run Jicofo in the component settings. For conference facilities, Jicofo will only use registered domains.
To complete the configuration changes, add the following line to the file
|
1 2 3 |
/etc/jitsi/jicofo/sip-communicator.properties org.jitsi.jicofo.auth.URL=XMPP:your_hostname |
Creating user accounts
Use the prosodyctl utility to create users:
|
1 |
sudo prosodyctl register <username> your_hostname <password> |
Restart the systemd services to apply changes:
|
1 |
sudo systemctl restart jitsi-videobridge2 prosody jicofo |
When creating a room in Jitsi Meet, you will now need to enter your username and password.
Step 7: Getting started with Jitsi Meet
After the installation is complete, launch a web browser (e.g., Firefox, Chrome, or Safari) and enter the hostname or IP address in the address bar.
If you used a self-signed certificate, your web browser will ask you to confirm that you trust the certificate. If you connect to Jitsi using an iOS or Android mobile app, the connection attempt may end up with a self-signed certificate error at this point.
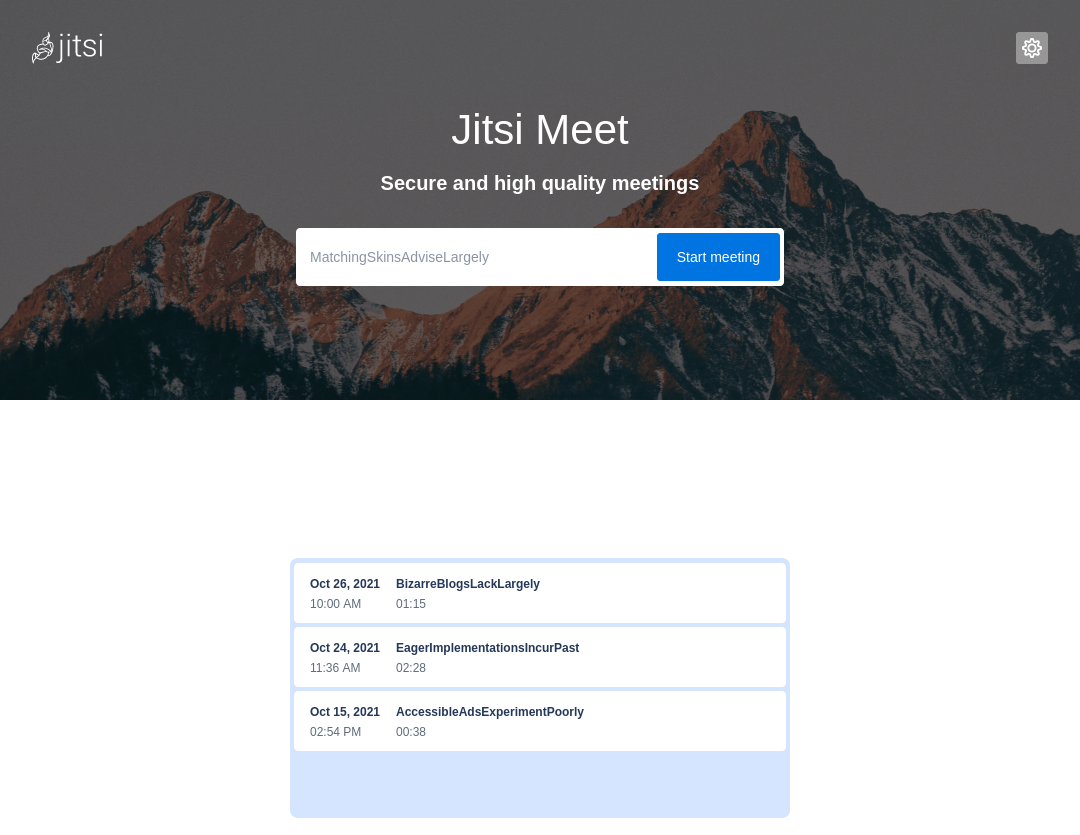
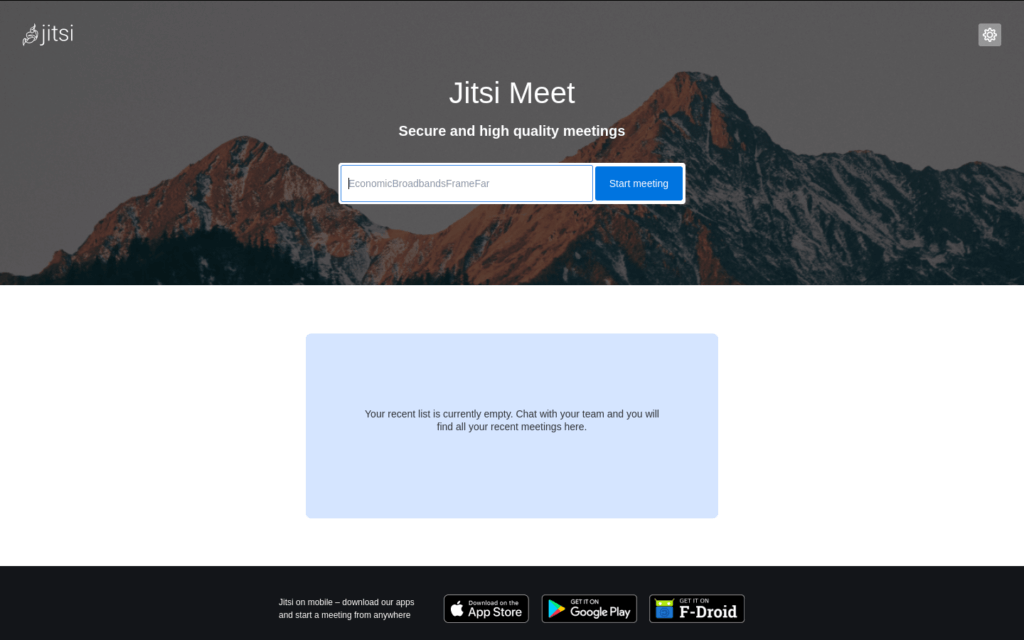
You can see a web page inviting you to start a new meeting:
Make sure that you can successfully create a meeting. Share the link, ensure that other members can join as well and that all ports have been opened correctly.

