Troubleshooting Presentation Display Issues
In TrueConf client applications, on most operating systems (Windows, Linux, macOS, Android, iOS/iPadOS), content sharing, including presentations (slide shows), is available. Users can share an already prepared presentation with event participants or create one within the application from images during the conference.
To allow users connected to your server from TrueConf client applications to use the conference scheduler, presentation sharing, and real-time meeting management, you need to open the HTTPS port (port 443 by default) between the client applications and the video conferencing server.
Conference participants may sometimes encounter issues while broadcasting their presentation or viewing presentations from other participants. In this article, we will explore the causes and potential solutions to this problem.
Demonstrating a presentation in the desktop application
During the call, in the meeting management menu, click the ![]() button and go to the Slideshow tab in the window that opens. On this tab, you can check the Stream system audio option to transmit audio from your OS alongside the slideshow.
button and go to the Slideshow tab in the window that opens. On this tab, you can check the Stream system audio option to transmit audio from your OS alongside the slideshow.
The TrueConf app supports importing presentations in ppt, pptx, odp, a special slides format, as well as pages from pdf files.
It is also possible to create a presentation from individual images directly in the application’s menu or even add images to a list of slides imported from a presentation or PDF file. Supported image formats include jpeg, png, jpe, jif, jfif, jfi, bmp, png, gif, and webp.
Please note that when using images with gif and webp extensions, only the first frame will be used.
To create a presentation from images:
- Click on the Create a slideshow button and enter its name.
- Import a document or compile a slideshow from images.
- Start the presentation from any slide.
- You can use the resulting slideshow in the future, including in other events.
Learn more about content sharing in the desktop version of the app in our documentation.
Presentation demonstration in the mobile app
On Android OS
During the conference, you can start a slideshow from your images in the gallery (supported formats are jpeg, png, gif, jpe, jif, jfif, jfi, bmp, png, gif, webp).
Please note that when using images with gif and webp extensions, only the first frame will be used.
To do this:
- Click
 and select a Slideshow. A window for selecting photos will open (by default from the camera roll).
 - Check the images and click the Start slideshow button.
- You will be prompted to name the presentation, then click the Start button to continue.
- In the conference window, a presentation control widget will appear with its name and buttons to switch slides and stop the slideshow.
On iOS/iPadOS
To display a slideshow:
- In the conference control panel, press the
 button and select Slideshow.
 - Press the Send Slide button to select an image on your device. After adding, you can view the image by clicking on it. The caption My currently broadcasted slide will appear at the bottom of the slide.
- To stop displaying images, press Stop. To return to the conference window, press Done.
Due to Apple’s security policy, when setting up an HTTPS connection on TrueConf Server, image display may only be available if a commercial certificate is used on the server. To work with a self-signed certificate, it must be added on the user’s side for iOS/iPadOS as shown below.
For more information on content sharing in the mobile app, refer to the relevant sections of the documentation:
What to do if the presentation is not displaying for conference participants
If conference participants encounter issues viewing presentations, you need to ensure that:
- an HTTPS connection is configured on the server;
- there is an HTTPS connection between all participants and the server (by default, TCP port 443, but it can be reconfigured).
What to do if the problem only occurs for mobile device users
If a self-signed security certificate is used on the video conferencing server, this certificate must also be present on the users’ devices.
In case of issues with broadcasting or viewing presentations in conferences, you need to check for the presence of the security certificate on your mobile device.
If the required security certificate is missing, it needs to be installed.
Checking and Installing a Certificate on Android OS
The names of the menu items may vary depending on the device manufacturer and OS version. This list is based on the example of a Google Pixel 7 running Android 15.
To check and install a certificate, follow these steps:
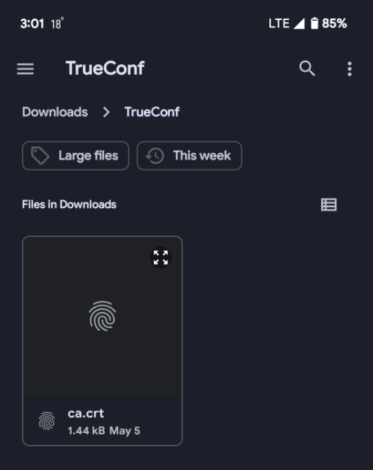
- Download the certificate to your device.
- Open the Settings app.
- The easiest way to find the menu item for adding a certificate is to open the settings and then enter “wi-fi certificate” in the search. Choose the Wi-Fi Certificate option from the search results. For example, on a Google Pixel, the path is: Security & privacy → More security & privacy → Encryption & credentials → Install a certificate → Wi-Fi certificate.
- In the file explorer, select the certificate file.
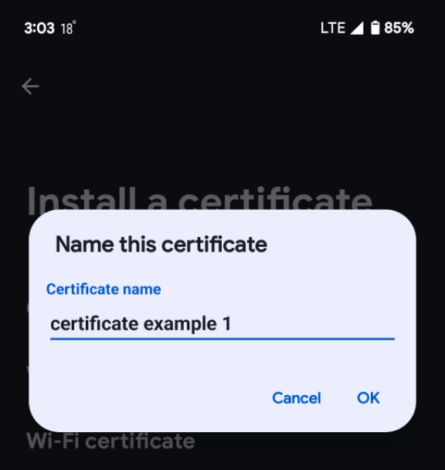
- Enter the certificate name and click OK.
- After successful installation of the certificate, a pop-up message will appear: Wi-Fi certificate installed.
Checking and Installing a Certificate on iOS/iPadOS
To check and install a certificate, follow these steps:
- Download the certificate to your device.
- Open the certificate from the file manager.
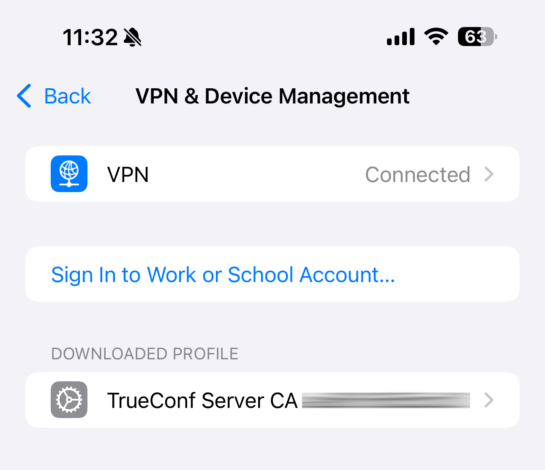
- Open the Settings app, go to General → VPN & Device Management.
- In the Downloaded Profile section, tap on the downloaded certificate.
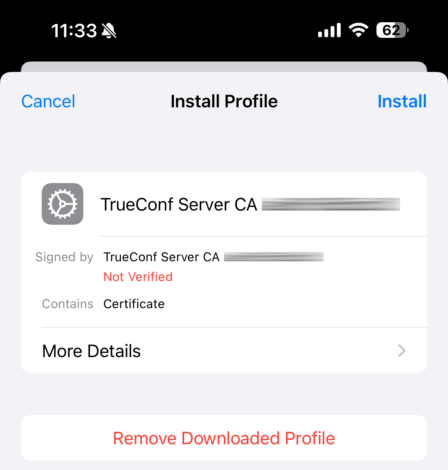
- In the window, tap Install and enter the passcode used to unlock the device:
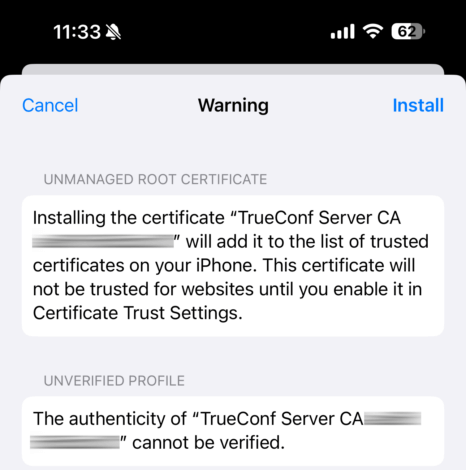
- In the warning window, click Install.
- In the menu with the heading Profile Installed, click Done.
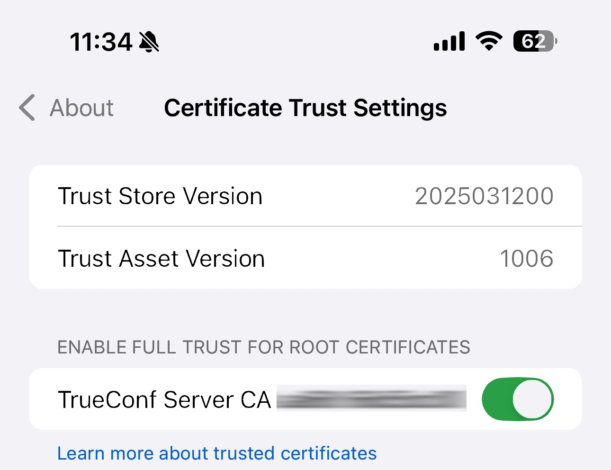
- Return to Settings and go to General ➝ About ➝ Certificate Trust Settings. Enable trust for the certificate by sliding the switch to the right (the switch should turn green).
- A Root Certificate alert window will appear, click Next.

