
Launching and Authorization
Launching and Authorization
Launching TrueConf Room
When TrueConf Room starts, the main screen will open and occupy the entire space, obscuring all other applications.
If a PC with TrueConf Room installed is connected to multiple monitors, you can move the main screen to one of them by right-clicking the program icon in the system tray and selecting the desired monitor from the Display menu.
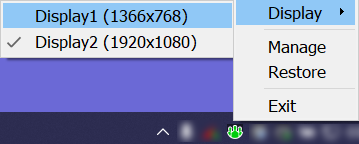
If a USB touch panel is connected to the PC with the terminal, in addition to the main display (or if it is built-in), you must configure it during installation and avoid switching through the OS notification area.
To close or minimize the window, use the hotkey adopted in your OS.
When the main screen is closed, the control panel will also stop functioning.
Logging in to the control panel
To access the control panel TrueConf Room from your device, use one of the following methods:
Using a QR code. Scan a QR code with your smartphone or tablet camera. It contains an encoded link to enter the control panel. Follow this link.
Using a browser. You can find the access link next to the QR code. To enter the control panel, simply click on it or enter it into your browser.
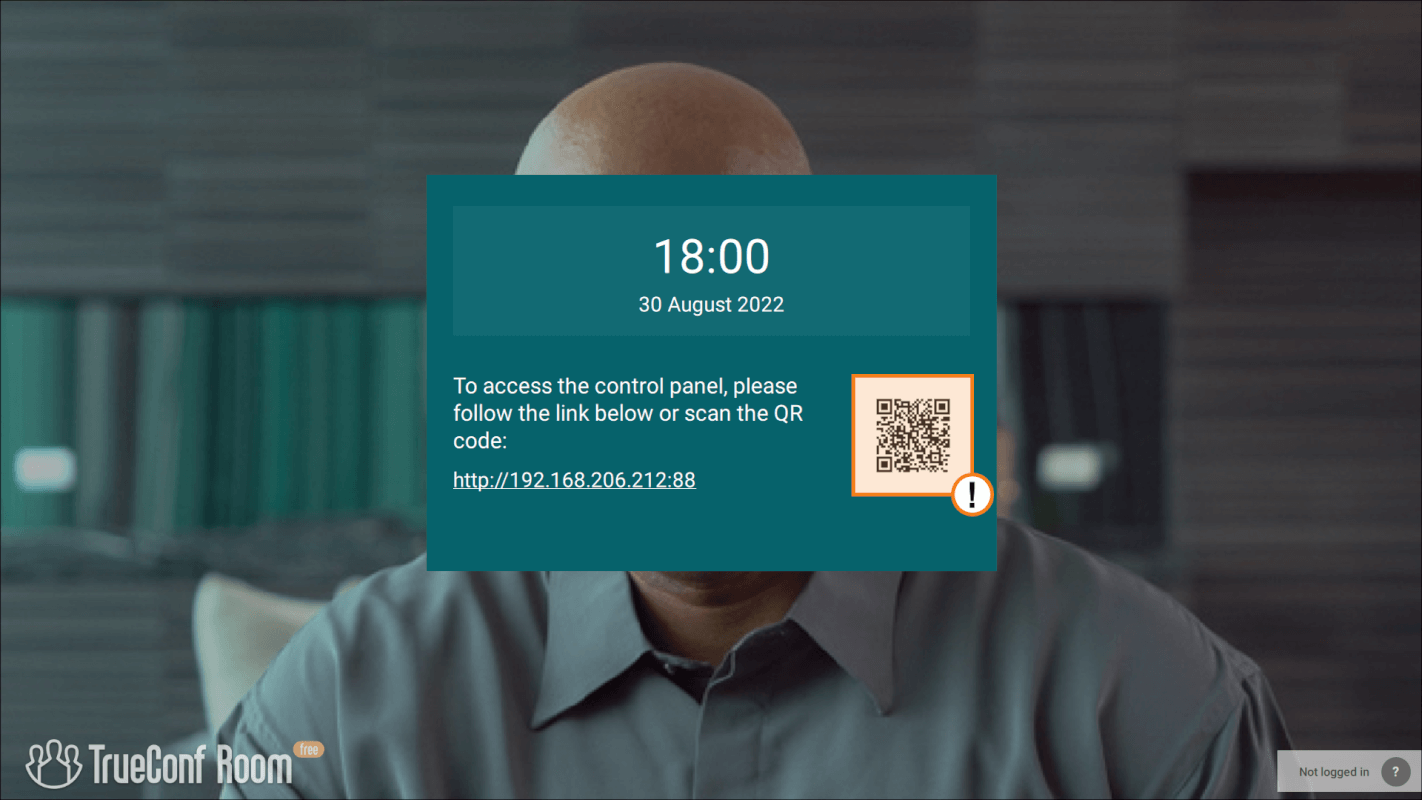
If the link or QR code is not displayed on the main screen, please contact your administrator and ask to provide you with access to the control panel.
Authorization with TrueConf ID (login)
Upon the first launch, the TrueConf Room control panel opens on the authorization page.
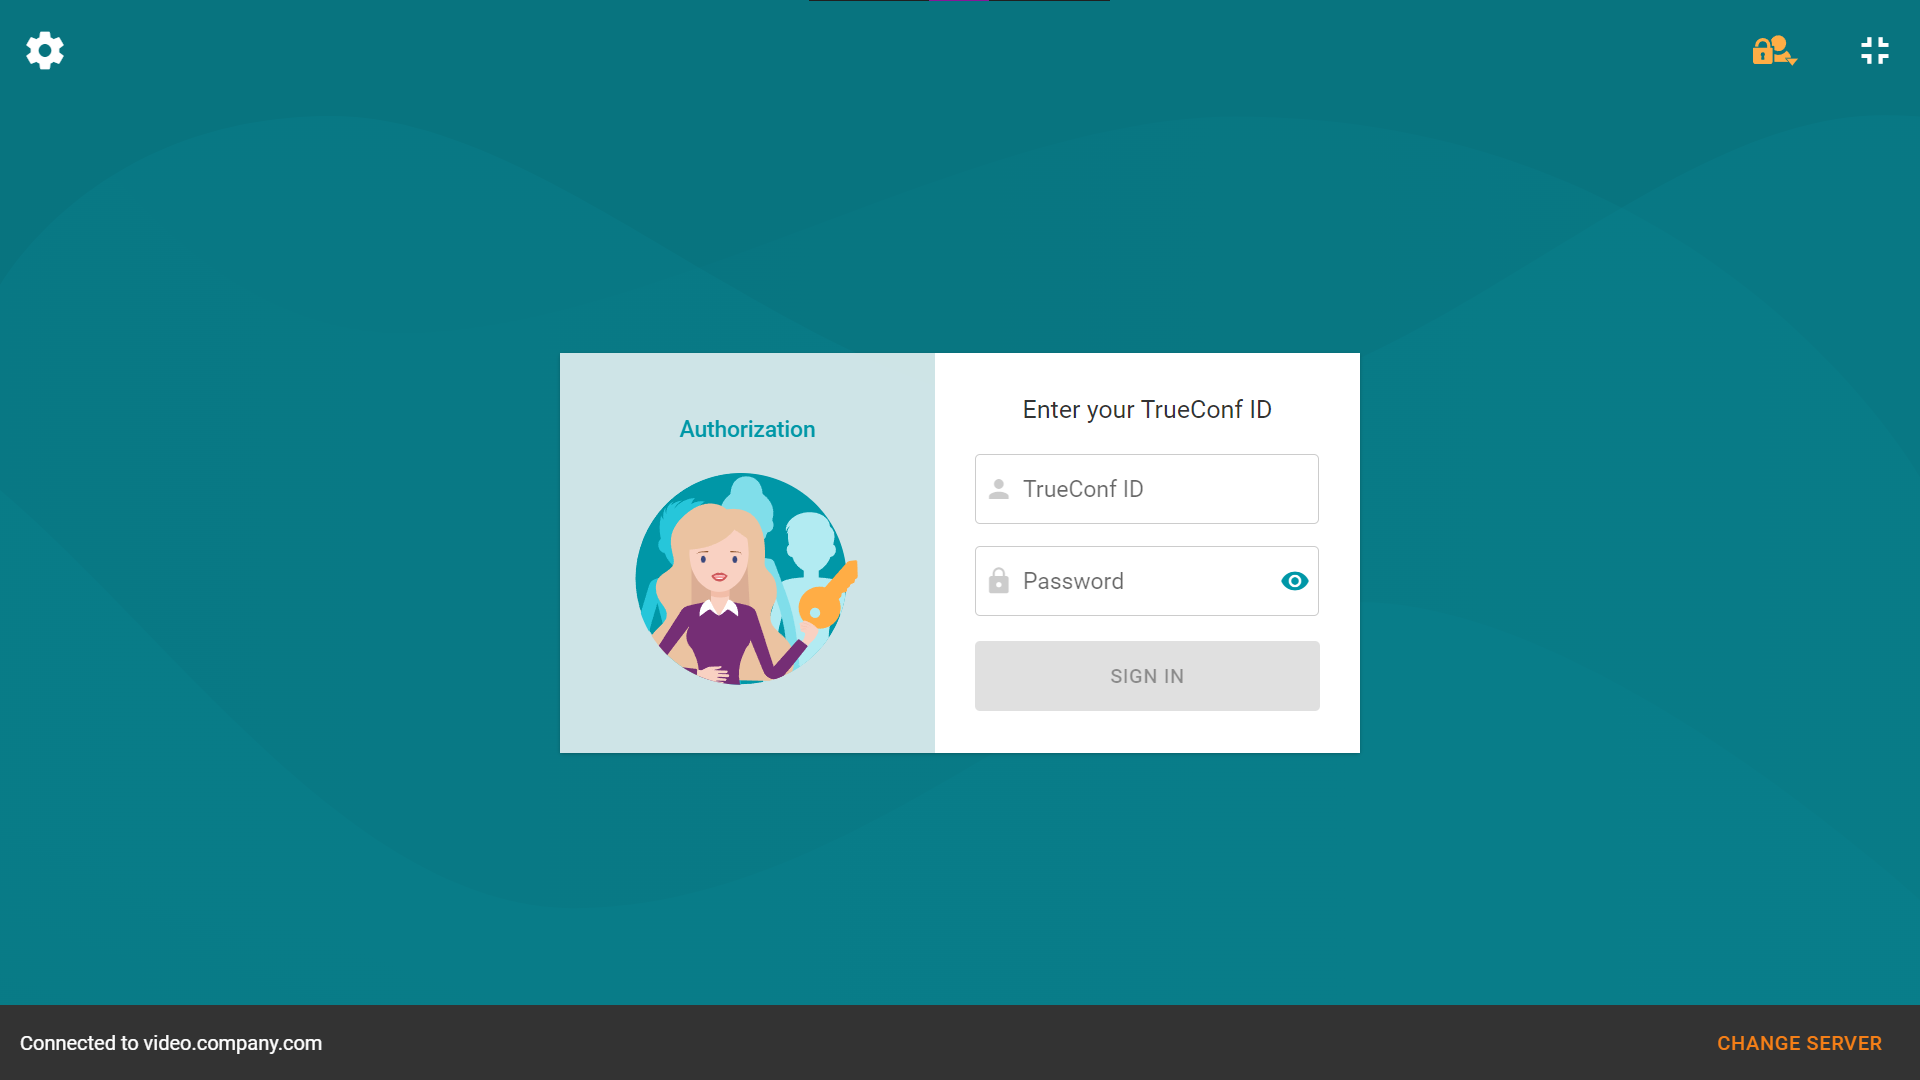
At the top of the authorization page, next to the server address, click Change.
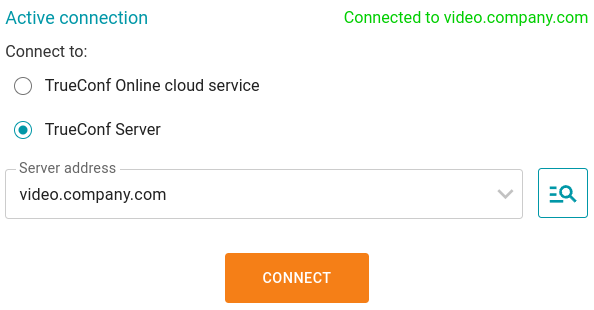
The network settings page will open.
Select the type of server used and, if it's TrueConf Server, enter its IP address or FQDN.
Click Connect.
Make sure that the label Connected to... is displayed next to the server selection. If the connection attempt ends with the label Not connected, please contact your system administrator for assistance.
Go back to the authorization page by clicking the arrow icon in the upper-left corner.
Enter the TrueConf ID created for the room on your TrueConf Server or in TrueConf Online, along with its password.
Two-factor authentication
Authorization using 2FA and MFA (multi-factor authentication) is only available in the full version of TrueConf Room.
Two-factor authentication adds an extra step (known as a "second factor") for user verification when connecting to the server (in this case, TrueConf Server). This step can be any external service supported by the video conferencing server, such as AD FS, Keycloak, or another OAuth 2.0-compliant provider. If the provider itself supports multi-factor authentication (MFA), like sending one-time codes via email, then it can also be utilized in TrueConf Room.
If you are an administrator of TrueConf Server, please refer to its documentation for information on configuring authentication .
AD FS (Active Directory Federation Service) provides federated identity and access management by sharing data and access rights in a secure way. AD FS opens up new opportunities for using single sign-on technologies available within a unified system or corporate network.
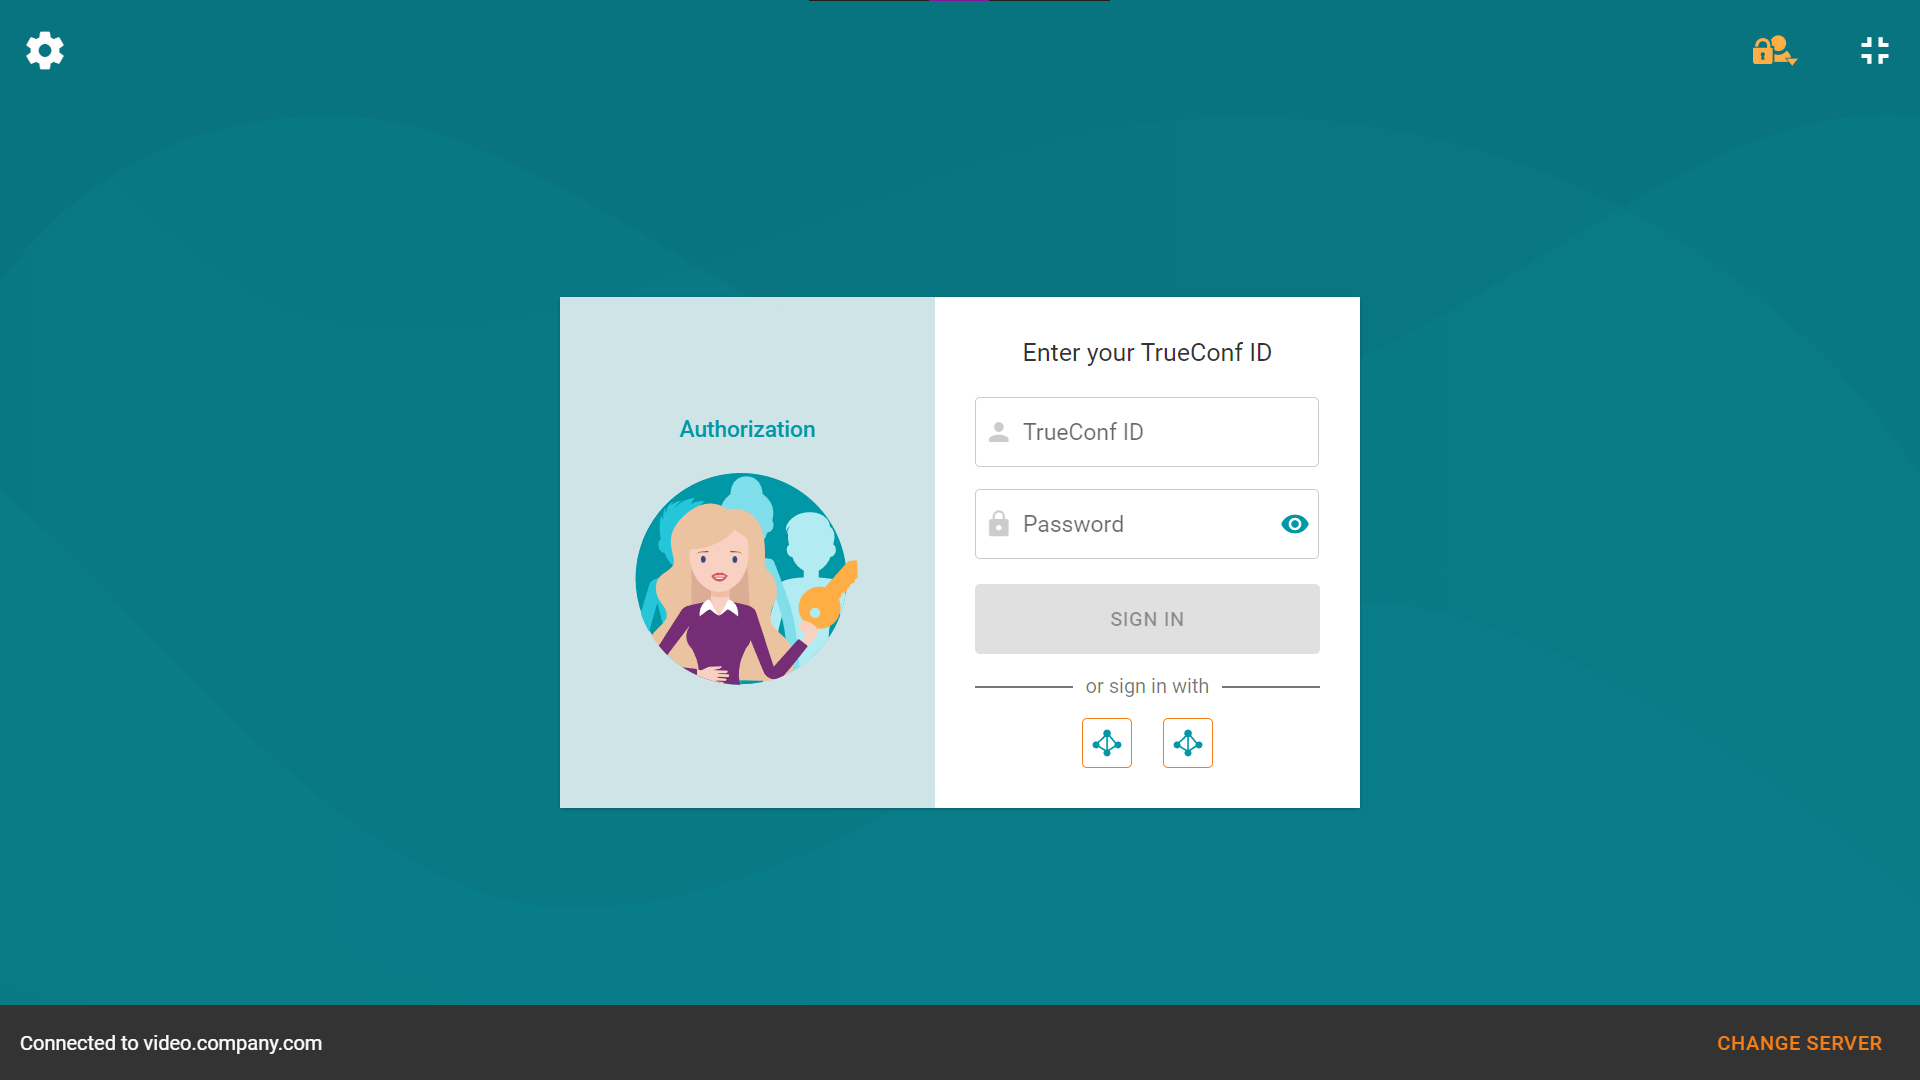
Authorization on the server using a two-factor authentication provider (such as AD FS) will only be available if the server administrator has made the appropriate configuration.
How to log in to TrueConf Room using two-factor authentication (using AD FS as an example):
At the top of the authorization page, next to the server address, click Change.
The network settings page will open.
Select the connection type TrueConf Server and enter its IP address or FQDN (Fully Qualified Domain Name).
Click Connect.
Make sure that the label Connected to... is displayed next to the server selection. If the connection attempt ends with the label Not connected, please contact your system administrator for assistance.
Go back to the authorization page by clicking the arrow icon in the upper-left corner.
Click on
 to log in using AD FS.
You will see the page where one can sign in via AD FS.
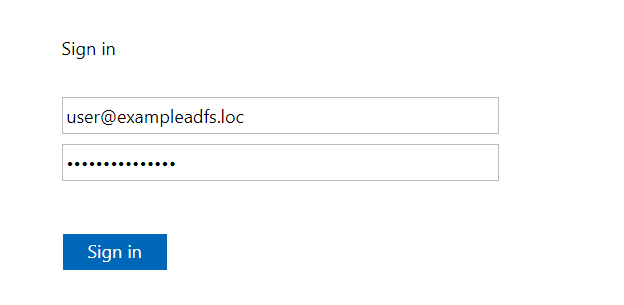
Enter your login credentials. The data can be entered in one of the two formats
domain\useroruser@domain.