Installation and update
Installation and Update
Here are the minimum steps needed to set up a working corporate communication system:
Select a machine (PC, physical or virtual server) with suitable hardware.
Install TrueConf Server. ◀️ You are here!
Configure HTTPS (it is used for many key features such as integration with the AI server, conference scheduling, etc.) and specify the external server address (the address of the guest page).
Configure access to the server for users within the corporate network and, if necessary, from an external network (outside the corporate network).
Create user accounts or integrate the server with a directory service via the LDAP/LDAPS protocol.
Install client applications for users and show them how to connect to your server (check the documentation for the desktop application).
We recommend carefully planning your setup, starting with the selection of hardware suited to your use cases.
Also, if you have the Free version (no purchased licenses), you will need to connect to the registration server reg.trueconf.com via TCP port 4310 to complete the registration process (more details about ports here).
Checking the registration key
Before installing TrueConf Server, make sure you have a registration key. You most likely received it when downloading the server installer from our website or when purchasing it from one of [our partners]. If so, you can skip this step and proceed to installing TrueConf Server. Otherwise, you will need to obtain the key as shown in the "Registration" section.
Server Installation
TrueConf Server It is provided as a distribution package that includes the server component and client applications for the Windows operating system. Client applications TrueConf for other popular operating systems are available on the website TrueConf (download links can be found on the guest page TrueConf Server).If you are installing TrueConf Server Free behind the firewall, in order to complete the registration process you should open TCP port 4310 to allow access to our registration server located at reg.trueconf.com.
If you purchased a paid license, there is no need to open the port, and you will be able to register the software in offline mode.
Which services will be added to the OS after installation
Windows
TrueConf Server is the main service. It is responsible for the core functions of the video conferencing system: point-to-point calls, video conferences, messenger, etc.
TrueConf Database — the database server service. It stores chats and logs. The operation of TrueConf Server Manager depends on the TrueConf Database service.
TrueConf Web Manager is responsible for the operation of the TrueConf Server control panel, guest page, personal area, scheduler, web application (connecting to a conference through a browser via WebRTC). It also manages HTTPS settings. If this service is disabled, you will not be able to use the listed functions.
TrueConf Server Manager — manages Windows registry and settings files. It is required for displaying certain data in the TrueConf Server control panel.
TrueConf Bridge is a service that receives websocket messages (commands) from web applications and converts them into transport messages understandable by TrueConf Server.
Linux
trueconf — the main service, the server engine. It is responsible for the core functions of the video conferencing system: point-to-point calls, video conferences, messenger, etc.
trueconf-db is the database service. It stores all data for TrueConf Server, including chats, user lists, conferences, groups, web server settings, etc.
trueconf-web is responsible for the control panel of TrueConf Server, the guest page, the personal area, the scheduler, the web application (WebRTC), and HTTPS settings. If this service is disabled, you will not be able to use the listed features.
trueconf-manager — a manager for handling databases and configuration files. It is required for displaying certain data in the TrueConf Server control panel.
trueconf-php — this service is responsible for processing specific scripts and is an internal system service.
trueconf-bridge is a service that receives websocket messages (commands) from web applications and converts them into transport messages understandable by TrueConf Server.
Installation on Windows OS
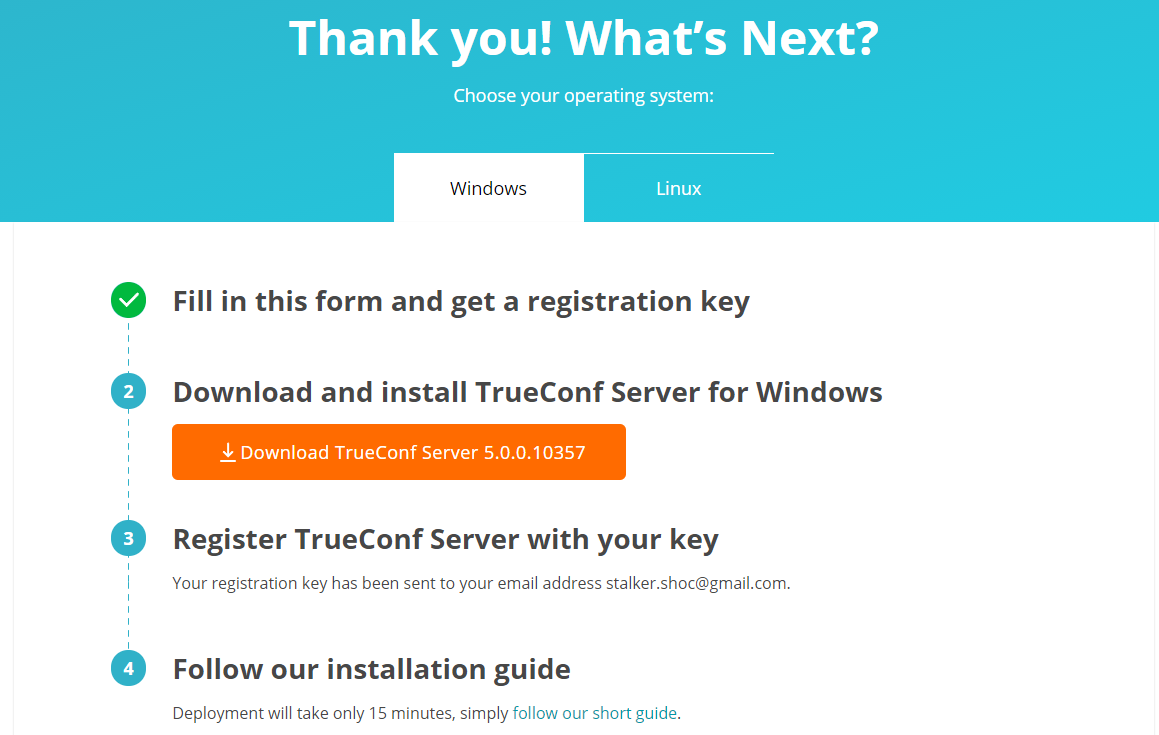
On the page that opens after completing the form, go to the Windows tab and click the Download TrueConf Server button.
Download and run the distributive to start the installation. The installation process will take not more than a minute.
During the installation you can specify:
Web TCP port for accessing control panel over HTTP
TCP port of the database for server reports.

Database port for server reports is set to 5444 by default. It is selected during the installation process and cannot be changed afterwards (to change it you will need to re-install TrueConf Server). The control panel is given port 80 or 8888 (if port 80 is unavailable). If both port 80 and 8888 are unavailable, you will need to specify it manually during the installation process.
If after installation, the control panel cannot be opened via the specified port, it means that this port is probably used by another process. In this case you will need to select a different port manually.
If control panel port is not 80 (HTTP) or 443 (HTTPS), you need to specify it manually in the host name after the colon in the browser URL bar (e.g. http://localhost:8080).
Your browser will automatically open TrueConf Server control panel after installation.
To access the control panel, you need to enter the OS username and password used during the server installation.
Installation on Linux OS
Next, we will show the main steps for installing the software on Linux from the file (downloaded package). It is also possible to install from the repository. This installation method is described in the corresponding section of the article about the installation on each operating system.
TrueConf Server contains its own web server. To prevent any possible conflicts or clashes, please deploy it on a computer running on Linux without a pre-installed web server.
Step 1.
Add the user who will install TrueConf Server and get access to the TrueConf Server control panel to your OS. You can use the account that was created when installing your OS.
You cannot use trueconf as an OS username! This is because the OS will automatically create such a user to run certain TrueConf Server services. If such a user already exists, it needs to be removed.
How to create a user in Linux OS is explained later in the initial server setup description.
Step 2.
On the page that appears after completing the form, go to the Linux tab for a description of the next steps.
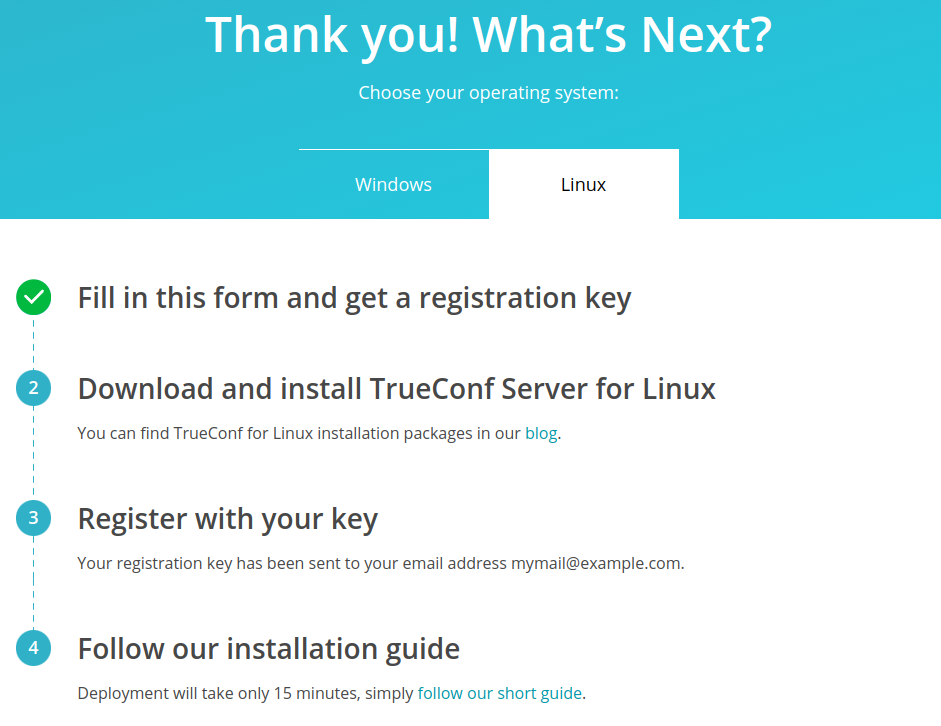
Click on the link in the second option to view the detailed guide in our blog on the installation of TrueConf Server for Linux.
Step 3.
Download the distribution for your operating system.
Step 4.
If you want to deploy TrueConf Server manually, open the directory with the downloaded installation package. Depending on your operating system, run one of the following commands as administrator, where server-installation-file is the file name.
For Debian:
First, update the system packages with the command:
sudo apt update && sudo apt upgrade -yOnly then should you install the server:
sudo apt install -yq ./server-installation-file.debFor CentOS:
- To make sure that TrueConf Server works correctly on CentOS, you will need to disable SELinux, the system can control the process access to the OS resources. To do it, run the following command as the administrator:
sudo sed -i 's/^SELINUX=.*/SELINUX=disabled/g' /etc/selinux/config2. It is also necessary to connect the EPEL repository:
sudo dnf install epel-release3. Update the system packages with the command:
sudo dnf update -y4. Only after this can you install TrueConf Server:
sudo dnf install -y server-installation-file.rpmWhen you run the command to install the software from a file on Linux, you can use an additional parameter to enter the list of users, who will have access to the control panel without using the login window. To do it, add the parameter TCADMINS_USERS=[users] to the installation command with the list of required OS users, for example, on Debian:
sudo TCADMINS_USERS=main_admin,second_admin apt install ./server-installation-file.debOr
sudo TCADMINS_USERS=main_admin apt install ./server-installation-file.debStep 5.
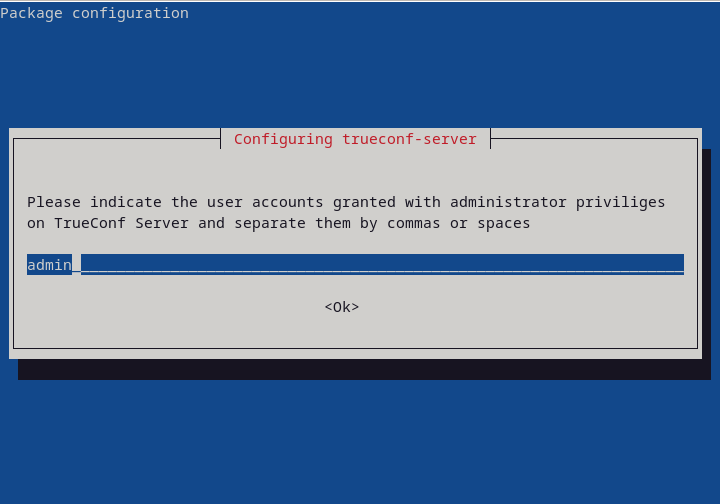
During installation, you will see a field for entering the names of OS users who will be given administrator-level access to the control panel. Specify the name of the user created earlier.
Step 6.
The OS will include the TrueConf services that were described earlier. The web server and manager should start automatically after installation.
Use another computer in your LAN, open your web browser and type the IP address of the Linux-based computer with TrueConf Server installed. To find your IP address in Linux, run ip a command.
The control panel is given port 80 or 8888 (if port 80 is unavailable). If both port 80 and 8888 are unavailable, you will need to specify it manually during the installation process.
If control panel port is not 80 (HTTP) or 443 (HTTPS), you need to specify it manually in the host name after the colon in the browser URL bar (e.g. http://localhost:8080).
Refer to the article in our knowledge base to learn how to access the control panel when installing the software outside the local network (e.g., when installing on a cloud server).
Since the server is not registered yet, an admin login page will be displayed instead of the guest page. Sign in with the user account you have previously created to start server registration.
How to change the port to access the control panel without reinstalling server
For Windows OS
Go to the TrueConf Server installation directory (
C:\Program Files\TrueConf Serverby default).Open the
\httpconf\conf\listen.conffile using a text editor (administrator rights required).Change the port number in the
Listen <port number>parameter (e.g.Listen 8888) and save changes.Open the
\manager\etc\manager.tomlfile as an administrator and specify the same port in the parameter:
[web]
connection = "http://127.0.0.1:80"
For example, you can replace 80 port with 8888:
[web]
connection = "http://127.0.0.1:8888"
5. Restart the computer where TrueConf Server is installed.
For Linux OS
If you use Linux, you cannot specify ports to access the TrueConf Server control panel during the installation process. If necessary, you can only change this port after the installation.
- Open the file
/opt/trueconf/server/etc/webmanager/listen.confwith any text editor (as a superuser):
sudo nano /opt/trueconf/server/etc/webmanager/listen.conf2. Change the port number in the Listen <port number> parameter (e.g. Listen 8888) and save changes.
3. Open the file /opt/trueconf/server/etc/manager/manager.toml with any text editor (as a superuser):
sudo nano /opt/trueconf/server/etc/manager/manager.toml4. Specify the same port for the parameter:
[web]
connection = "http://127.0.0.1:80"
For example, you can replace 80 port with 8888:
[web]
connection = "http://127.0.0.1:8888"
5. Restart the trueconf-manager and trueconf-web services using these commands:
sudo systemctl restart trueconf-manager
sudo systemctl restart trueconf-web
Updating the video conferencing server
TrueConf Server is updated with the help of installation files or repositories (on Linux). Please note that when updating the major version (the first two digits are changed, e.g., from 4.5 to 4.7 or from 4.7 to 5.0), you will need to re-register TrueConf Server because the hardware key (HW key) will change. Registration will also be needed if some of the following hardware parameters are changed on the physical or virtual machine where TrueConf Server is installed:CPU model (please note that the number of virtual cores (vCPUs) does not affect the license)
Storage size (SSD or HDD)
Operating system.
For more information about updating TrueConf Server, refer to the relevant article.
🆘 How to solve typical installation issues
gnupg error when installing from the repository on Debian
If the following error is displayed in the terminal, when the software is installed from the repository on Debian:
E: gnupg, gnupg2 and gnupg1 do not seem to be installed, but one of them is required for this operationit means that the gnupg encryption solution is not installed on the OS.
In this case install the missing package with this command:
sudo apt install gnupg2Administrator login input error during installation
If you type an incorrect or non-existing login when entering the administrator login during Step 5 of installation on Debian, installation may end with the following error:
E: Sub-process /usr/bin/dpkg returned an error code (1)In this case, you will need to run this command on behalf of the superuser
echo PURGE | sudo debconf-communicate trueconf-serverThis will clear the package settings data stored in the OS. For more details, refer to the official documentation.
Then restart the installation process from the first step.
Unable to access the control panel
If you are unable to access the TrueConf Server control panel after installation, this problem may occur due to multiple reasons:
You are trying to access the control panel which is outside the local network (e.g., the server was installed on VPS).
The user, on whose behalf you are trying to sign in, does not have required permissions (please note that it has to be the OS user added to the corresponding group).
on CentOS Stream, if the password for the OS user (administrator TrueConf Server) has been changed, you will need to execute the command:
sudo setfacl -m u:trueconf:r /etc/shadowWe have detailed instructions on how to resolve the issue with accessing the admin panel in our knowledge base.
What is the default administrator login and password?
An existing system account is used for accessing the TrueConf Server control panel, no new accounts are created during installation. Access is controlled by adding the selected OS accounts to a specific group. To learn more, refer to the description of control panel access settings.