
Working with the server API
Working with the server API
The features of TrueConf Server can be extended with the RESTful API available in all versions, including the free one.
How API and OAuth 2.0 work
Section API → OAuth2 is designed for managing applications or services that work with the TrueConf Server API. Access management is conducted according to the OAuth 2.0 authorization protocol, which you can read more about in the official RFC 6749 documentation, as well as in the inset below.
Oauth 2.0 is used to authorize certain applications (clients) to access protected resources with limited scopes and rights. With this approach, you can block a particular application or a user from the server resources at any given period of time. The protocol also allows you to authorize third-party applications and do actions on the server on behalf of the user via API. In this case, the user does not need to give their username or password to any third-party application (Authorization Code method).
After authorization on TrueConf Server using OAuth 2.0 protocol, every third-party application obtains an access token. Those applications with a valid access token can access TrueConf Server API. The list of API commands can be found in API documentation. TrueConf Server administrator can manage third-party application permissions and access tokens obtained via this section.
Examples of working with the API can be found on our blog.
After successful authorization, the application receives access token with a limited lifespan and scope (server wide or limited to a specific user). For example, server wide scope gives information about any conference on the server, while user’s scope provides the information only about those conferences where the user is the conference owner or a listed participant. The scope is defined by the authorization type selected by a third-party application developer, while permissions set (rights) are determined by TrueConf Server administrator for every application.
When requesting an access token, it is required to indicate Application ID and Secret. These parameters can be obtained and updated by creating or editing the application in this section. Application ID is created automatically and cannot be changed later. By contrast, application secret can be further regenerated.
| OAuth 2.0 Authorization Method | Access Key Scope | Authorization Result |
|---|---|---|
| Client Credentials The application receives an access key whose scope is not limited by any specific user data. User authorization is not required. It is recommended to use only for trusted applications. | Unlimited. | An access token with a lifespan of 1 hour is issued. |
| User Credentials (also known as Resource Owner Password Credentials Grant) To obtain the access token, you need to provide the user's login and password acquired on the application side. | Restricted to the visibility of the authorized user. | An access key is issued for 1 hour, along with a refresh token for 7 days. |
| Authorization Code The access token is issued after the user self-authenticates on the server side. The application does not have access to the user's login and password. | Restricted to the visibility of the authorized user. | An access key is issued for 1 hour, along with an access renewal key for 7 days. |
| Refresh Token This authorization method allows you to obtain a new access token based on the existing refresh token. | It is restricted to the visibility scope of the user who was issued the access renewal key. | A new access key is issued for 1 hour. It cannot be renewed using this method. |
Permissions
API capabilities of a third-party application depend on the permissions it obtained.
The list of permissions expands with each new version of the API as new features are added to the video conferencing server. Refer to the API documentation for the list of APIs available in each version.
In the TrueConf Server API documentation, each method specifies the set of permissions required for a successful call.
To add specific read/write permissions for certain entities, explicitly select the desired permission. For example, if you want your application to be able to read the user list, set users:read. Write permission does NOT automatically include read permission.
Specifics of selecting permissions for API v3.x
If an OAuth application requires both read and write access to a certain parameter, then you can specify a general permission <permission> instead of specifying <permission>:read and <permission>:write permissions, if it is available. For example, you don't need to click both users:read and users:write checkboxes to allow an application to read and edit TrueConf Server user accounts. Instead, you can select only the users checkbox.
Creating new OAuth 2.0 application
To add an OAuth 2.0 application:
Click Create a new application.
Enter its identifier in the Name field. It is only displayed in the application list.
To authorize using the Authorization Code method, specify the URL to redirect the application to in the Redirect URL field. For other authorization methods please indicate the following address
https://localhost/.In the Grant types list, specify the authorization methods that should be available to your OAuth application. You must select at least one type.
In the Permissions list, select the permissions required for your application.
Save the changes using the Create button.
Editing application
On the application page you can not only edit its properties but also view access token list obtained by the application’s users. You can remove user access tokens at any time to block particular user from accessing API data.
You can also Regenerate the application secret to block the application and its new users from accessing the server for security purposes. Please note that access tokens and refresh tokens obtained using previous application secret will still be valid within their lifespan.
Built-in API documentation
The built-in documentation on API v4 is available starting from the server version 5.5.3 and later.
Your server installation already includes built-in documentation for easy API use (just like this administrator guide). Your developers won't need to search for any guides online. They will be able to create scripts and applications with TrueConf Server APIs even when working within a private network.
The built-in API documentation is available at:
https://[server-address]/api/v4/docs/
where [server-address] is the IP or FQDN address of your server.
The built-in documentation supports testing mode for any request. To use this feature:
Generate a token for the OAuth 2.0 application with the required permissions (or use a token from section Web → Security for testing purposes).
Specify the token in section Introduction under block Bearer Token:
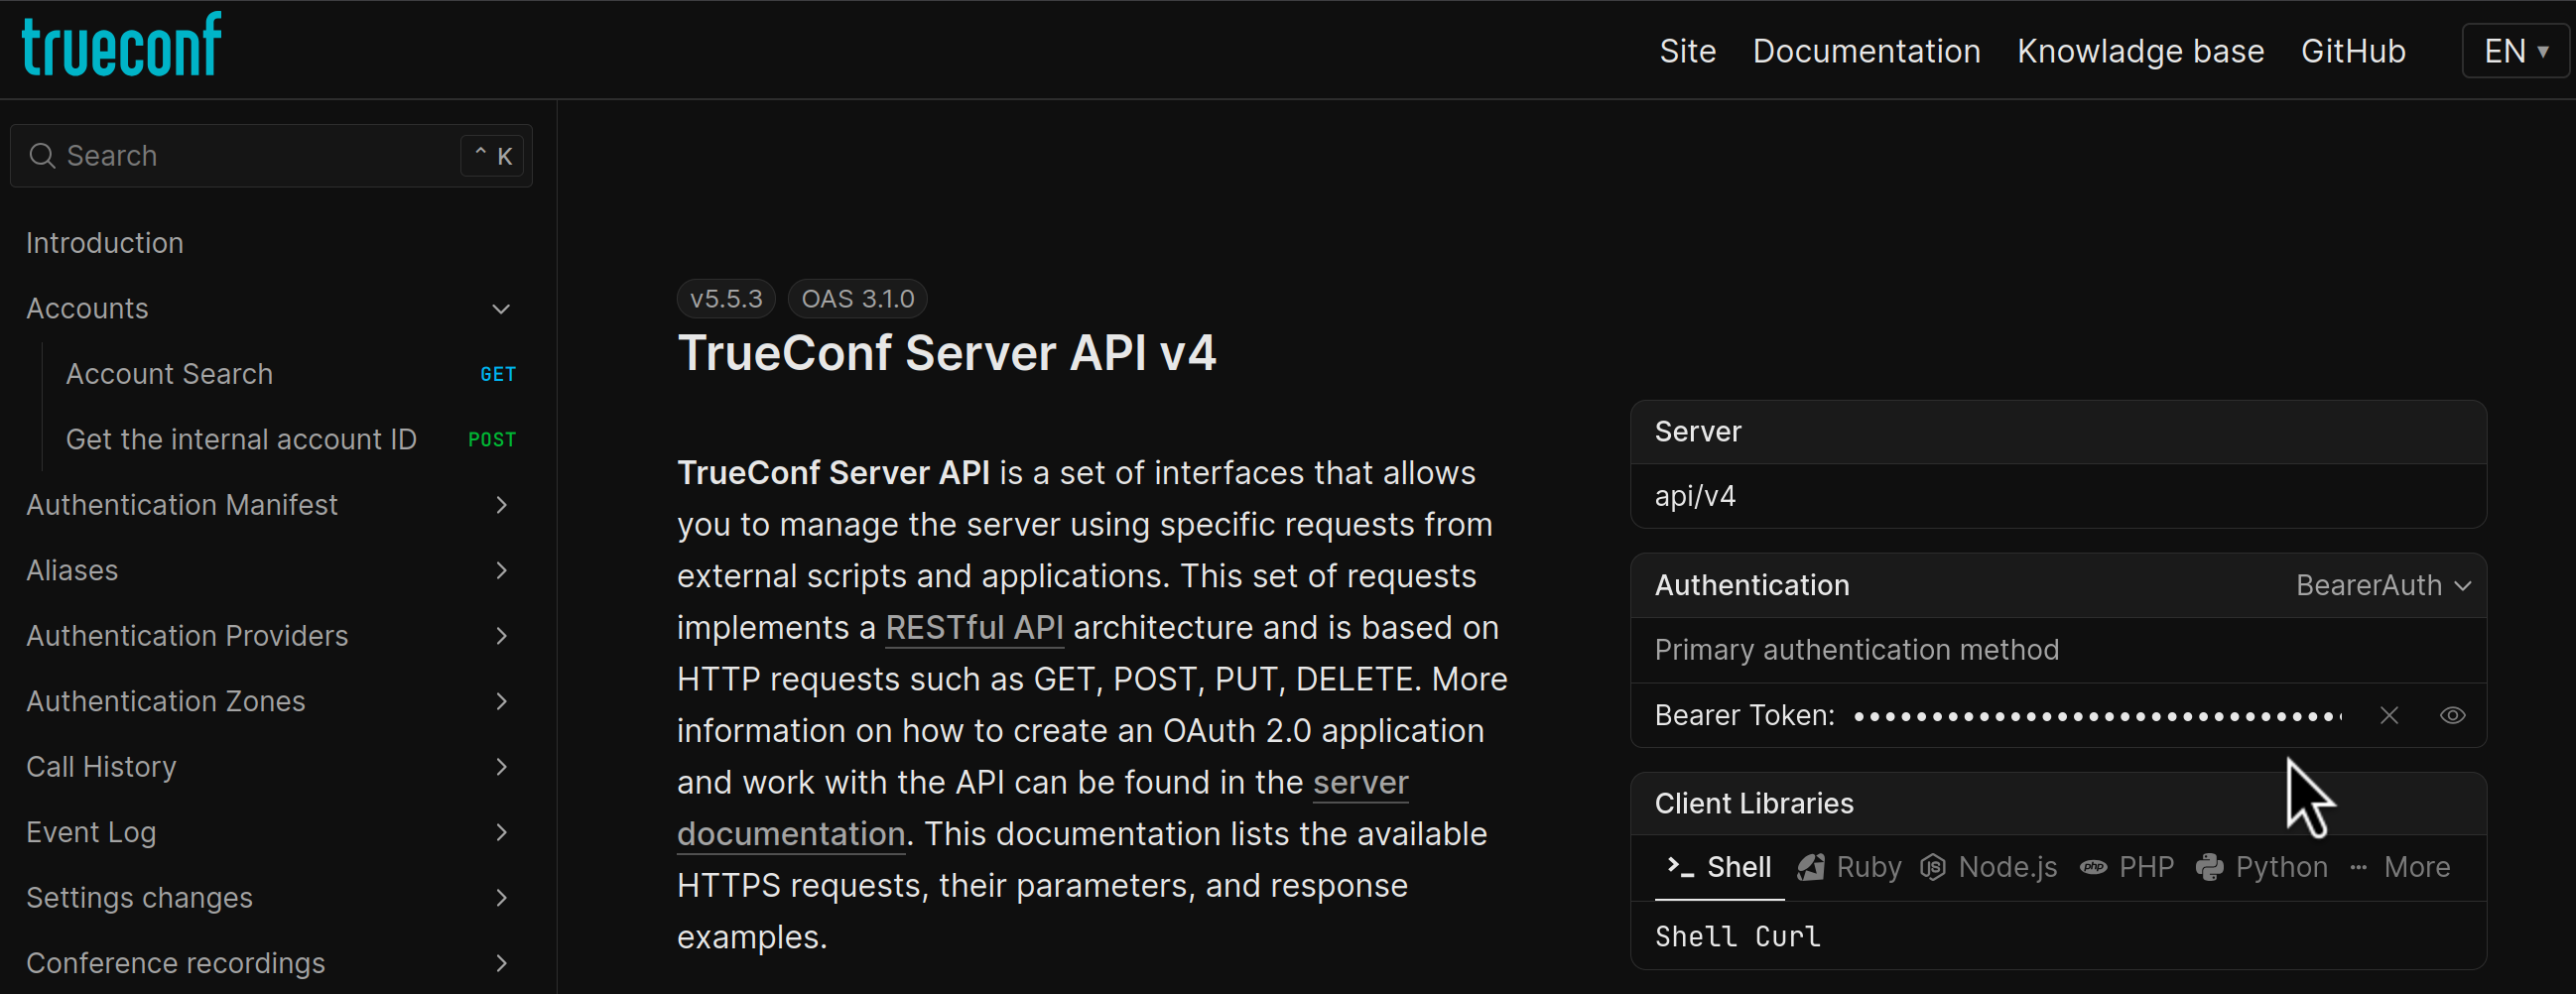
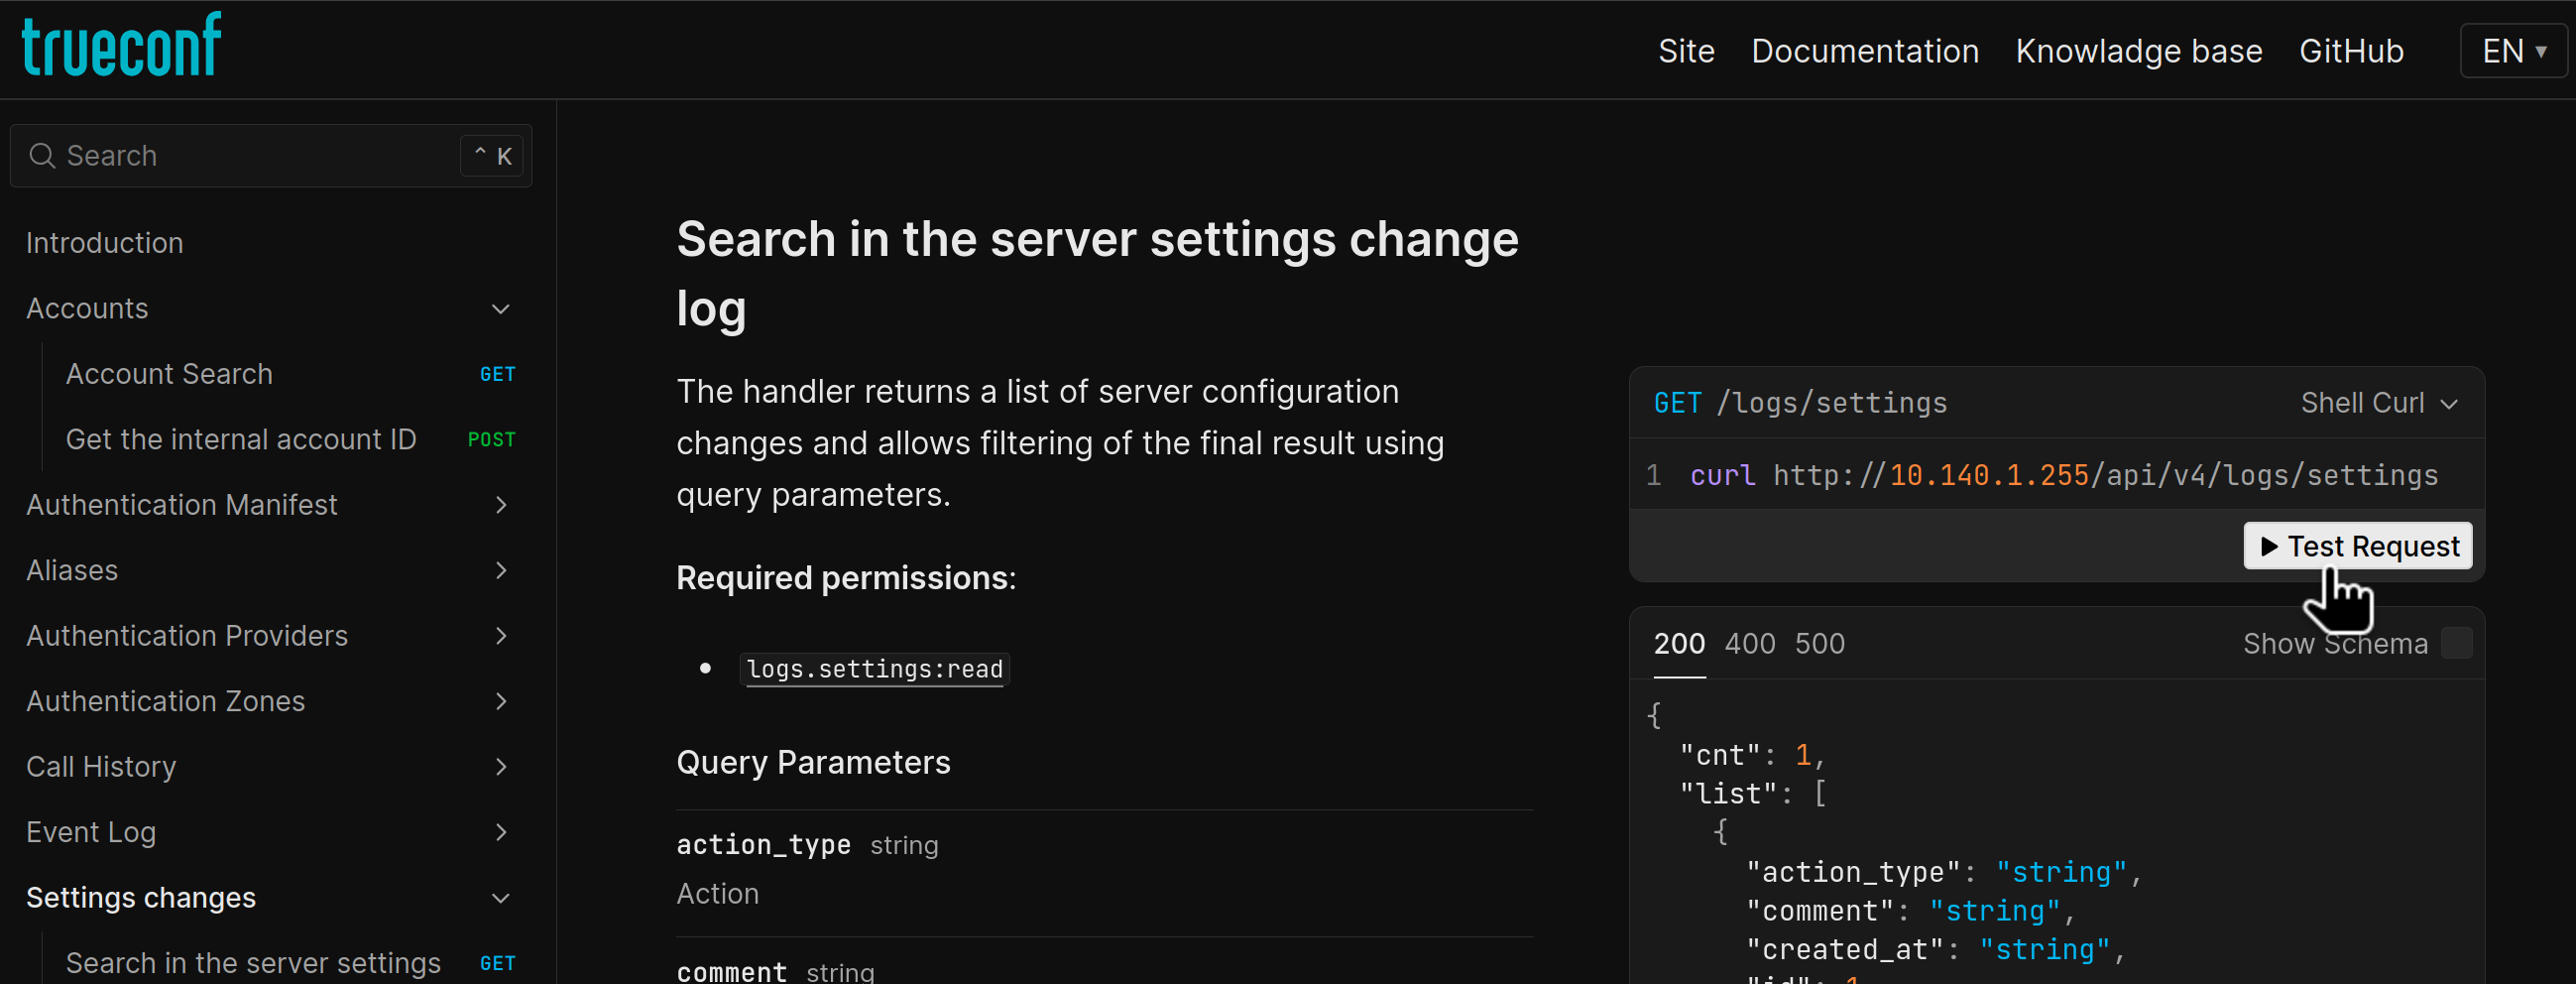
The token will now be remembered for the session duration of this page in the browser, allowing you to perform any request using the Test Request button:
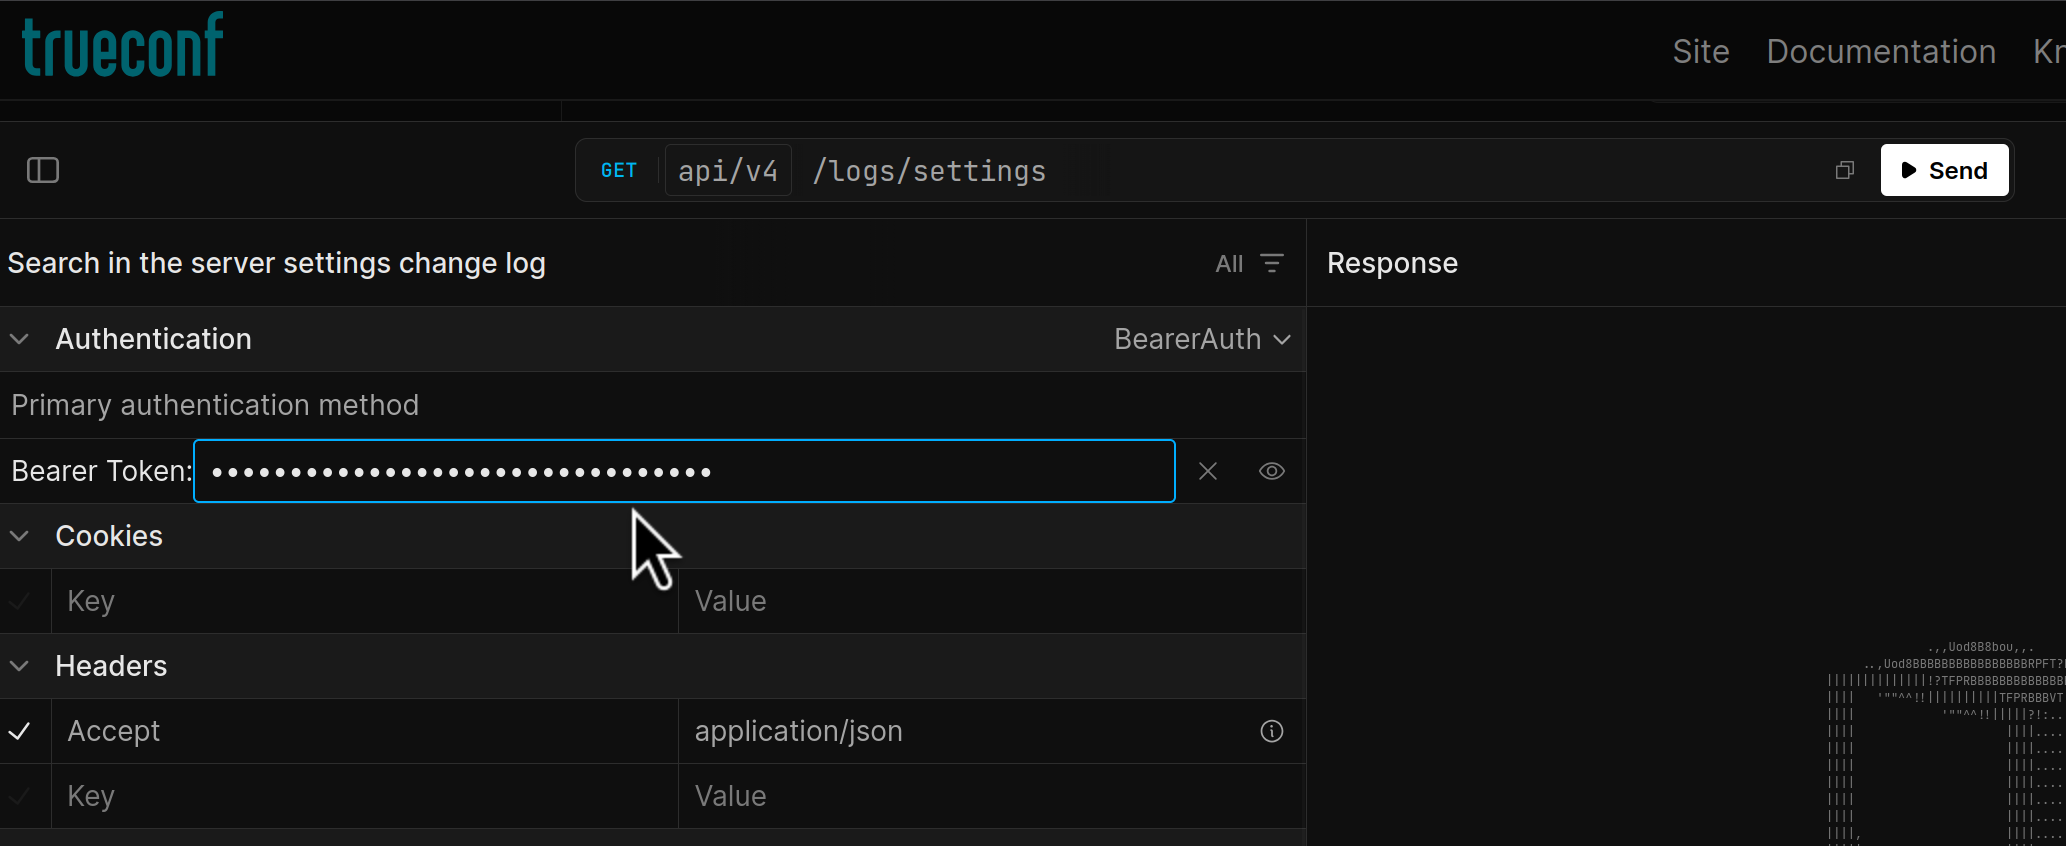
The token from Step 1 will also be remembered for all requests if specified in any request before sending:
When the page language is changed or when the page is refreshed, the API token specified for testing will be forgotten and will have to be re-entered. This is done for security reasons, the token is not stored in cookies.