Using the terminal during a conference
Using the terminal during a conference
During a call, press  on the remote control to open the side menu, where the following functions are available:
- Connection information – display information about signaling, video, and audio streams for transmission and reception.
- Record and streaming – recording the conference or streaming via one of the available protocols: RTMP, SAP, NDI.
- DTMF dialing – entering DTMF commands.
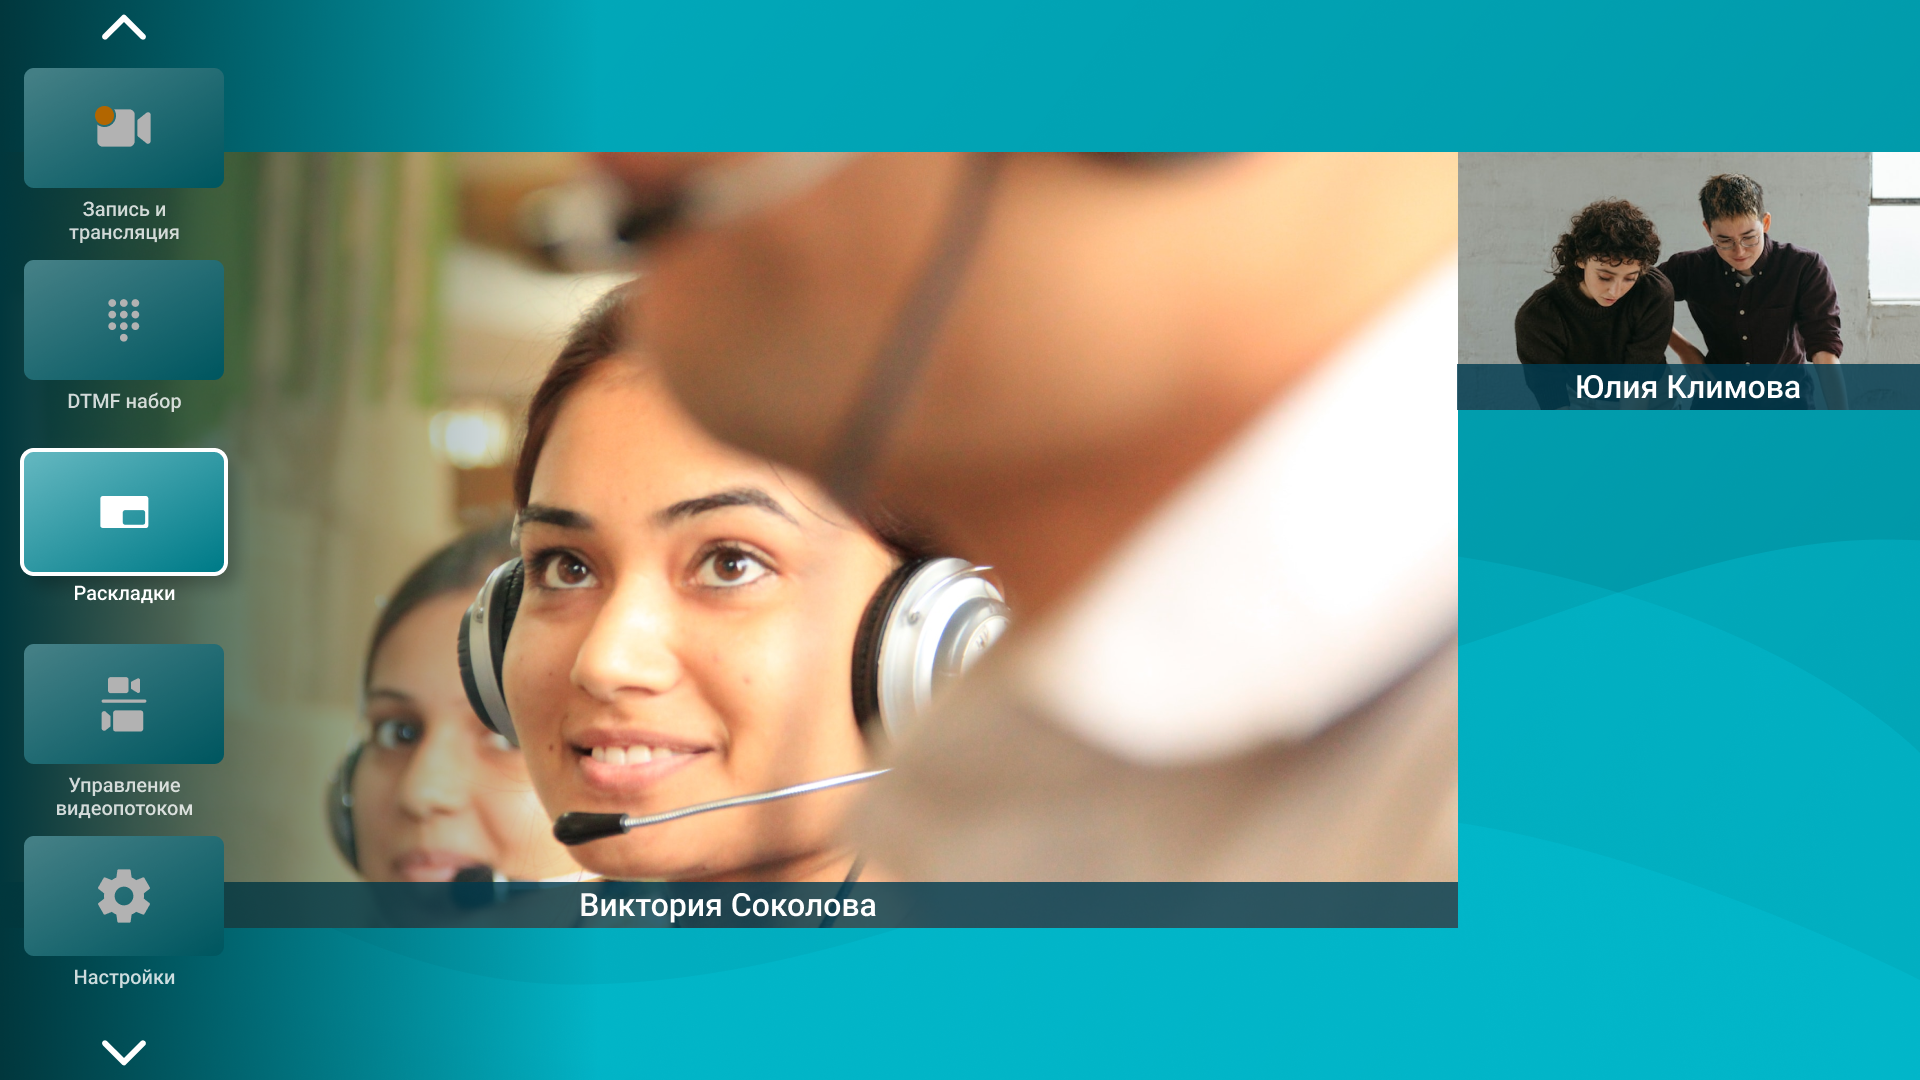
- Layouts - changing the current video layout.
- Select preset - selecting a camera angle from the available options.
- Spotlighted participant - Assigning the selected conference participant as a priority.
- Device management – managing connected devices.
- Selfview – enable or disable the display of your video.
- Video stream settings - control of the selected camera.
- Settings – display of codec settings interface.
Changing Devices
During a session, you can change the video transmission device in the video layout from TrueConf Group on the fly. To do this, press the button on the remote and select Device management. You can specify either another webcam connected to the terminal or one of the capture card inputs.
If you need to frequently switch cameras during a call, it is recommended for convenience to set up different angles on various cameras and switch between them using a tablet or the numeric keys on a remote control.
To change the microphone or speakers used by the terminal, press the button  on the remote and select the desired devices in the Settings → Devices → Audio section.
PTZ Camera Control
Camera Control
During a call, you can wait for the control menu to disappear or manually hide it using the menu button, after which you can control the camera using the arrows in the center of the remote and the zoom buttons.
You can switch between camera positions using the numeric keypad.
The administrator must set up the numbered presets for the PTZ camera, read more here.
Controlling the interlocutor's camera
When you press the Far/Near  button, the Video stream settings menu will open, allowing you to select the desired participant. The logic for controlling the participant's camera is similar to controlling your own.
Saving presets is unavailable to far-end PTZ cameras.
Recording
To start recording, press the button on the remote control and select Record and stream → Start recording from the menu that opens. An icon  will be displayed at the top of the terminal screen. To stop recording, go to the menu again using the button and press Recording and streaming → Stop recording.
Streaming
During a video call, you can start broadcasting to external streaming services using one of the pre-configured protocols: RTMP, SAP, NDI. To do this, press the control panel button, navigate to Recording and streaming in the menu that opens, and select the desired option. Once the broadcasting process has successfully started, an icon with the protocol name will appear at the top of the terminal screen.
DTMF dialing
Press on the remote to open the side menu. Find and select DTMF dialing, in the opened area you can send DTMF commands in various ways:
use the directional pad to select the desired number and press the center button;
use the numeric keypad (0-9) on the remote control.
Choosing a View
You can change the angle during the session by doing the following:
Press
on the remote control, then select Select preset in the opened menu.In the window that opens, set the desired angle using one of the following methods:
Select the angle using the directional pad and confirm your choice by pressing the center button.
Use the numeric keypad (0-9) to set the angle. If a number was assigned when creating the angle, the corresponding number will appear in the top left corner of the angle card.