
Endpoint interface
Endpoint interface
The concise and intuitive interface of the software built into TrueConf Videobar generally mirrors that of the TrueConf for Android TV client application. This makes it easy to start using the terminal without having to learn entirely new ways of interacting with the device. Changes only pertain to a few additional features, such as capturing content via HDMI.
Home page
The home page displays a QR code that you can share with your contacts to start a conversation. The user simply needs to scan it using the camera on their smartphone or tablet. Alternatively, you can scan it yourself to obtain and share a link to your profile.
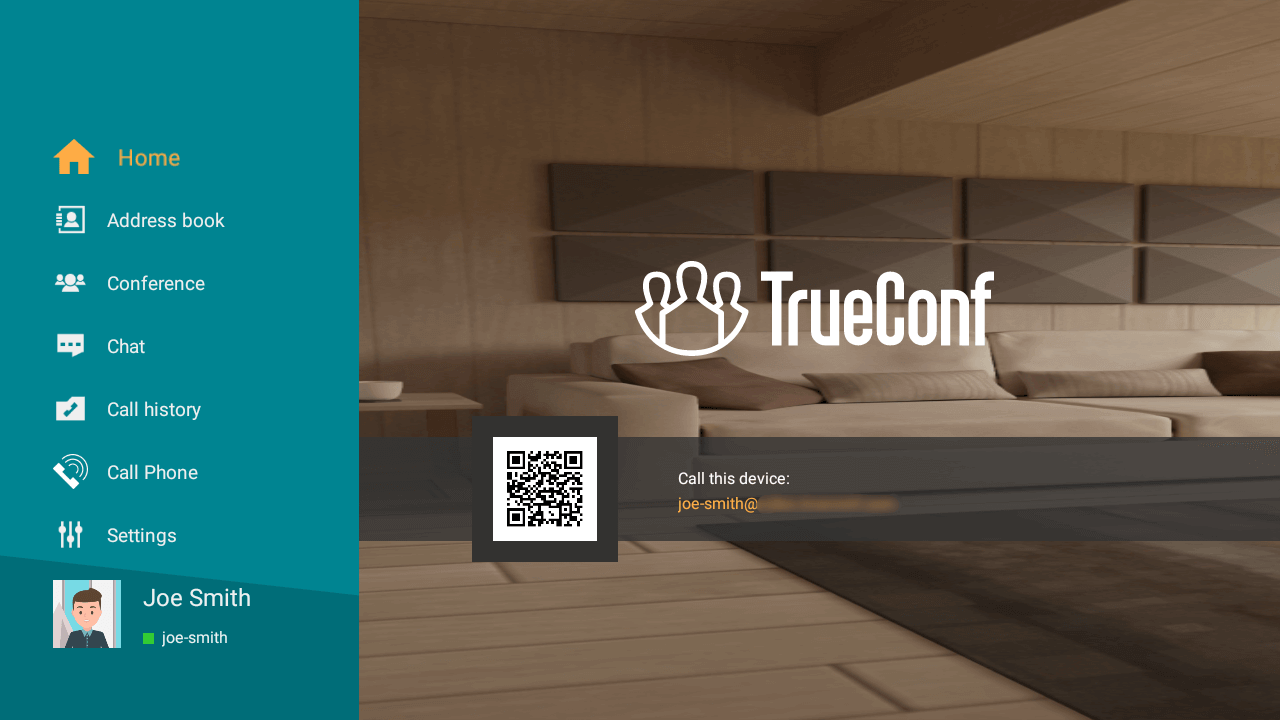
On the main page, an individual widget displays the image from your webcam, allowing you to check what your conversation partners see. You can open the widget by selecting your image and pressing button OK on the control panel. To return, press the back button  .
.
On the right side of the screen, you will find the  button to join a conference and the
  button to make a call via SIP/H.323/RTSP (streaming or IP camera) or phone.
On the left side, there is a sidebar menu that allows you to:
chat.
Equipment Management
On the terminal's main page, you can control the camera and microphone by navigating to the widget displaying your camera image. In the window that opens, you can:
control the microphone status by pressing
 ;
;control the camera state by pressing
 ;
;control the PTZ camera in a separate menu, to open it, click the
 button.
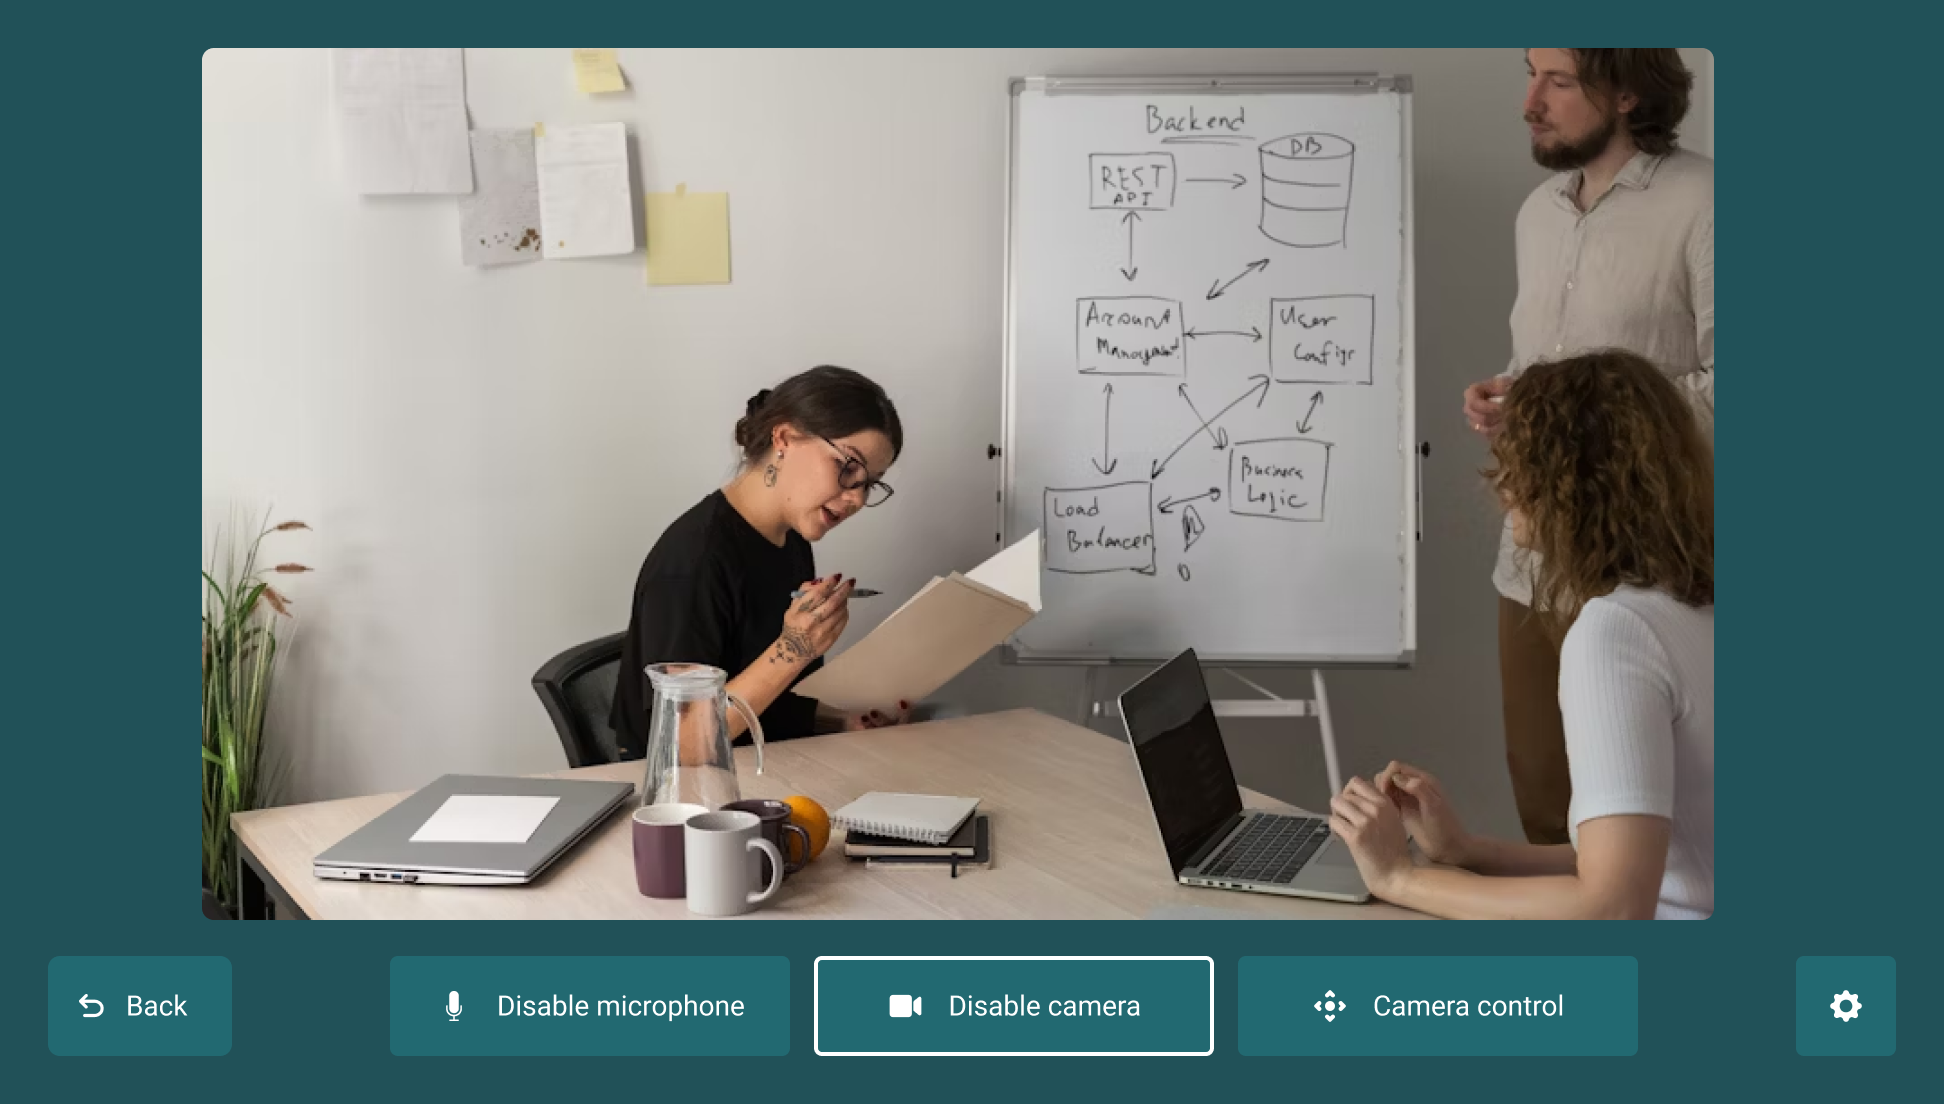
The equipment status will be preserved during an incoming call or conference invitation.
Contacts
When you navigate to the Contacts section, you will see a list of users in your address book, provided it has been pre-filled by you using one of the following methods:
in the client application;
in the user server personal area;
The administrator of your TrueConf Server might have also created an address book for you in the server control panel.
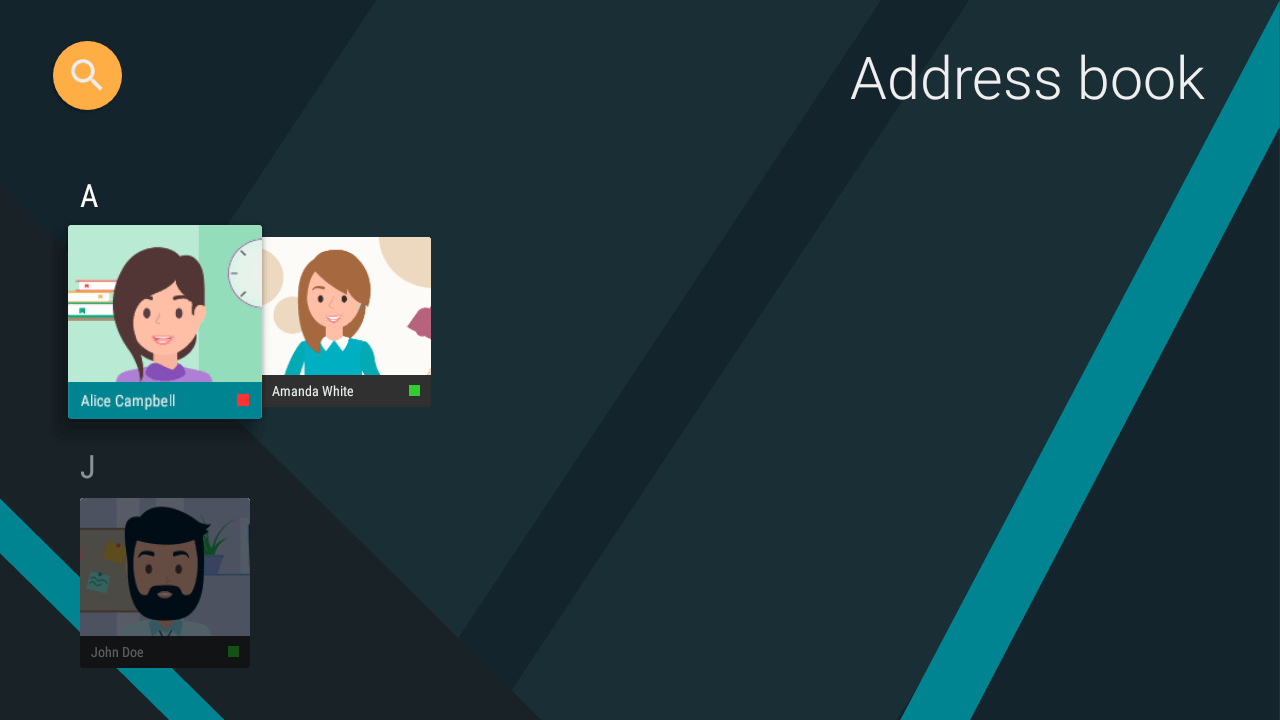
At the top of the screen, there is a  button for accessing the search bar. It allows you to quickly find a TrueConf user by their ID and navigate to their profile for further actions.
User profile
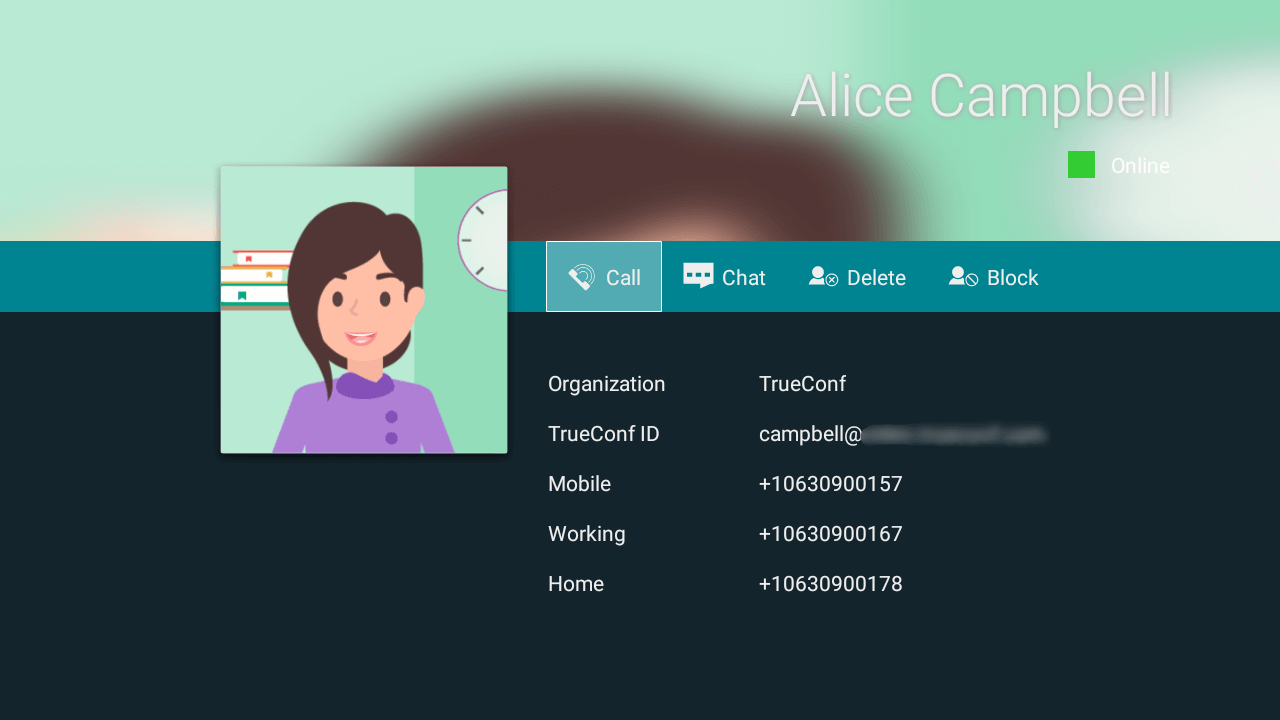
To view additional information about a user, select the user in the list and proceed to their profile. You’ll see the following information:
Full name
- TrueConf ID.
Status
Optional (if specified): company’s name and up to 3 phone numbers
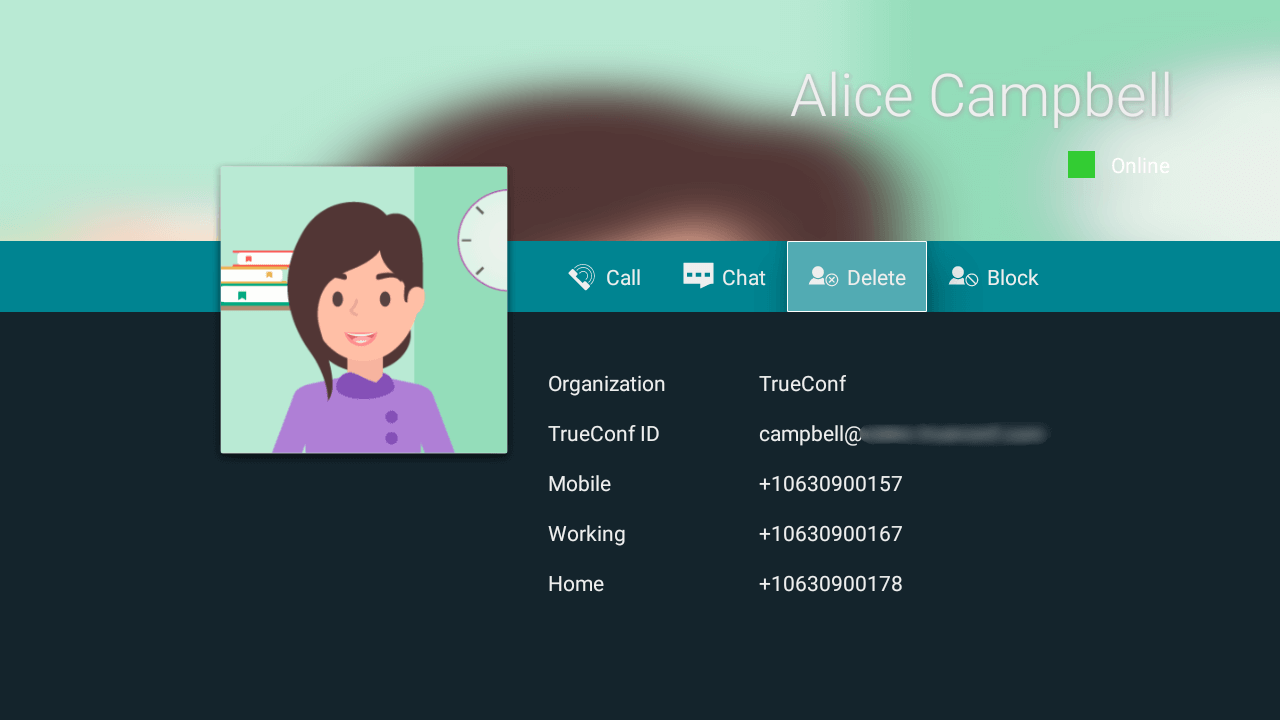
The user's profile also contains buttons for calling, navigating to chat, removing them from the address book, and blocking them.
Adding a new contact
If your address book is empty, you will see the Add user to contacts button. Clicking it will open a search bar to invite colleagues by TrueConf ID or email address.
Additionally, you can add a user directly during the conference.
Deleting a contact
To delete a user from the address book, proceed to the user profile and press the corresponding button:
Blocking a user
Sometimes it may be necessary to block certain users from contacting you. To do this, you can add them to the "blacklist" using the Block button in their profile:
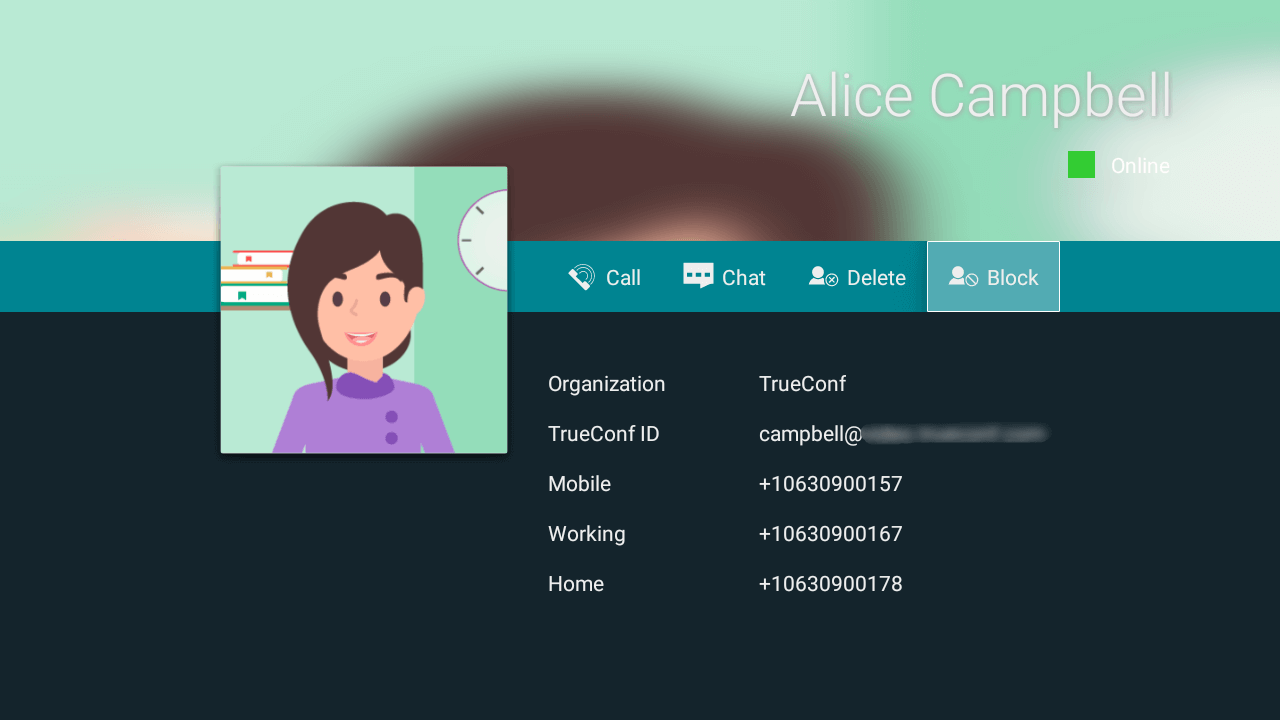
After this, you will still be able to see the blocked contact in your address book, make calls, and invite them to a conference, but you won't be able to send them messages. They, on the other hand, will not be able to call you, invite you to conferences, or send you chat messages. To unblock the user, use the appropriate button in their profile.
A blocked contact will also appear in the "blacklist" when you use client applications TrueConf.
Viewing your profile
You can view your details by navigating to the very top of the sidebar menu. When connected to the corporate TrueConf Server, you will see your TrueConf ID, company name, and phone number (if provided):
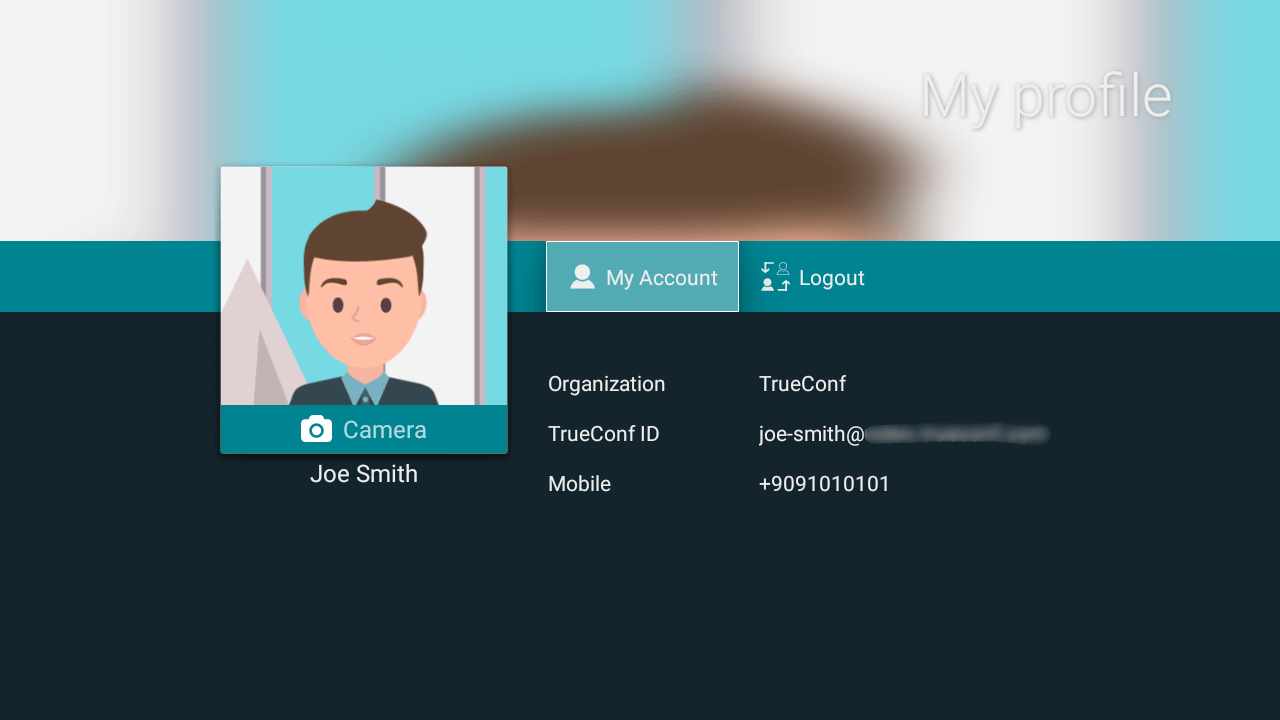
In your profile, you can:
Change your avatar by taking a picture with your webcam.
Go to your personal area.
Switch users, and the login TrueConf ID and password entry menu will open.
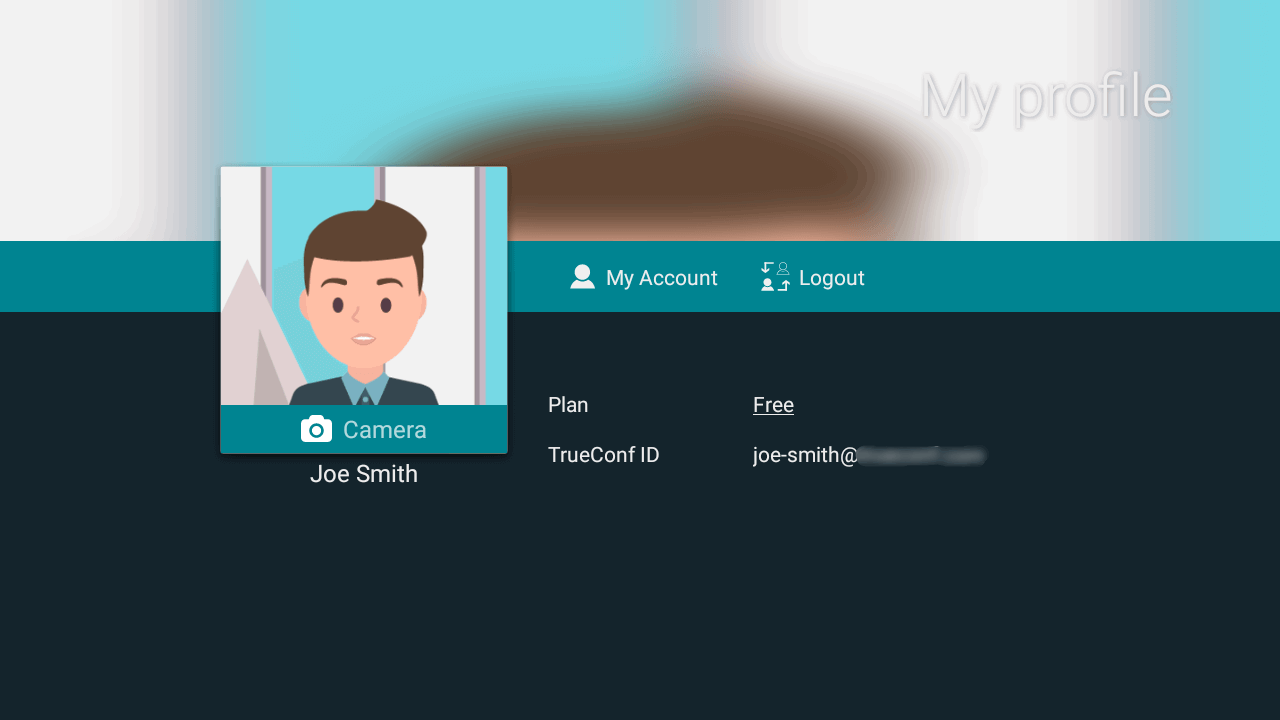
If you are using the TrueConf Online cloud service, you will see the name of your plan and TrueConf ID:
Offline Mode
If there is no internet connection or TrueConf Server, the terminal TrueConf Videobar will display the previously loaded call and chat history. This ensures access to information even when the connection is lost.
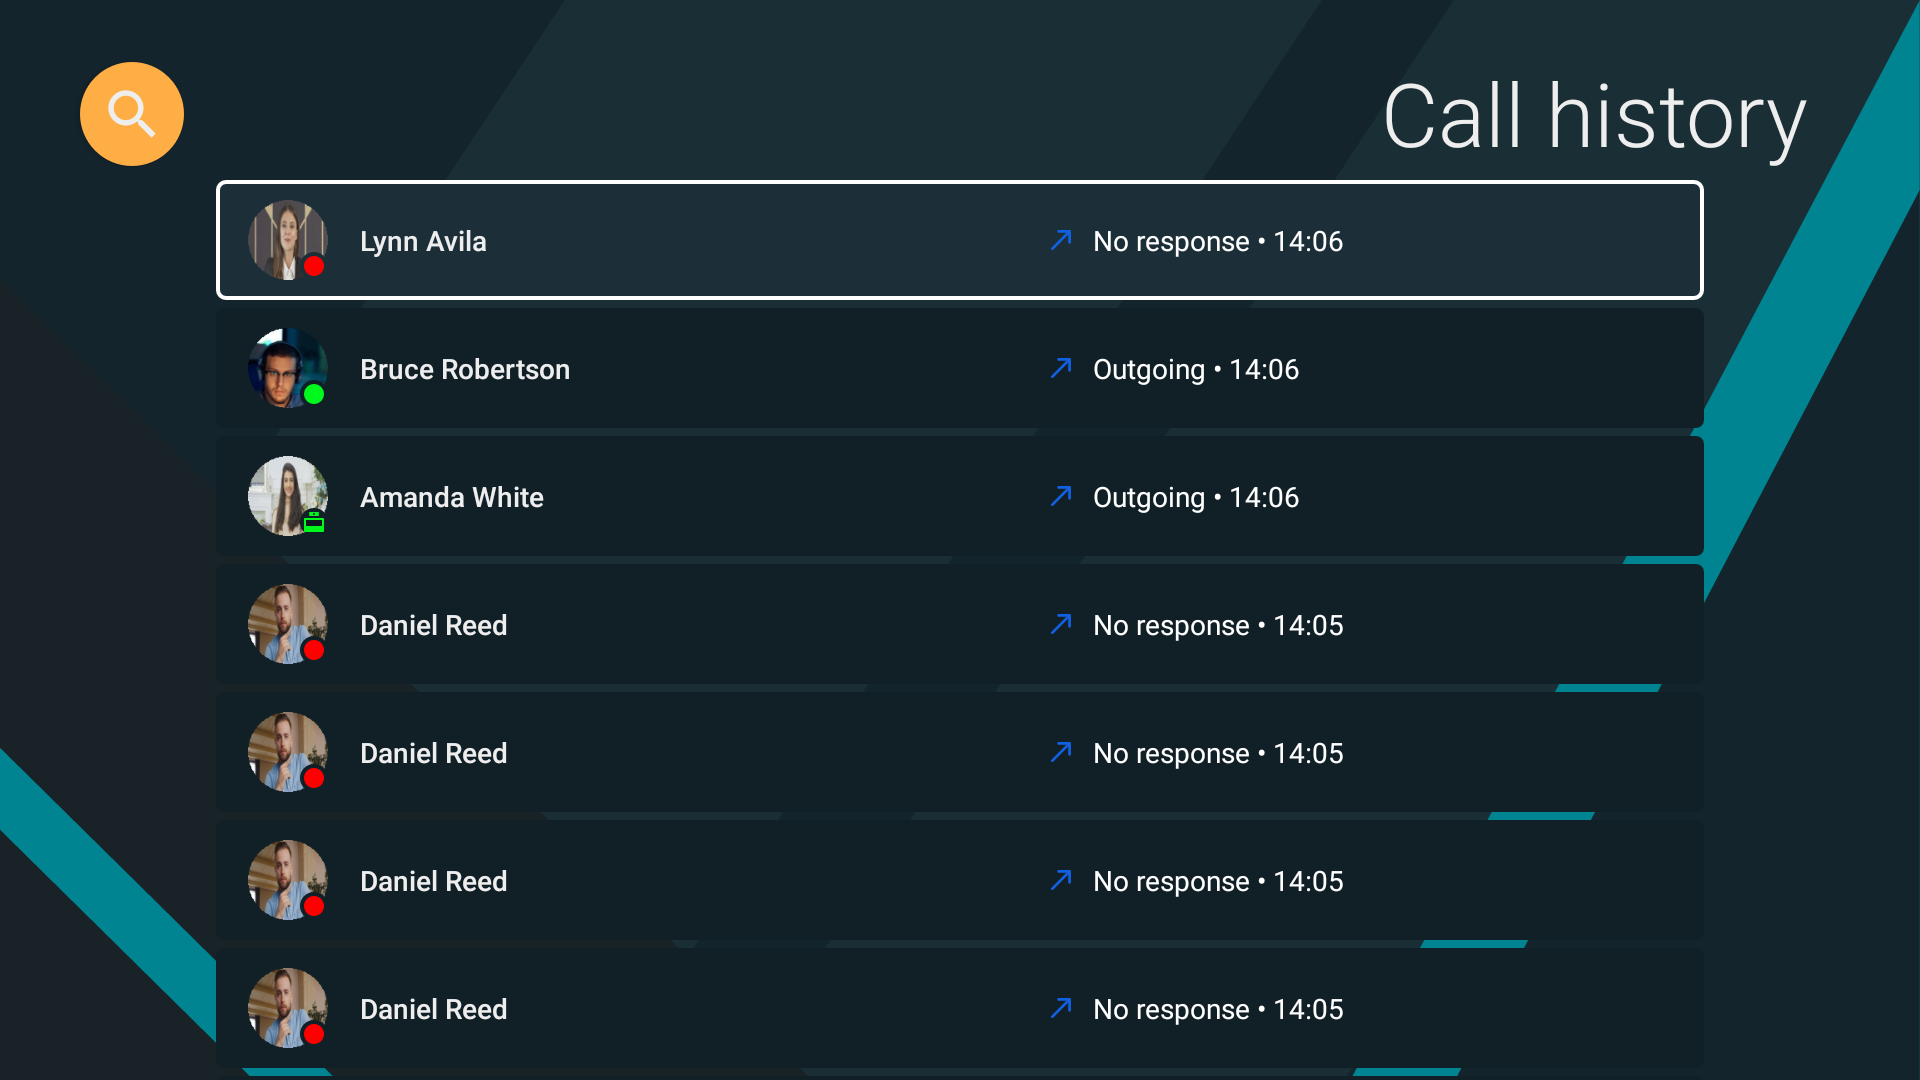
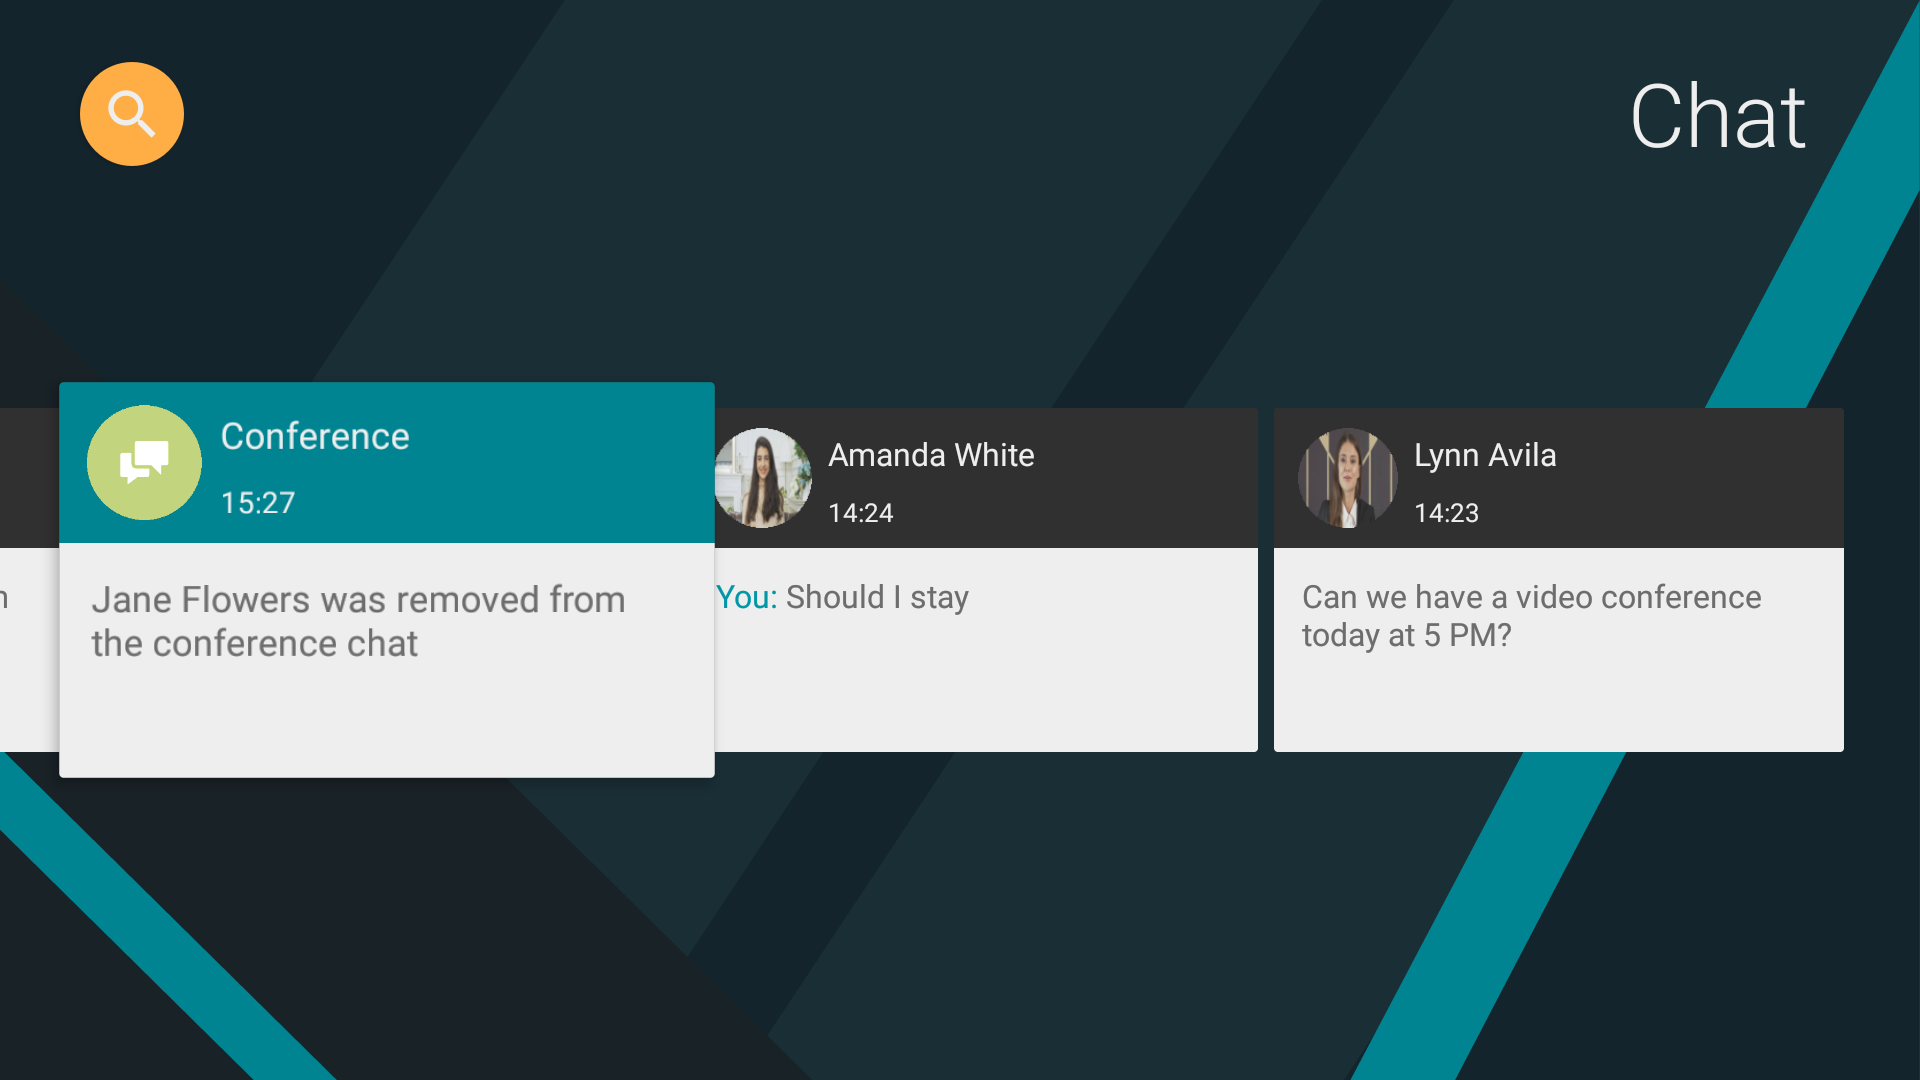
To exit offline mode, simply restore the connection to the server, and then TrueConf Videobar will automatically download the current call and chat history.