# Surveys
# How to create a poll
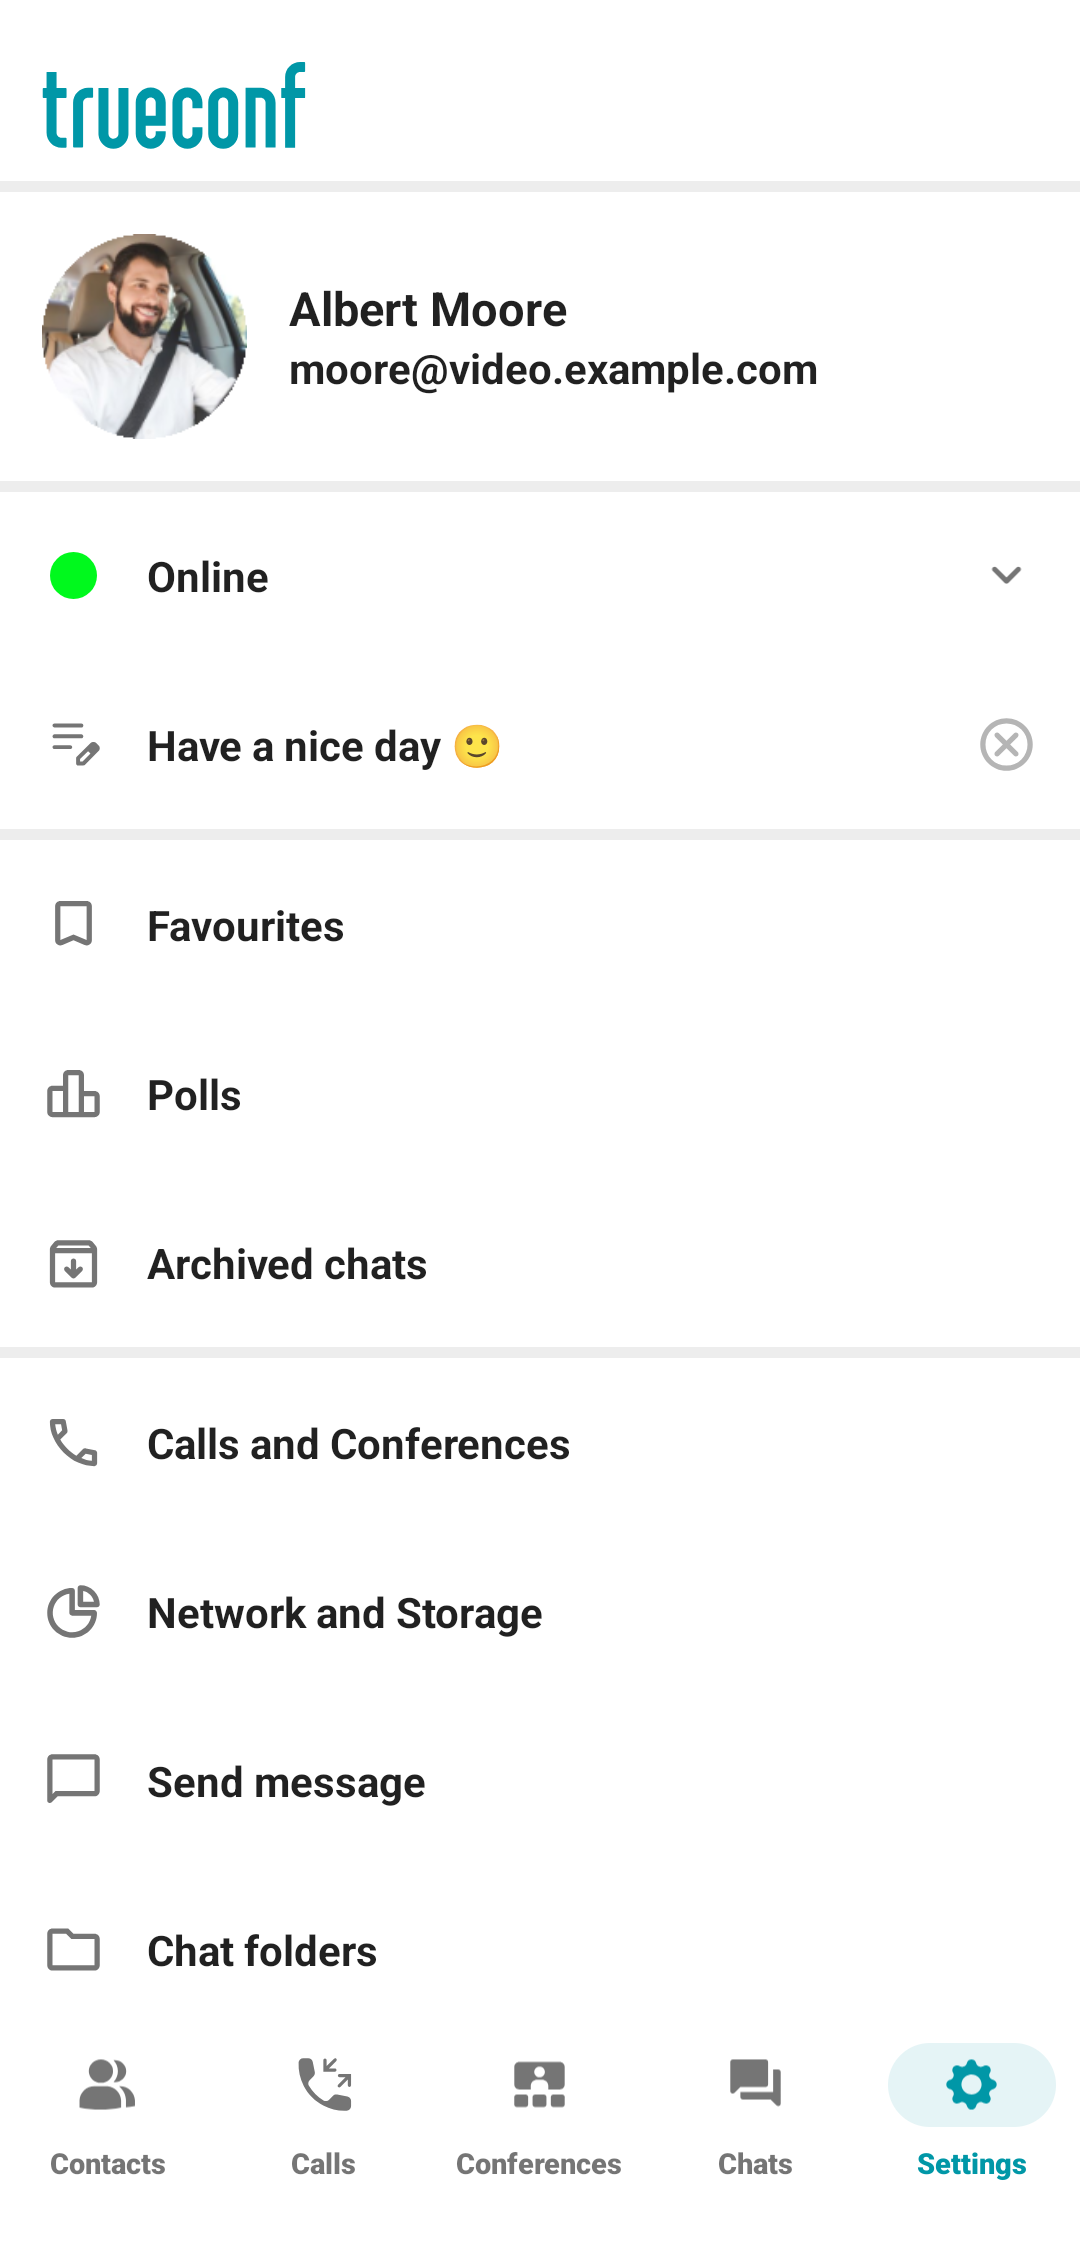
Surveys can be created, edited, and configured on the corresponding page. To do it, go to the Settings tab, then tap on Polls.
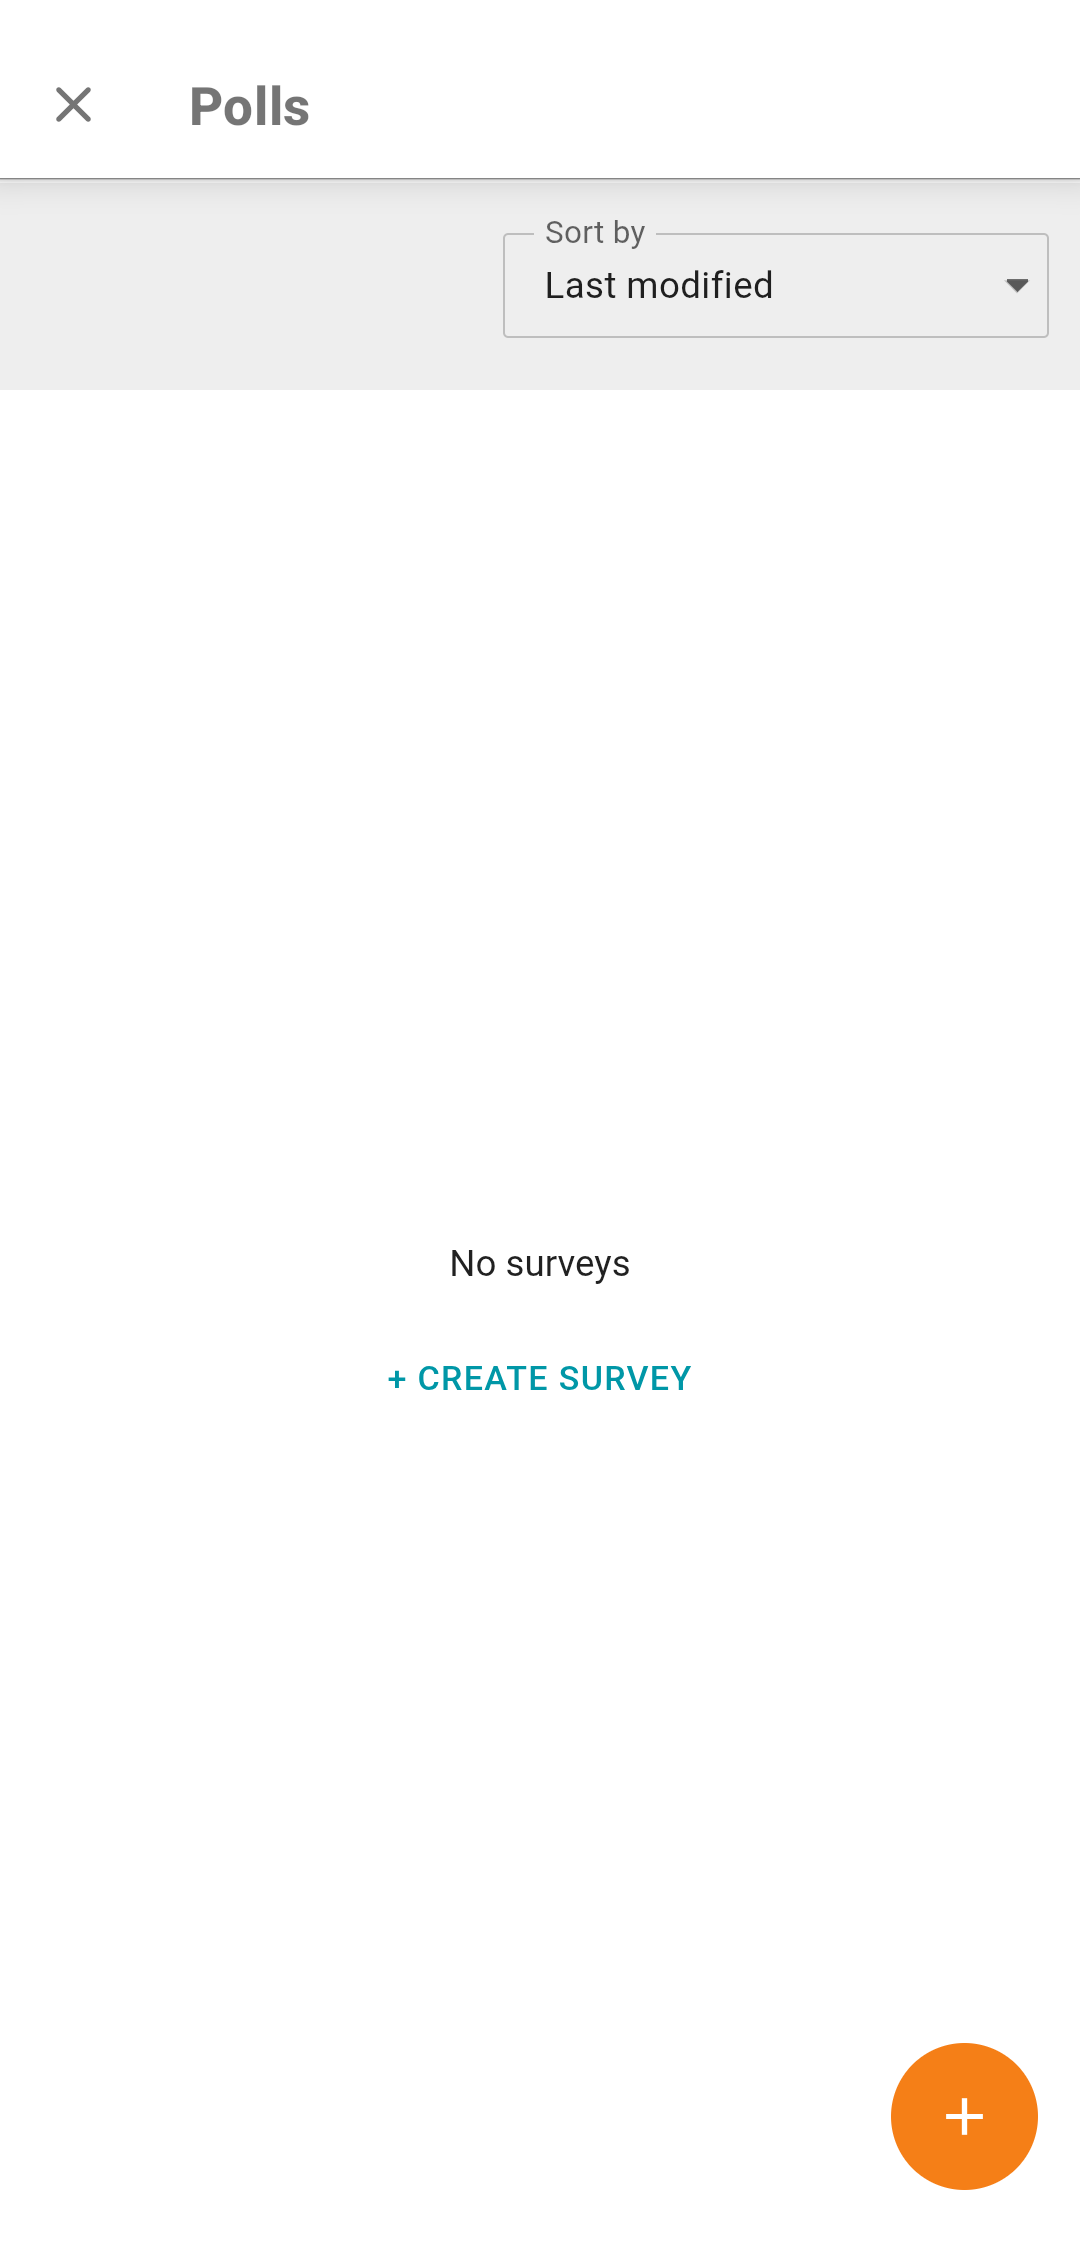
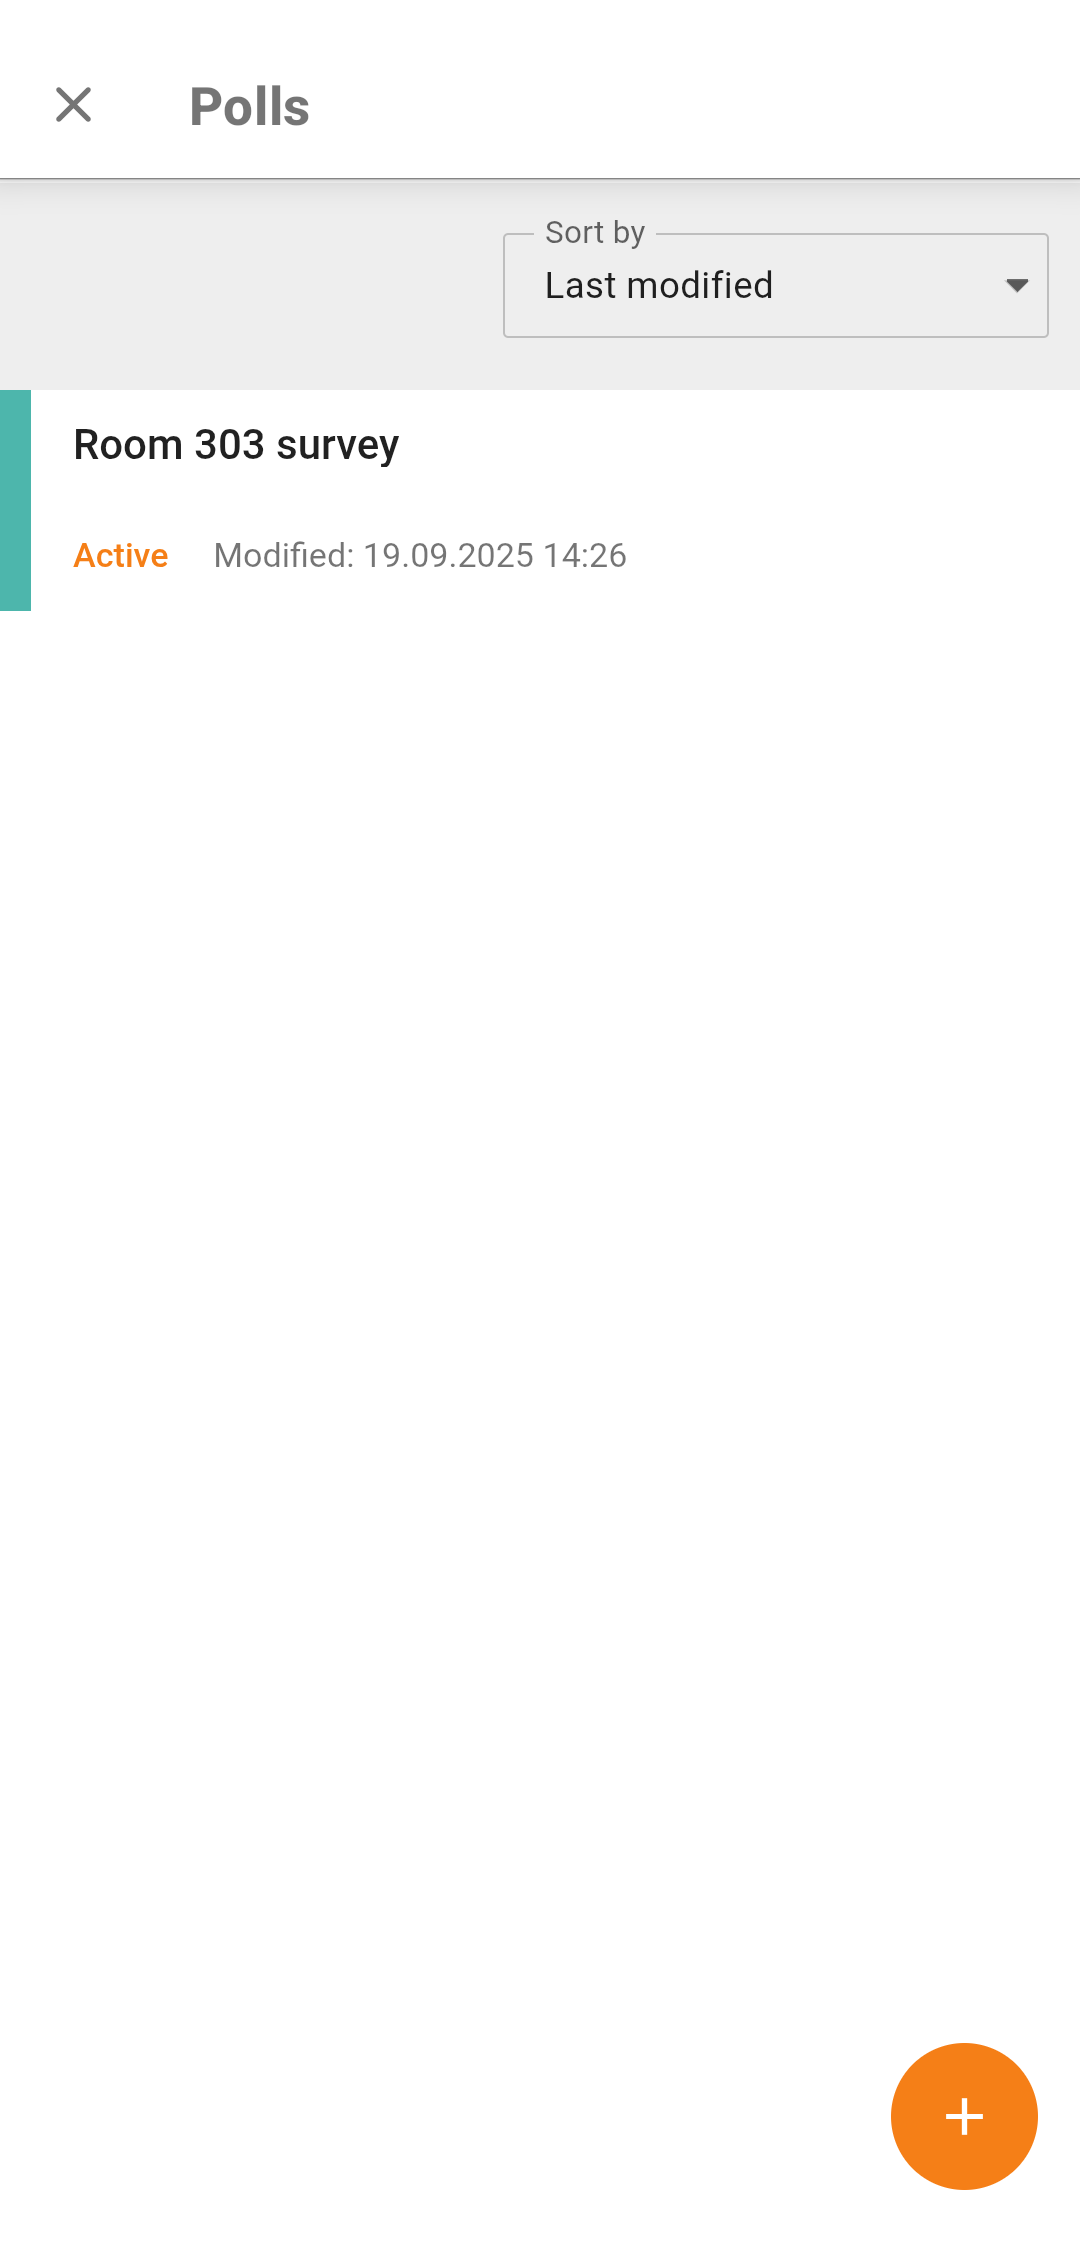
On the opened Polls page, tap Create survey or tap on ![]() .
.
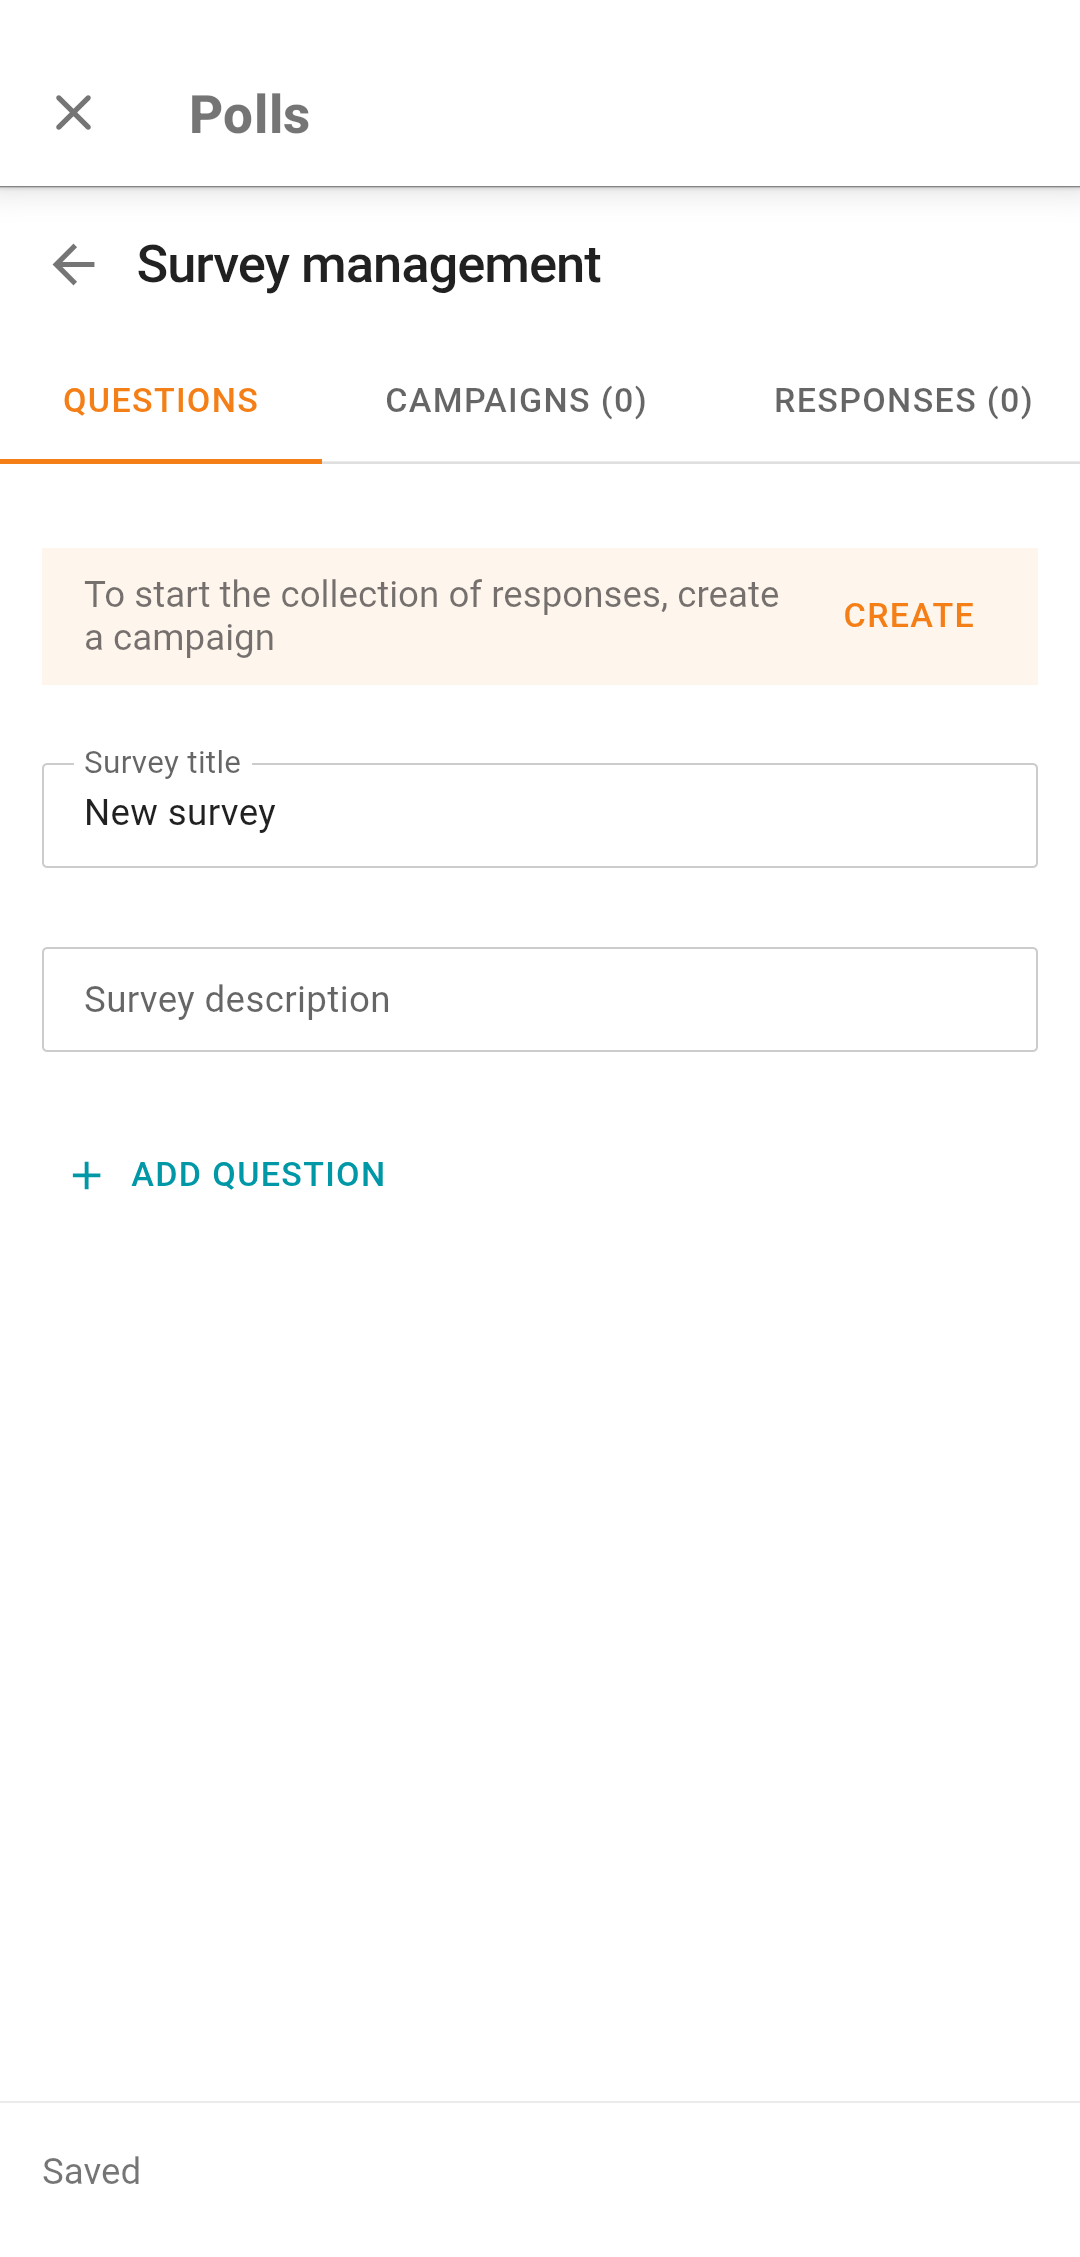
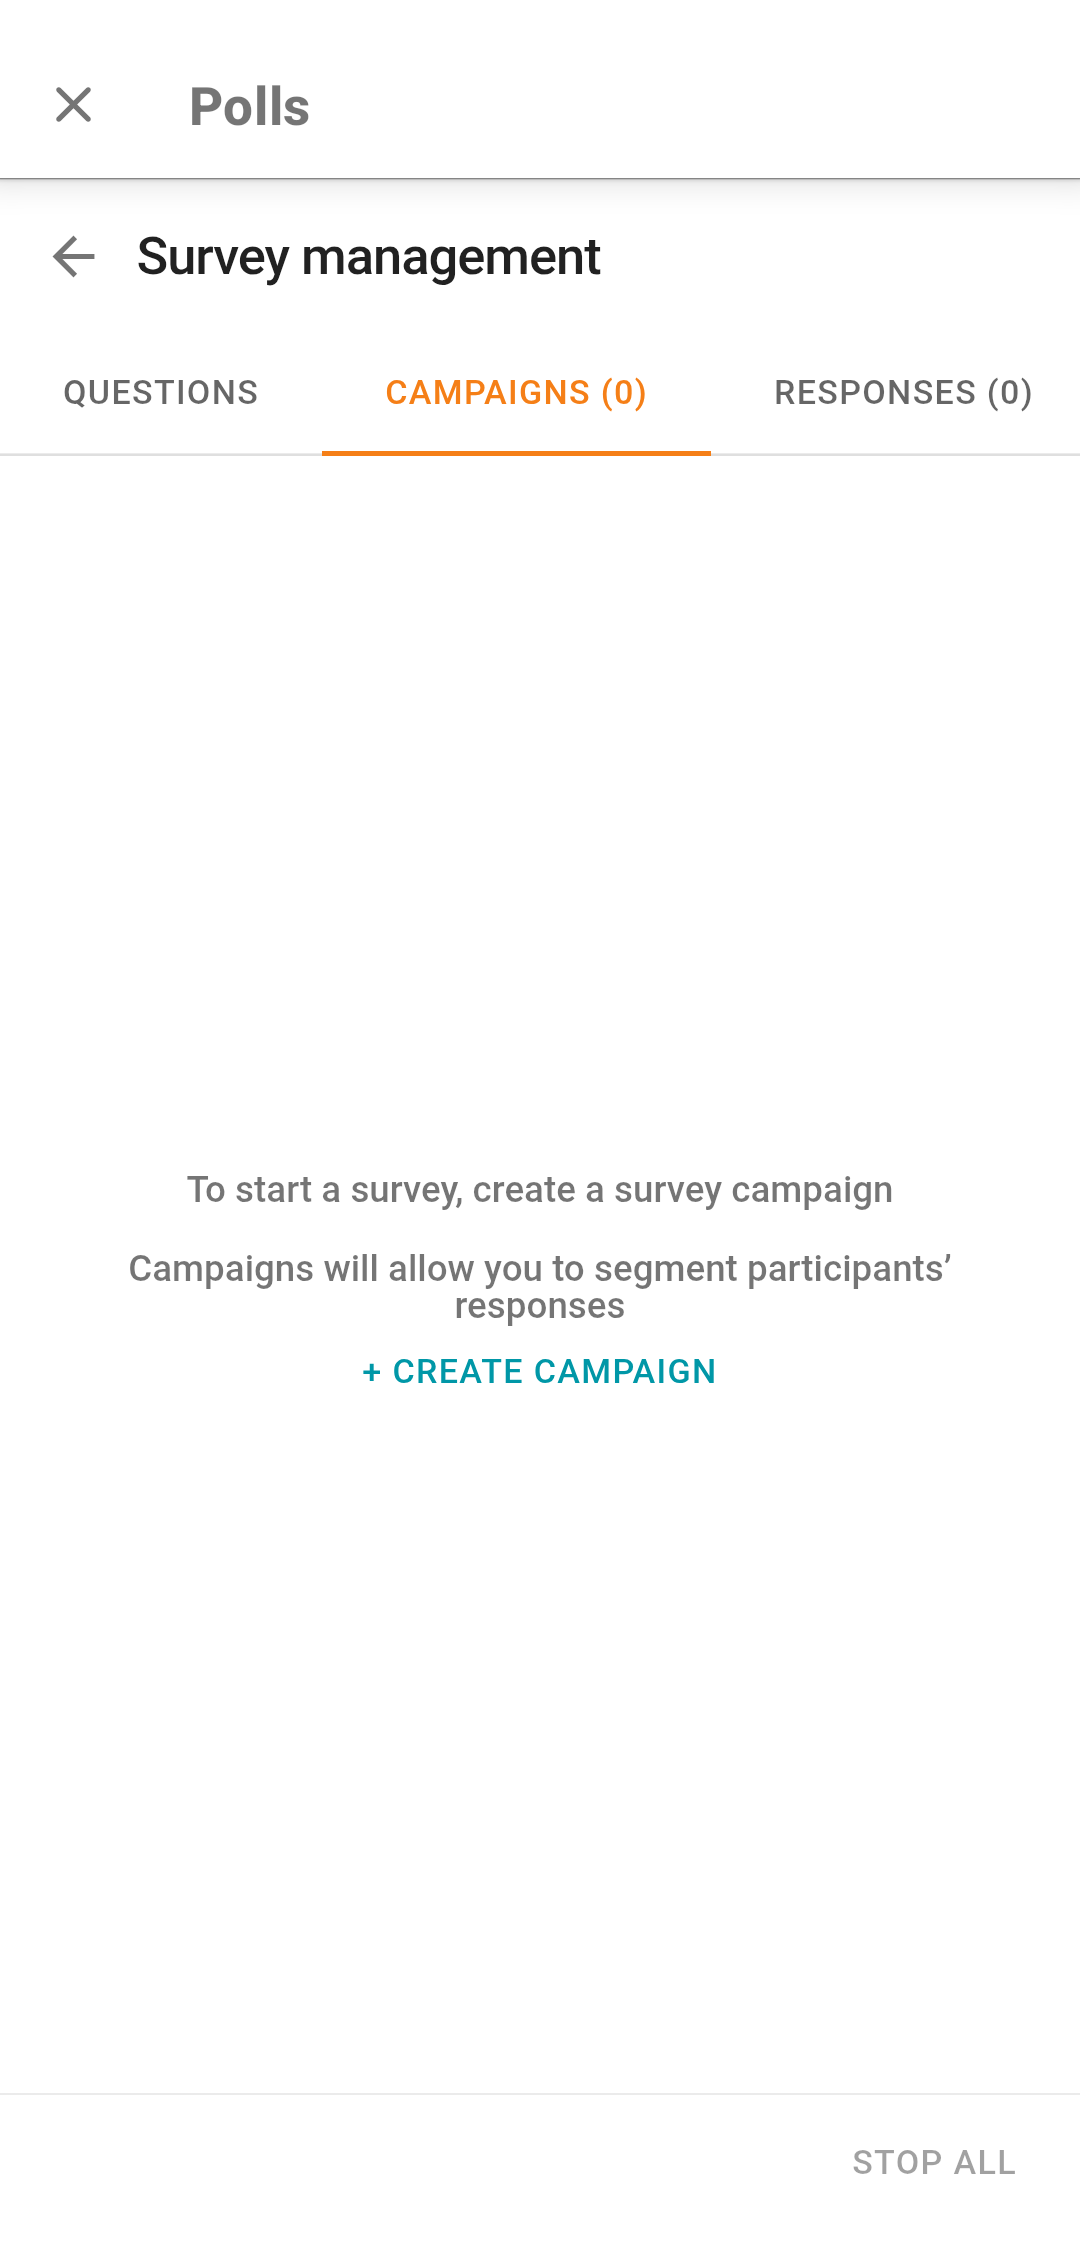
On the Survey management page, you will see three tabs: Questions, Campaigns, and Responses.
# How to add questions
On the Questions tab, add the title, description of the survey, and the list of questions (there can be more than one). For each question, specify its type, add answer options.
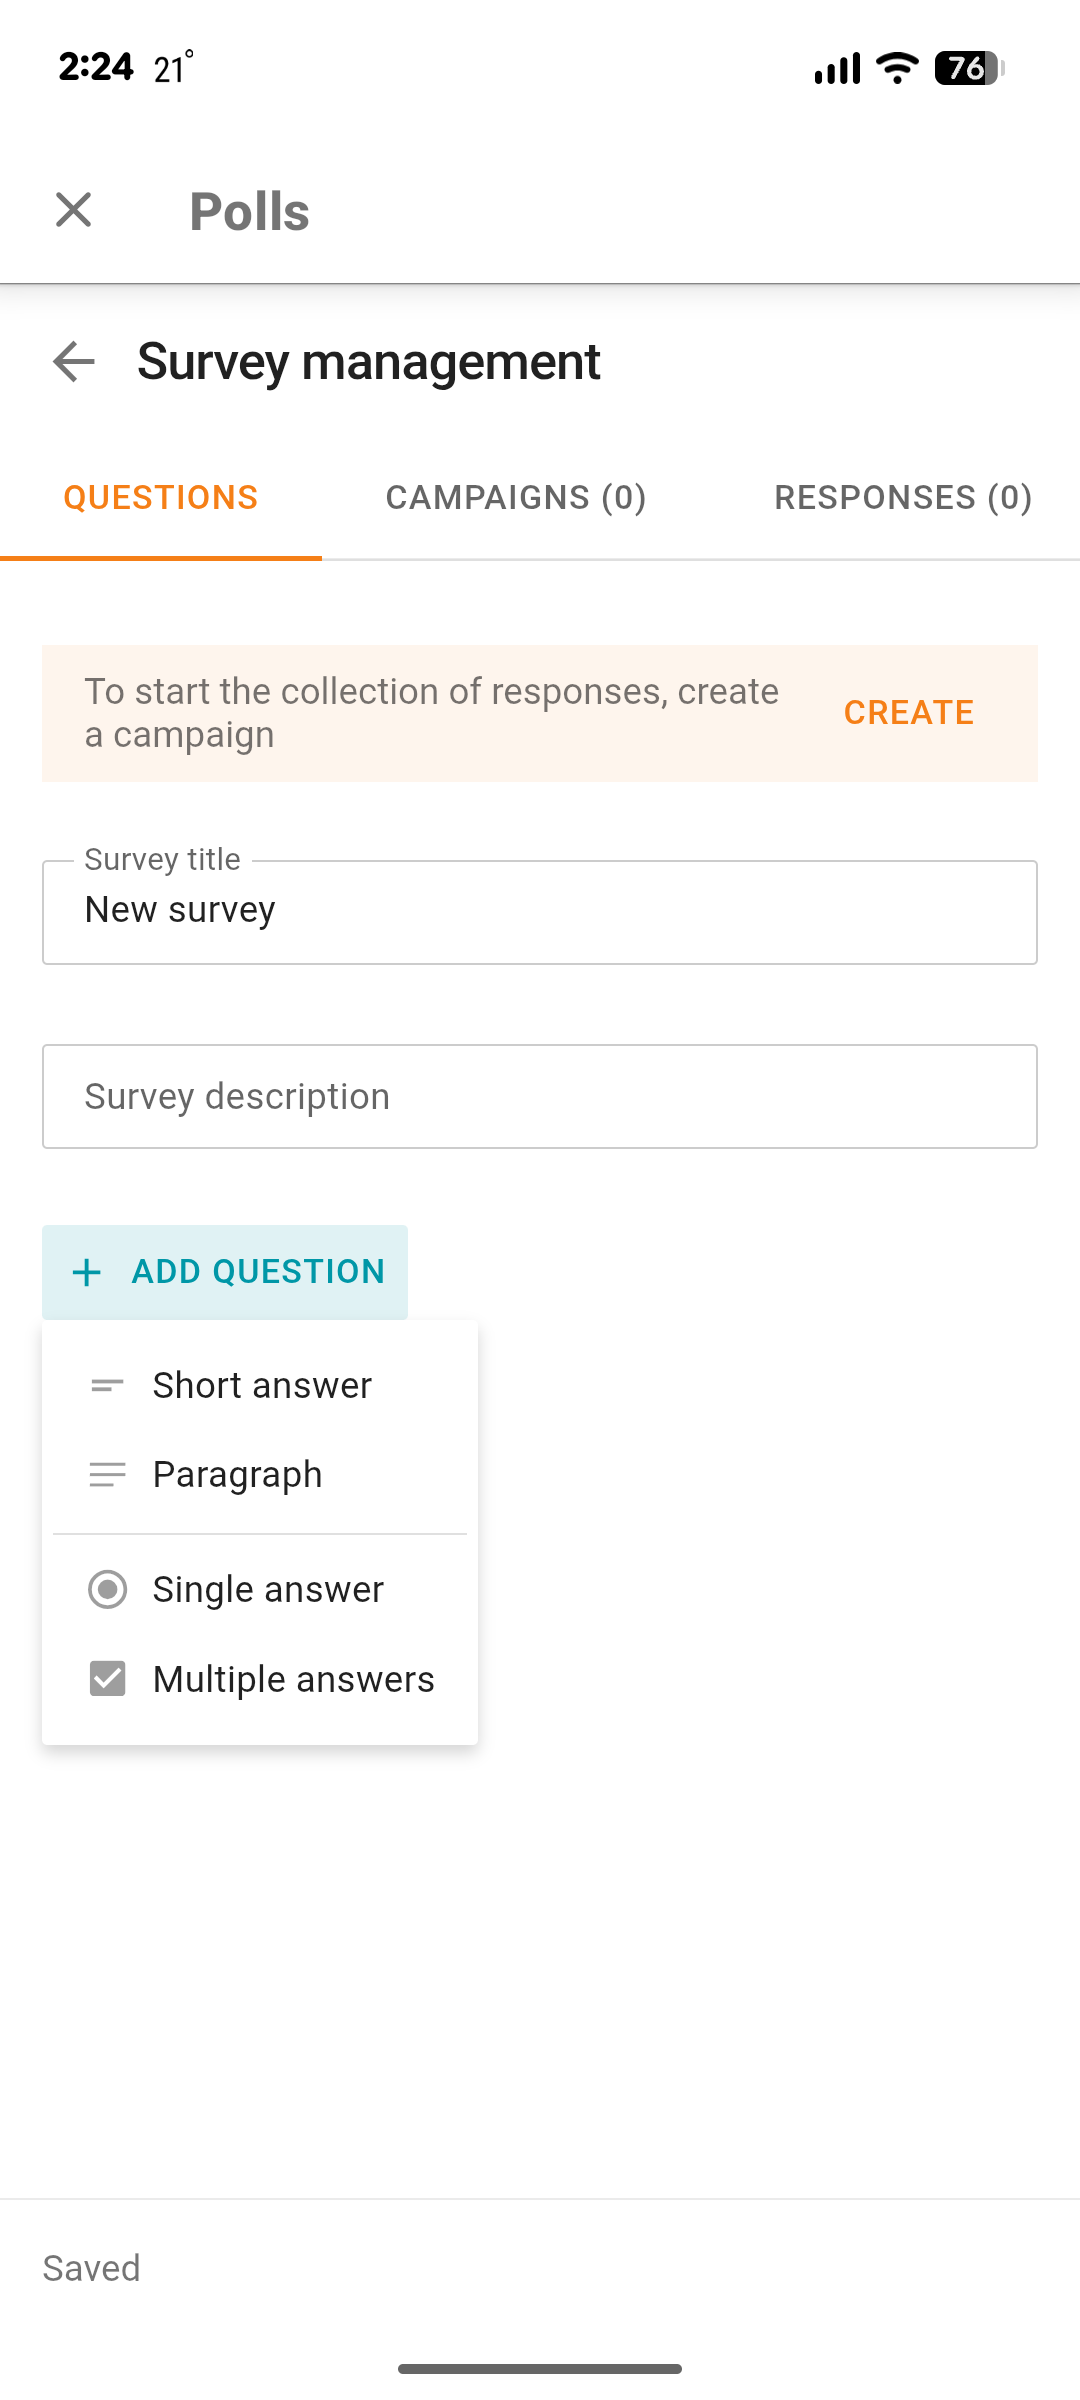
Tap the Add question button to create questions. Four types of questions are available:
Short answer —a short answer (up to 255 characters).
Paragraph — a longer free-form response (up to 4096 characters).
Single answer — only one of the available options can be selected in the response.
Multiple answers — multiple options can be selected at the same time.
To hold a survey, you will need to create at least one campaign as shown here. You can create a campaign either before or after adding questions.
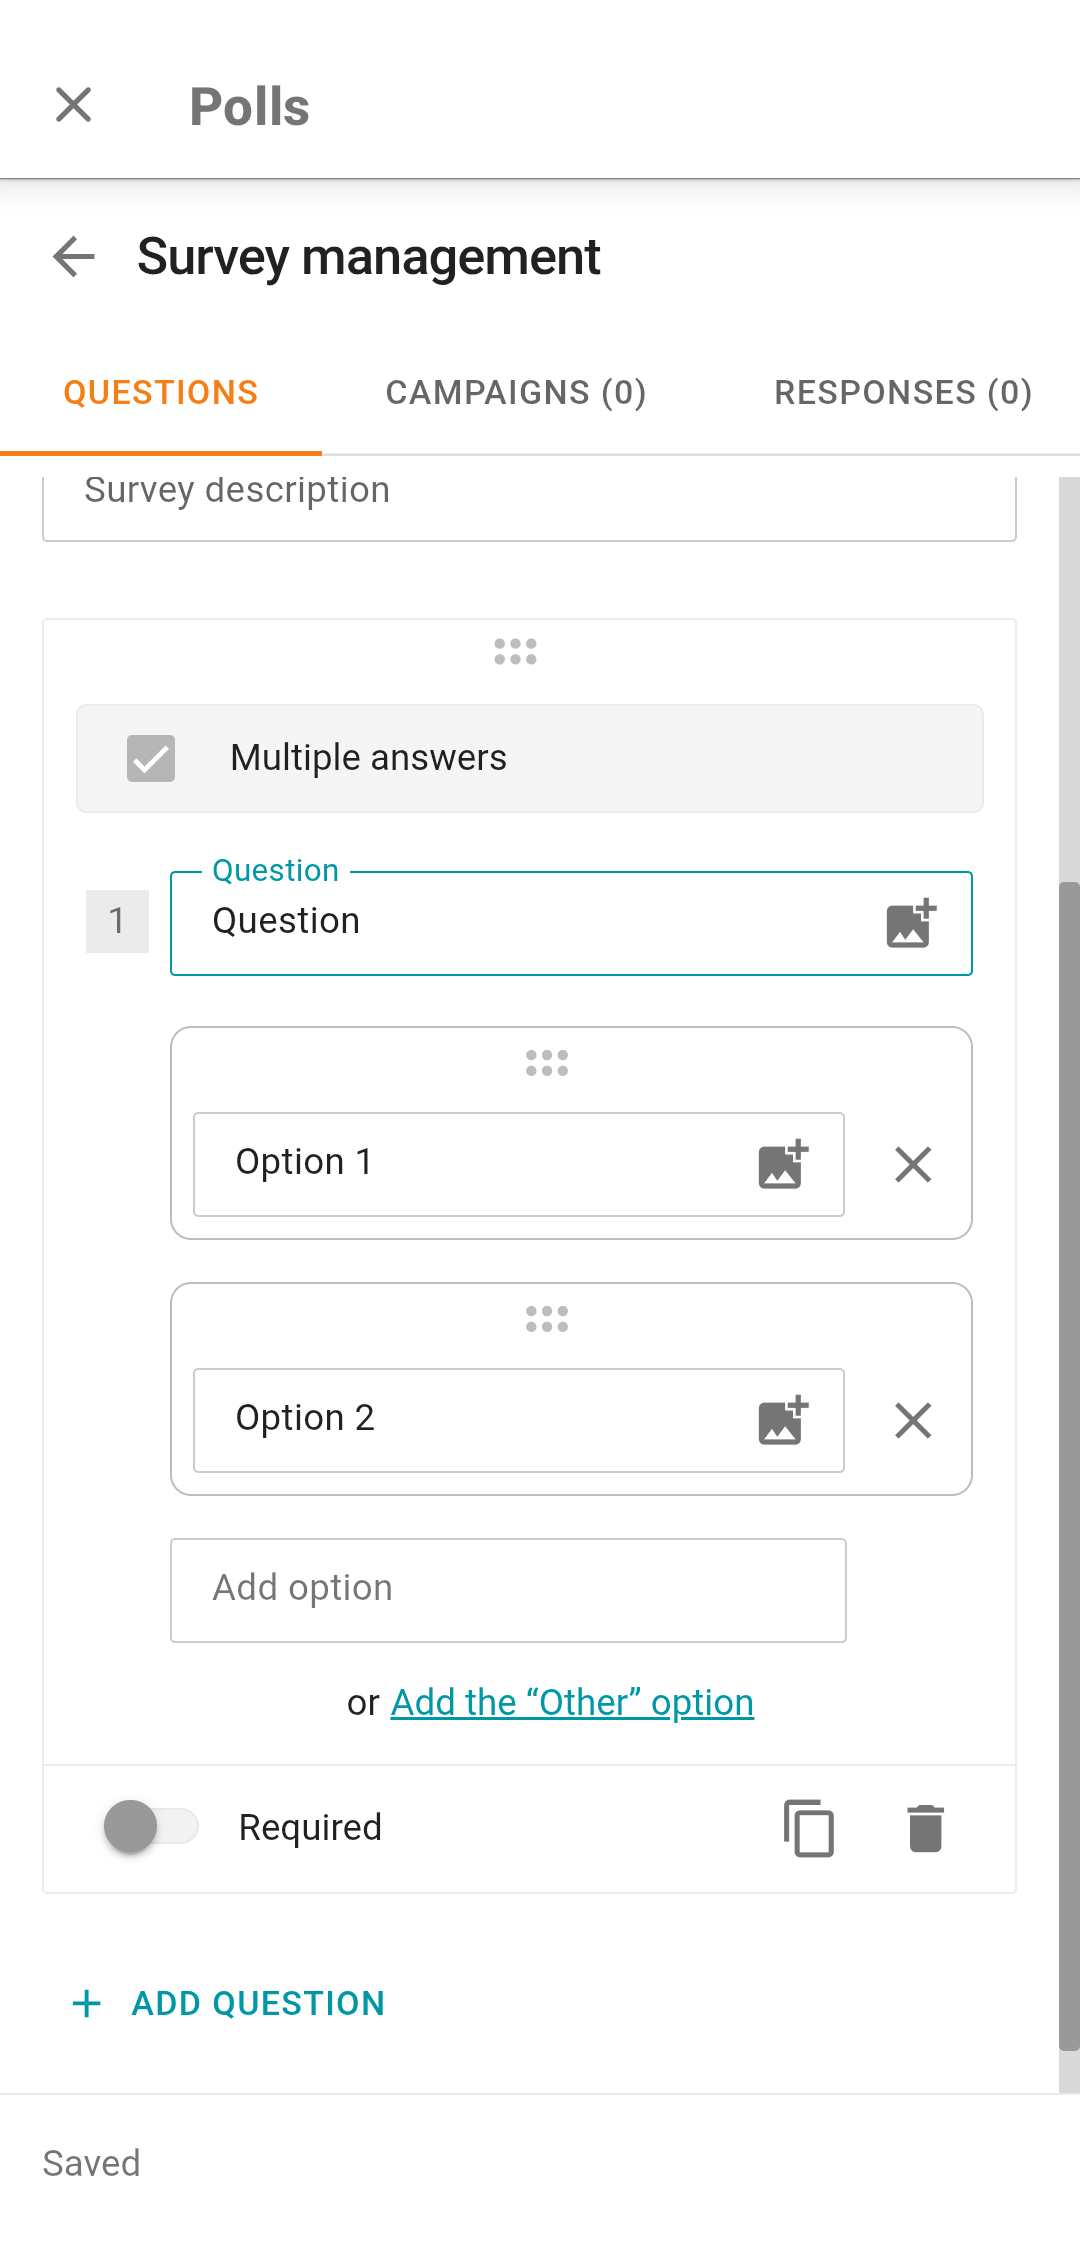
When you select the type of the question, it will be added to the list, and you will be able to:
Reorder questions by holding
 .
.Edit the question text in the Question field.
Add response options by tapping the Add option button.
Edit response options.
Delete response options by tapping on
 .
.Reorder the response options vertically by holding
.Add a custom response option by tapping on the Add the 'Other' option button (available for question types Single answer and Multiple answers).
Mark a question as optional with the help of the Required toggle.
Create a full copy of a question by tapping on
 .
.Delete a question by tapping on
 .
.
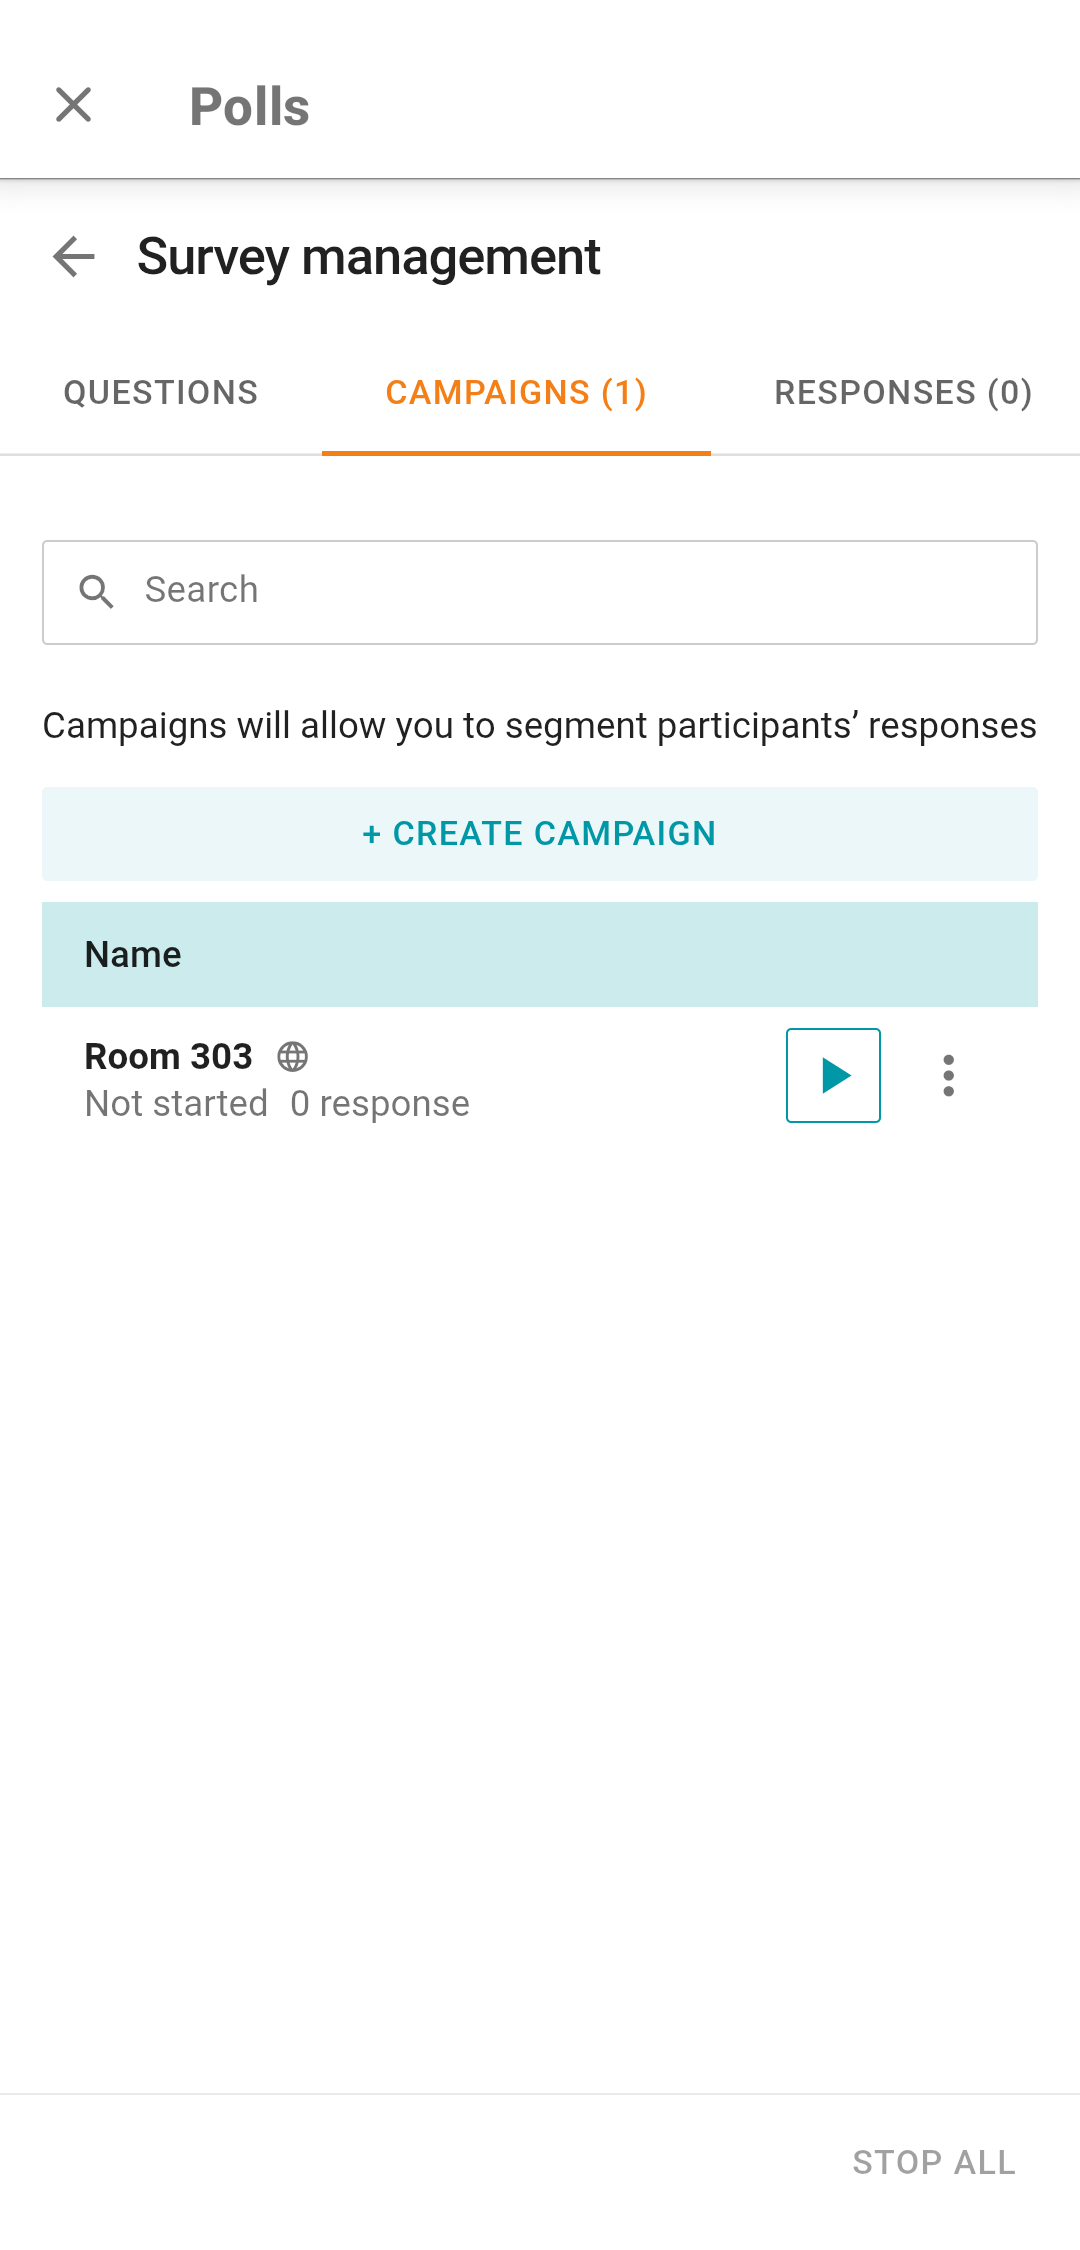
# How to create and manage survey campaigns
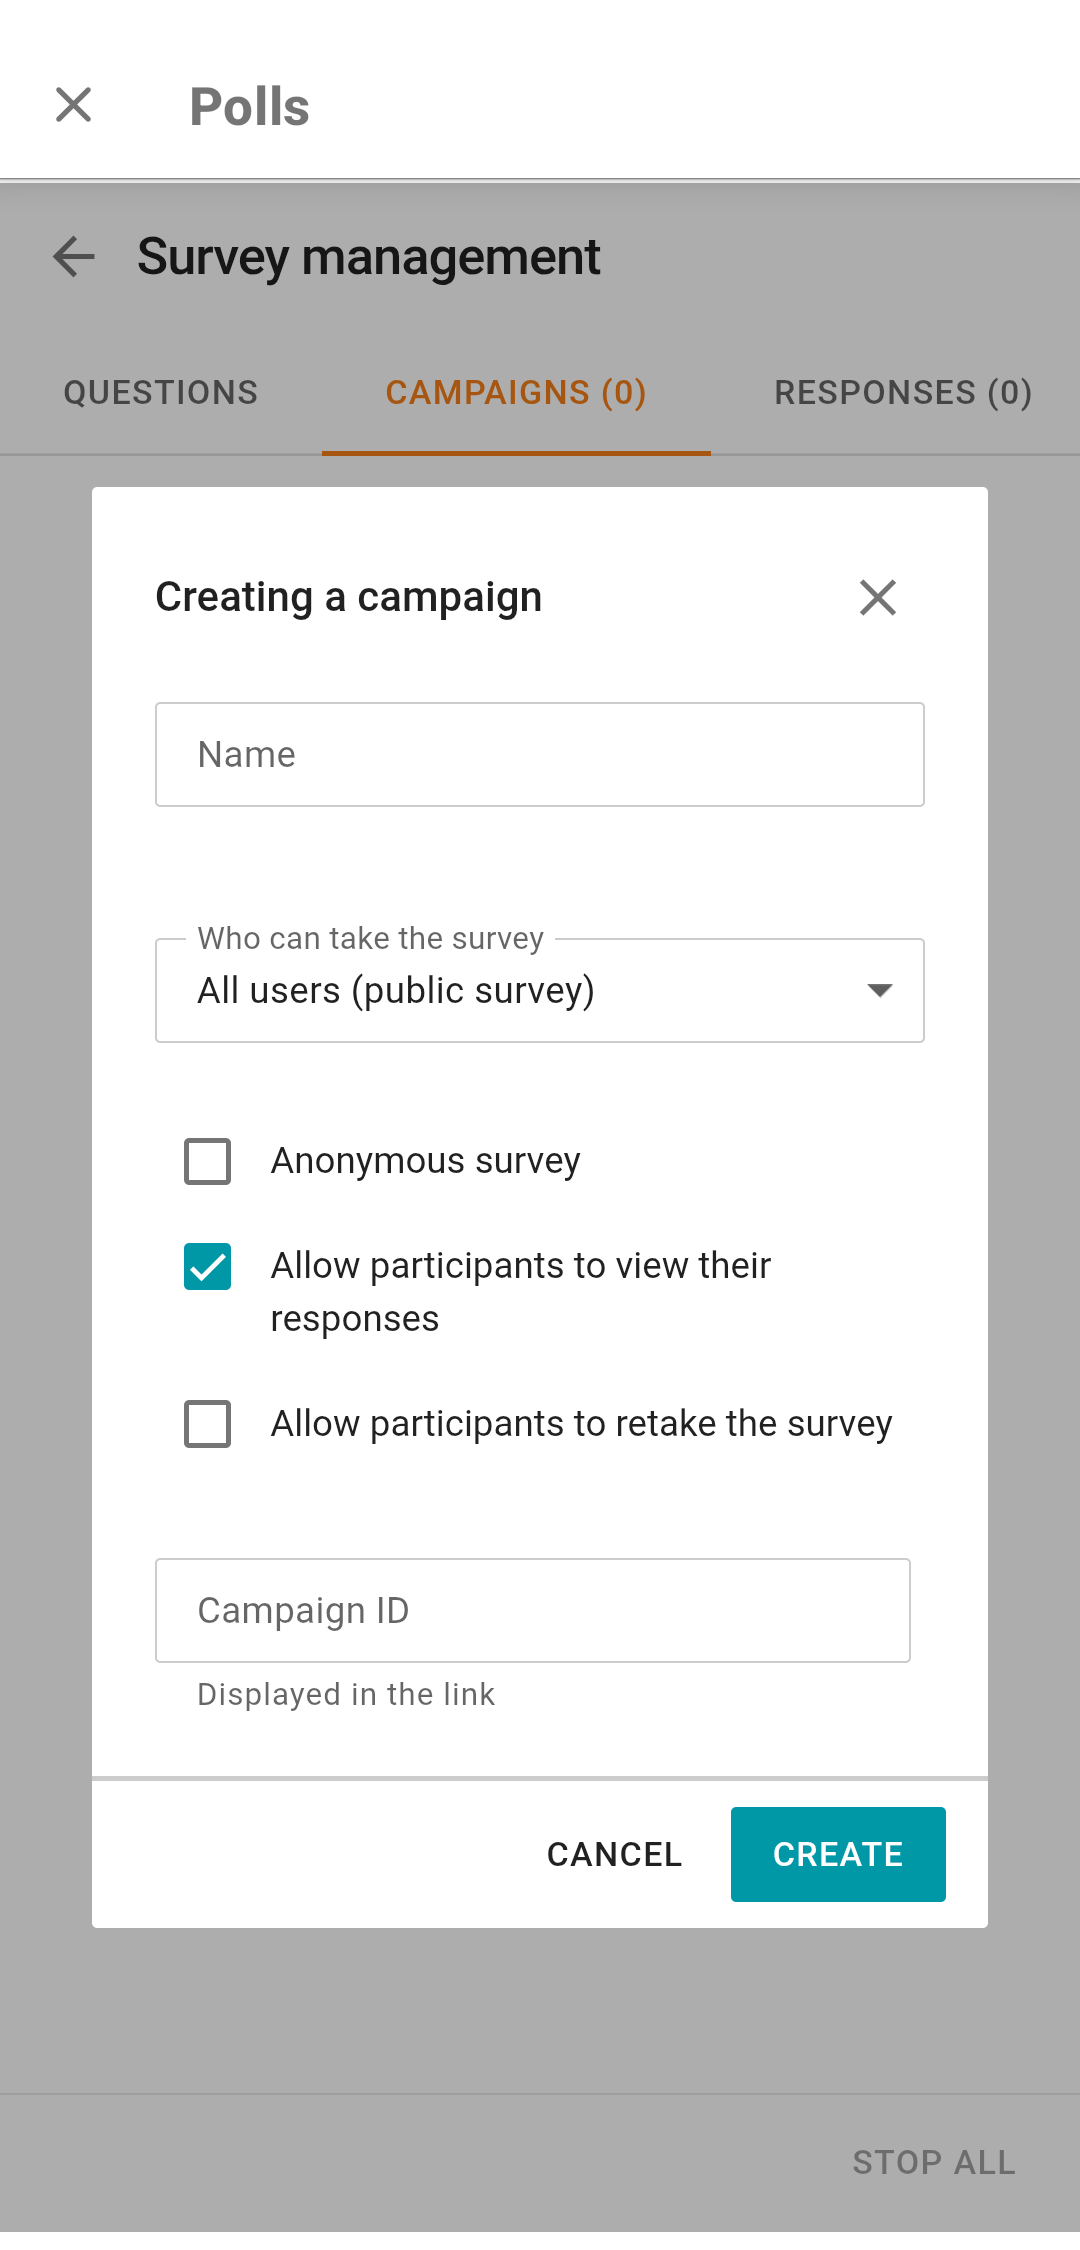
In the Campaigns tab, you can create survey campaigns, which are needed for collecting and structuring data across different groups of respondents. Tap the Create campaign button and configure its settings:
Use the drop-down list Who can take the survey to select the users who will be allowed to take the survey:
All users (public survey), a public survey, all users, who have a link to this survey, can take part in it.
Users from my server, only server users can participate in the survey.
The Anonymous survey checkbox is used to hide or display the list of respondents.
The checkbox Allow participants to view their responses.
The checkbox Allow participants to retake the survey.
The Campaign ID field is optional. If this field is left blank when the campaign is created, the value will be generated automatically. This field represents the identifier included in the survey link. You can edit the Campaign ID to make survey links more readable and convenient. This feature may also come in handy when logs have to be sent.
The campaign ID has to be unique within your server.
After configuring the campaign settings, tap the Create button, and the campaign will be displayed in the general list for this survey.
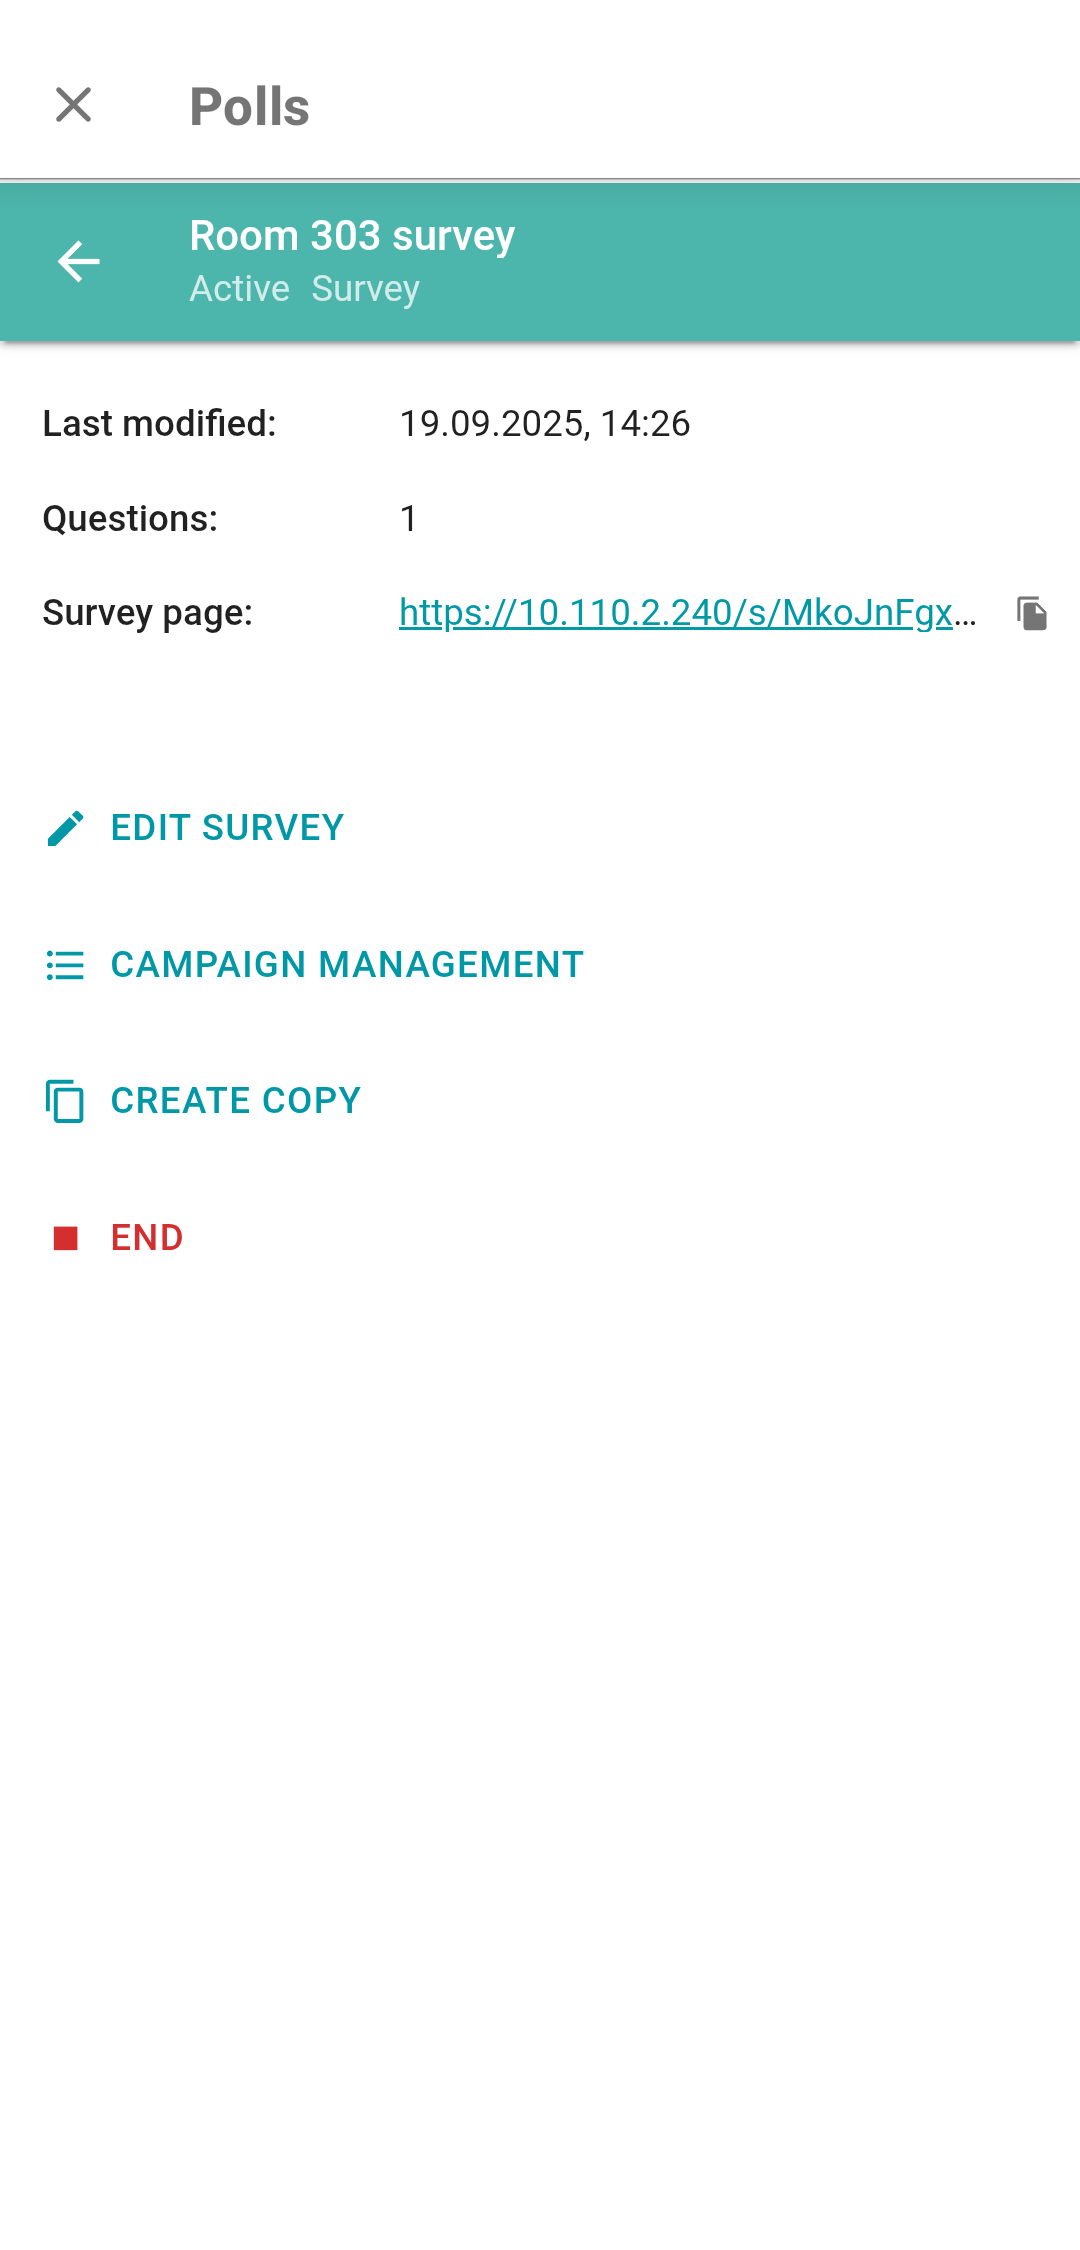
Tap on a survey to open its web page. Here, you can:
View survey details:
last modification date.
number of questions.
The link to the page where users can respond to the survey.
Open the Questions tab by tapping on Edit survey
Open the Campaigns tab by tapping on Campaign management
Create a full copy of the current survey campaign by tapping Create copy.
You can end only an active survey campaign; to do it, tap the End button.
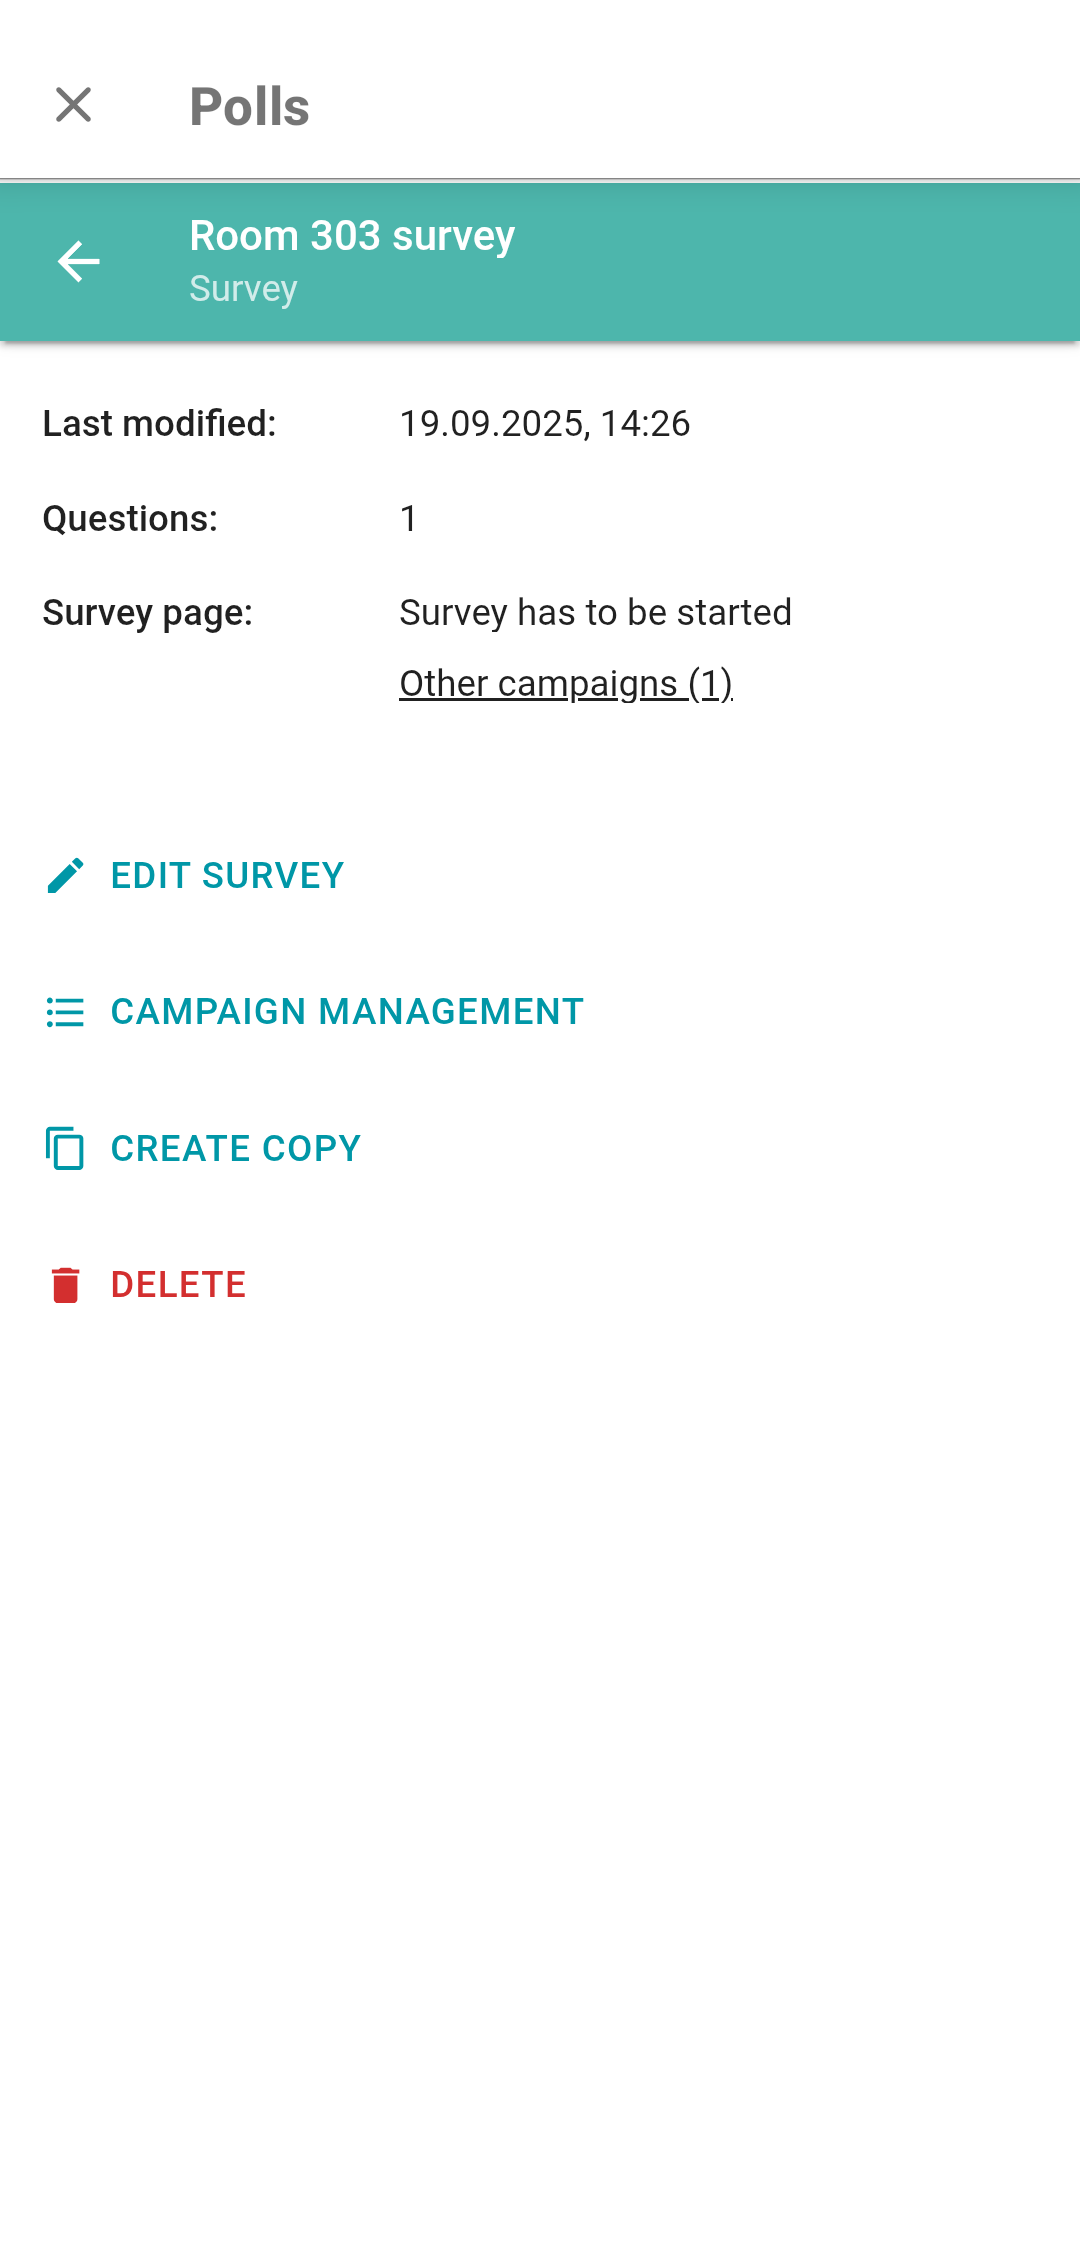
If a campaign is inactive, you can either delete or launch it by tapping the corresponding button. To launch the campaign, tap on Other campaigns; in the pop-up window, tap on ![]() next to the selected campaign.
next to the selected campaign.
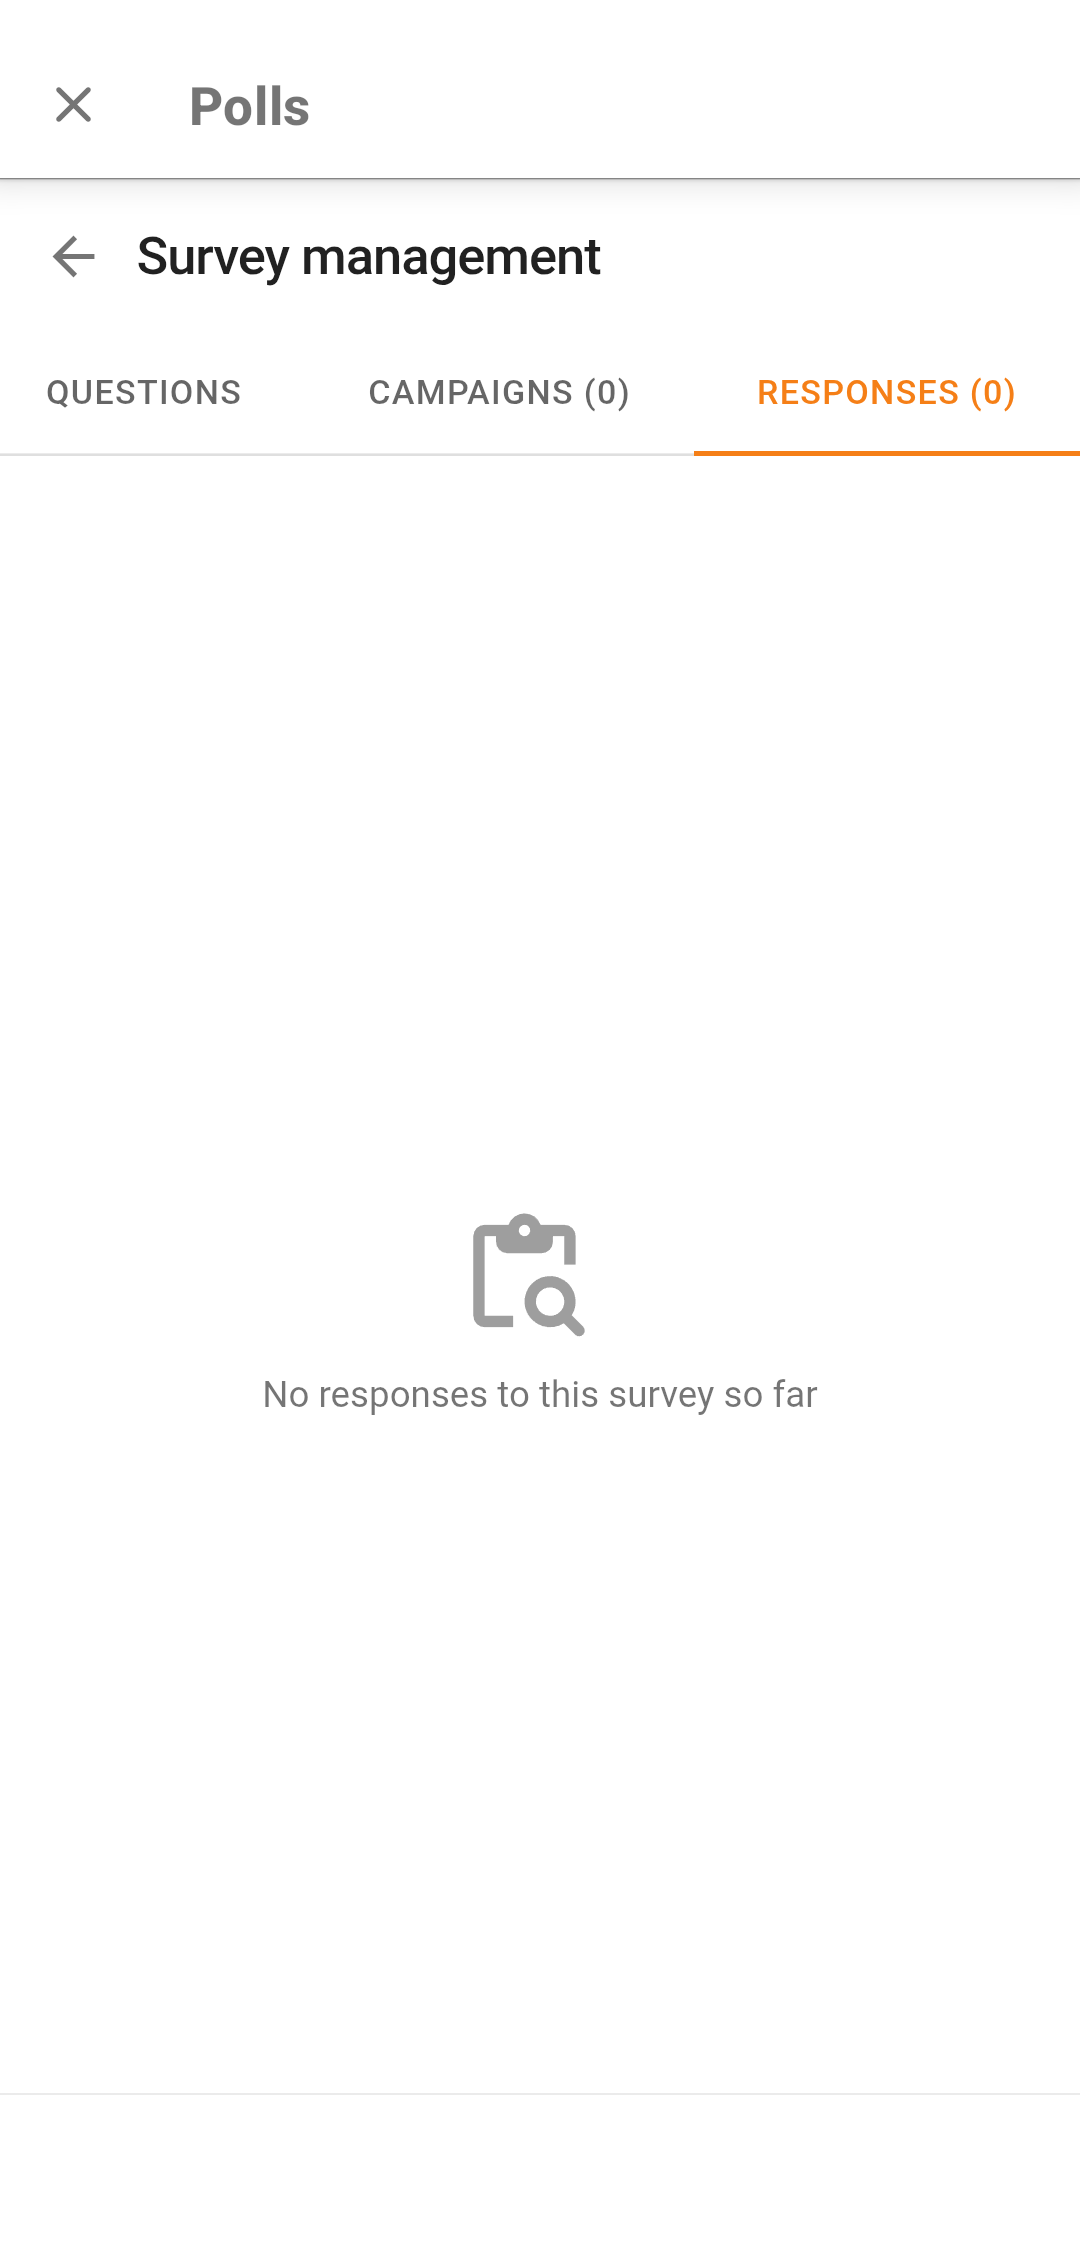
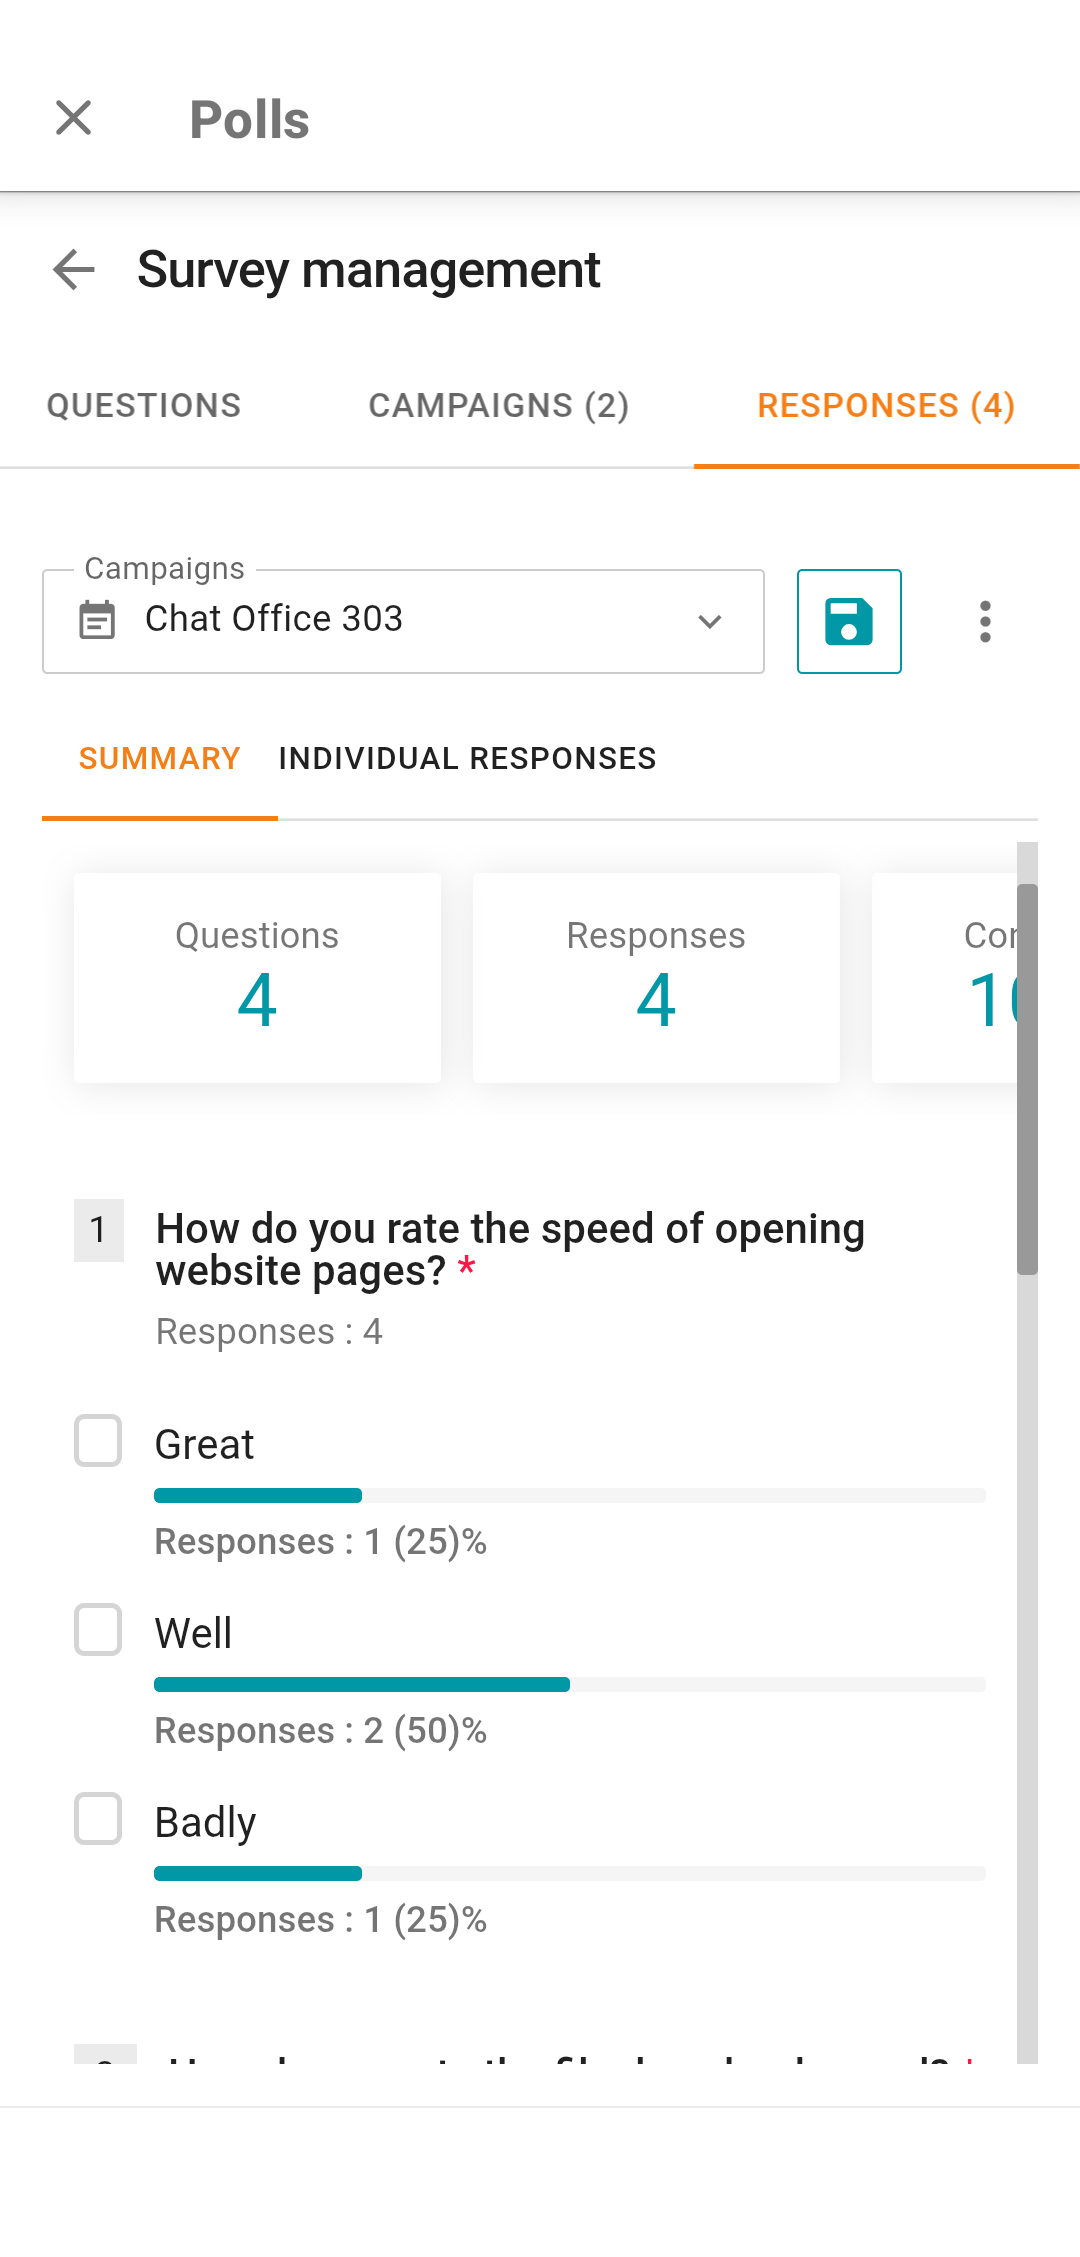
# Viewing survey results
The person who created the survey can view its results. To do it, tap View responses on the main page. The Responses tab will open. In the Campaigns drop-down list, you can select the survey campaign for which you need to check the results. On the Summary tab, you can view detailed information about the distribution of responses for each question:
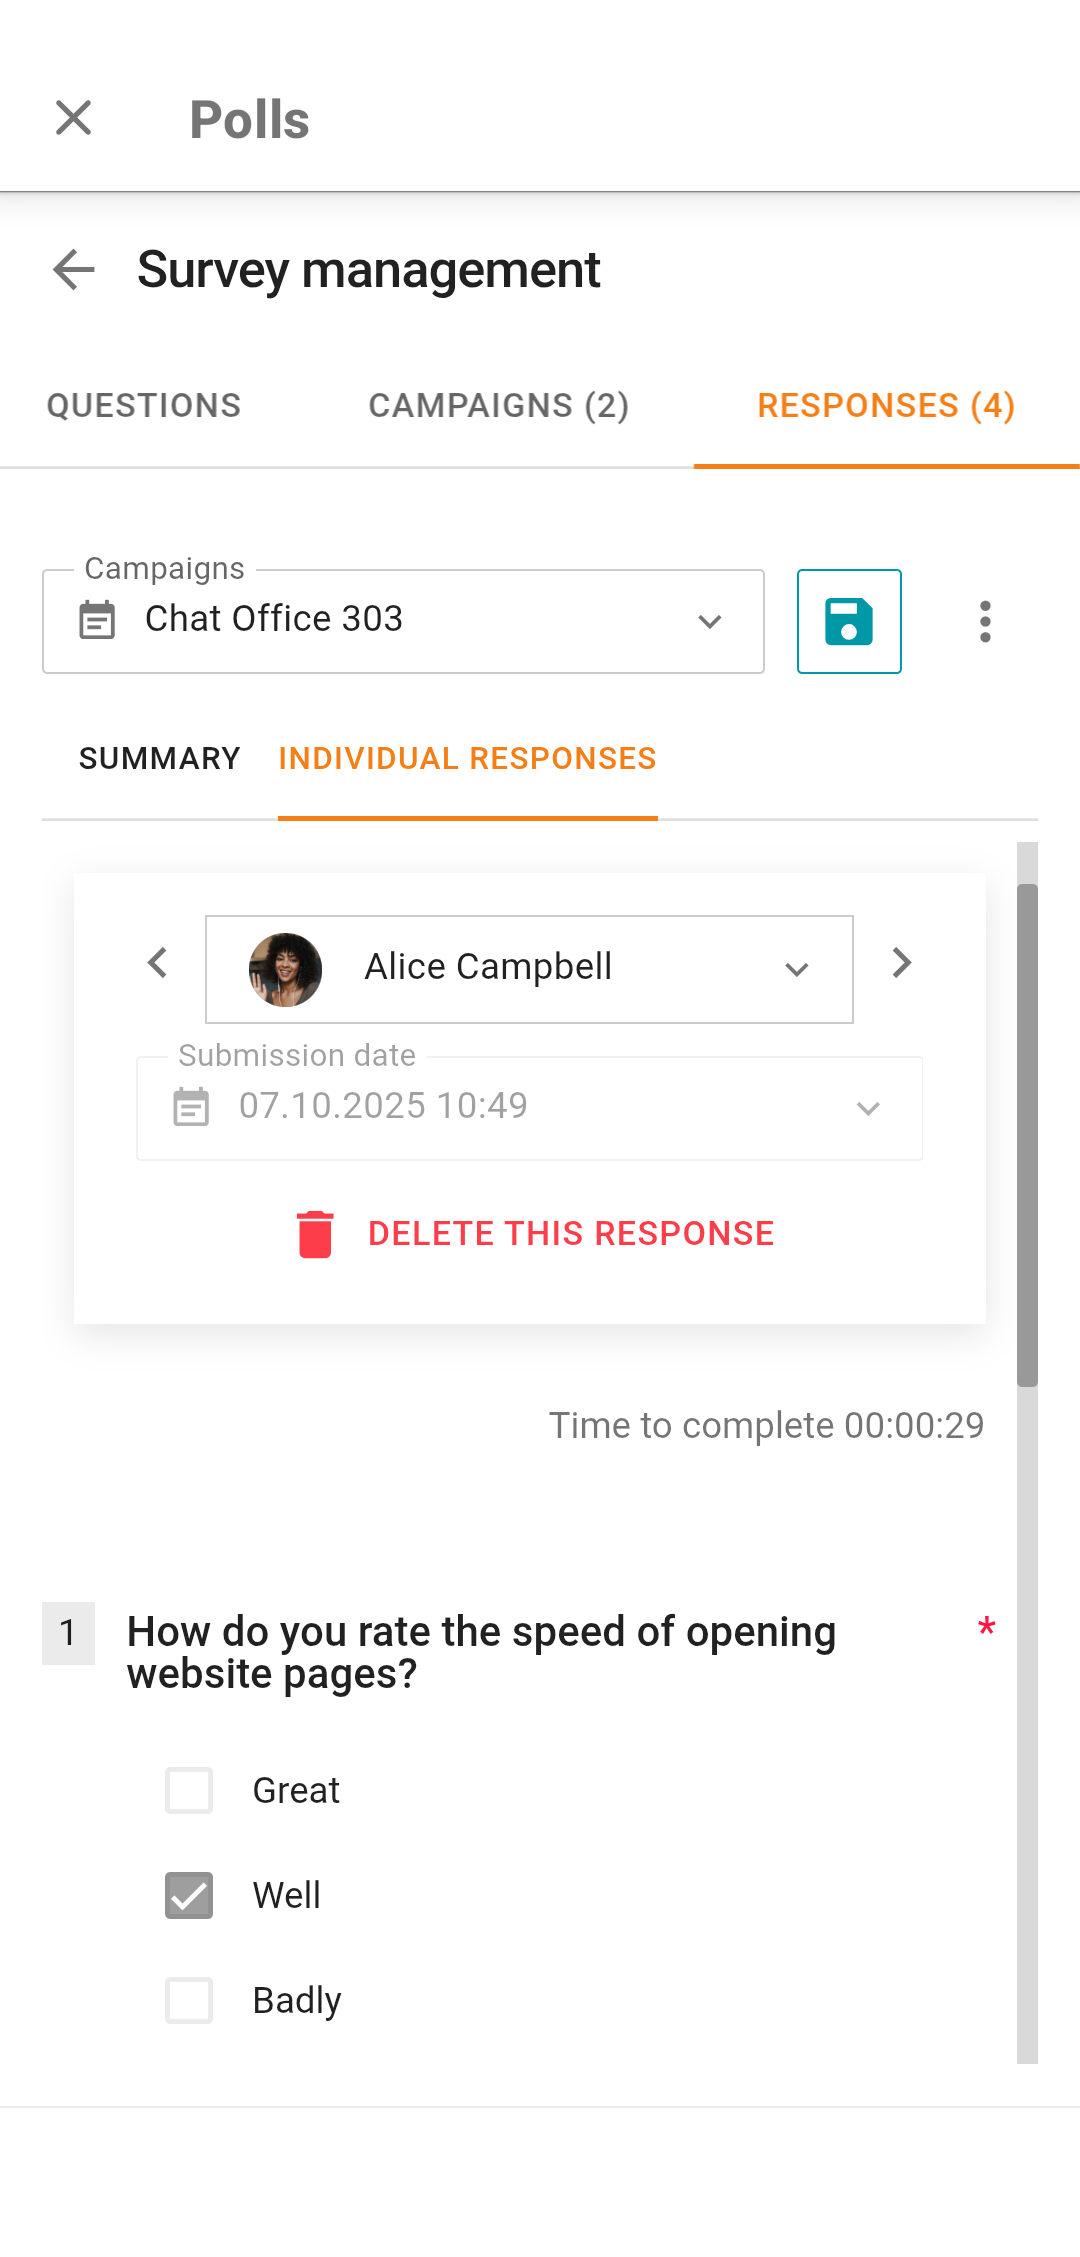
In the Individual responses tab, you can view the responses given by each participant who completed the survey:
# Publishing a survey in a group chat
To create a survey in a group chat, tap on  , select the attachment type Polls. Next, tap the Send a poll button.
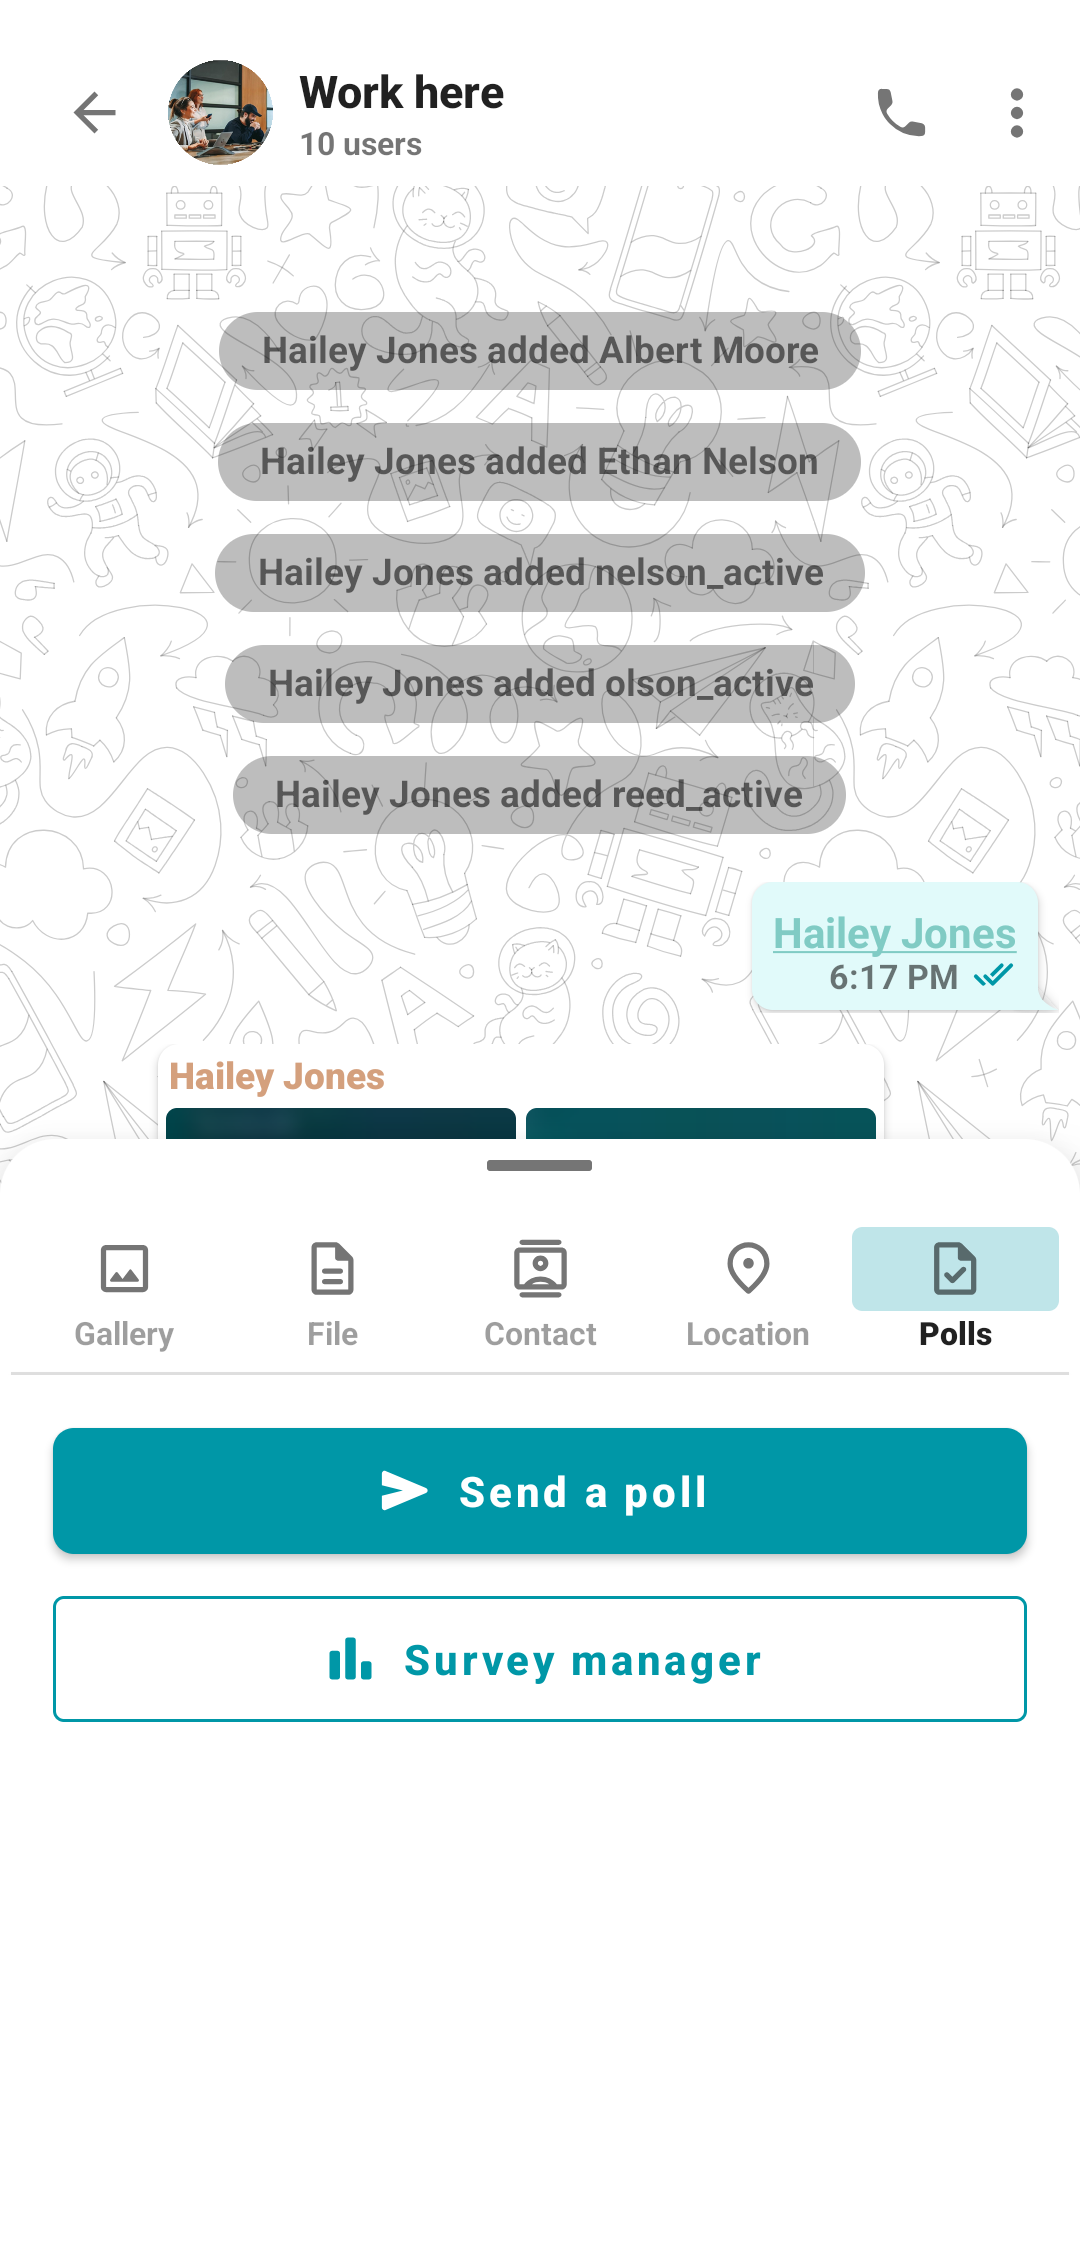
Choose a survey in the pop-up window. If the list is empty, you can create a survey as shown earlier. When a survey has been selected, the survey campaign setup window will open. Choose required options and tap the Create and send button.
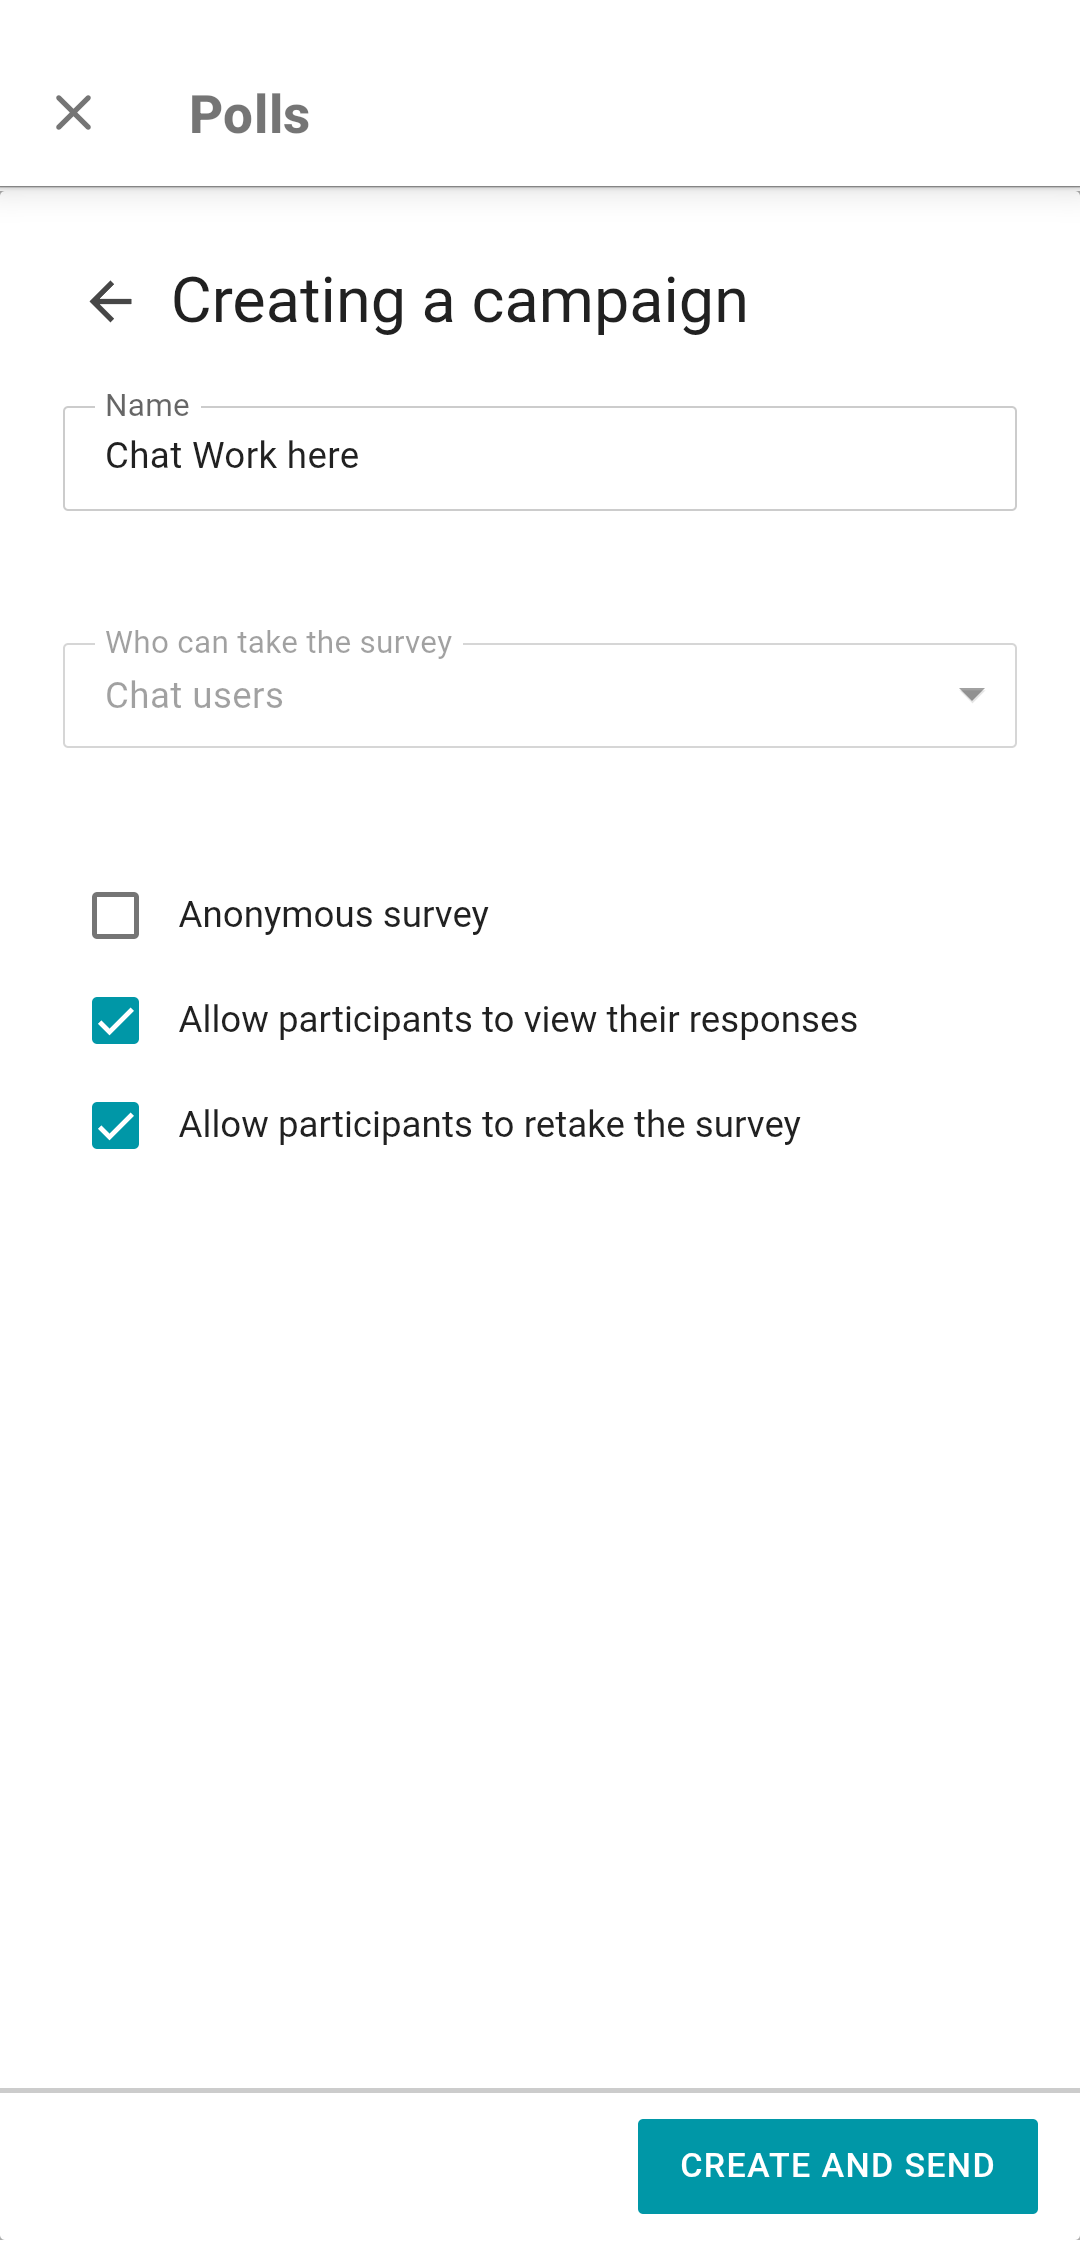
When a survey is created for a group chat, the parameter in the Who can take the survey field is set to Chat users and cannot be changed.
# Survey completion
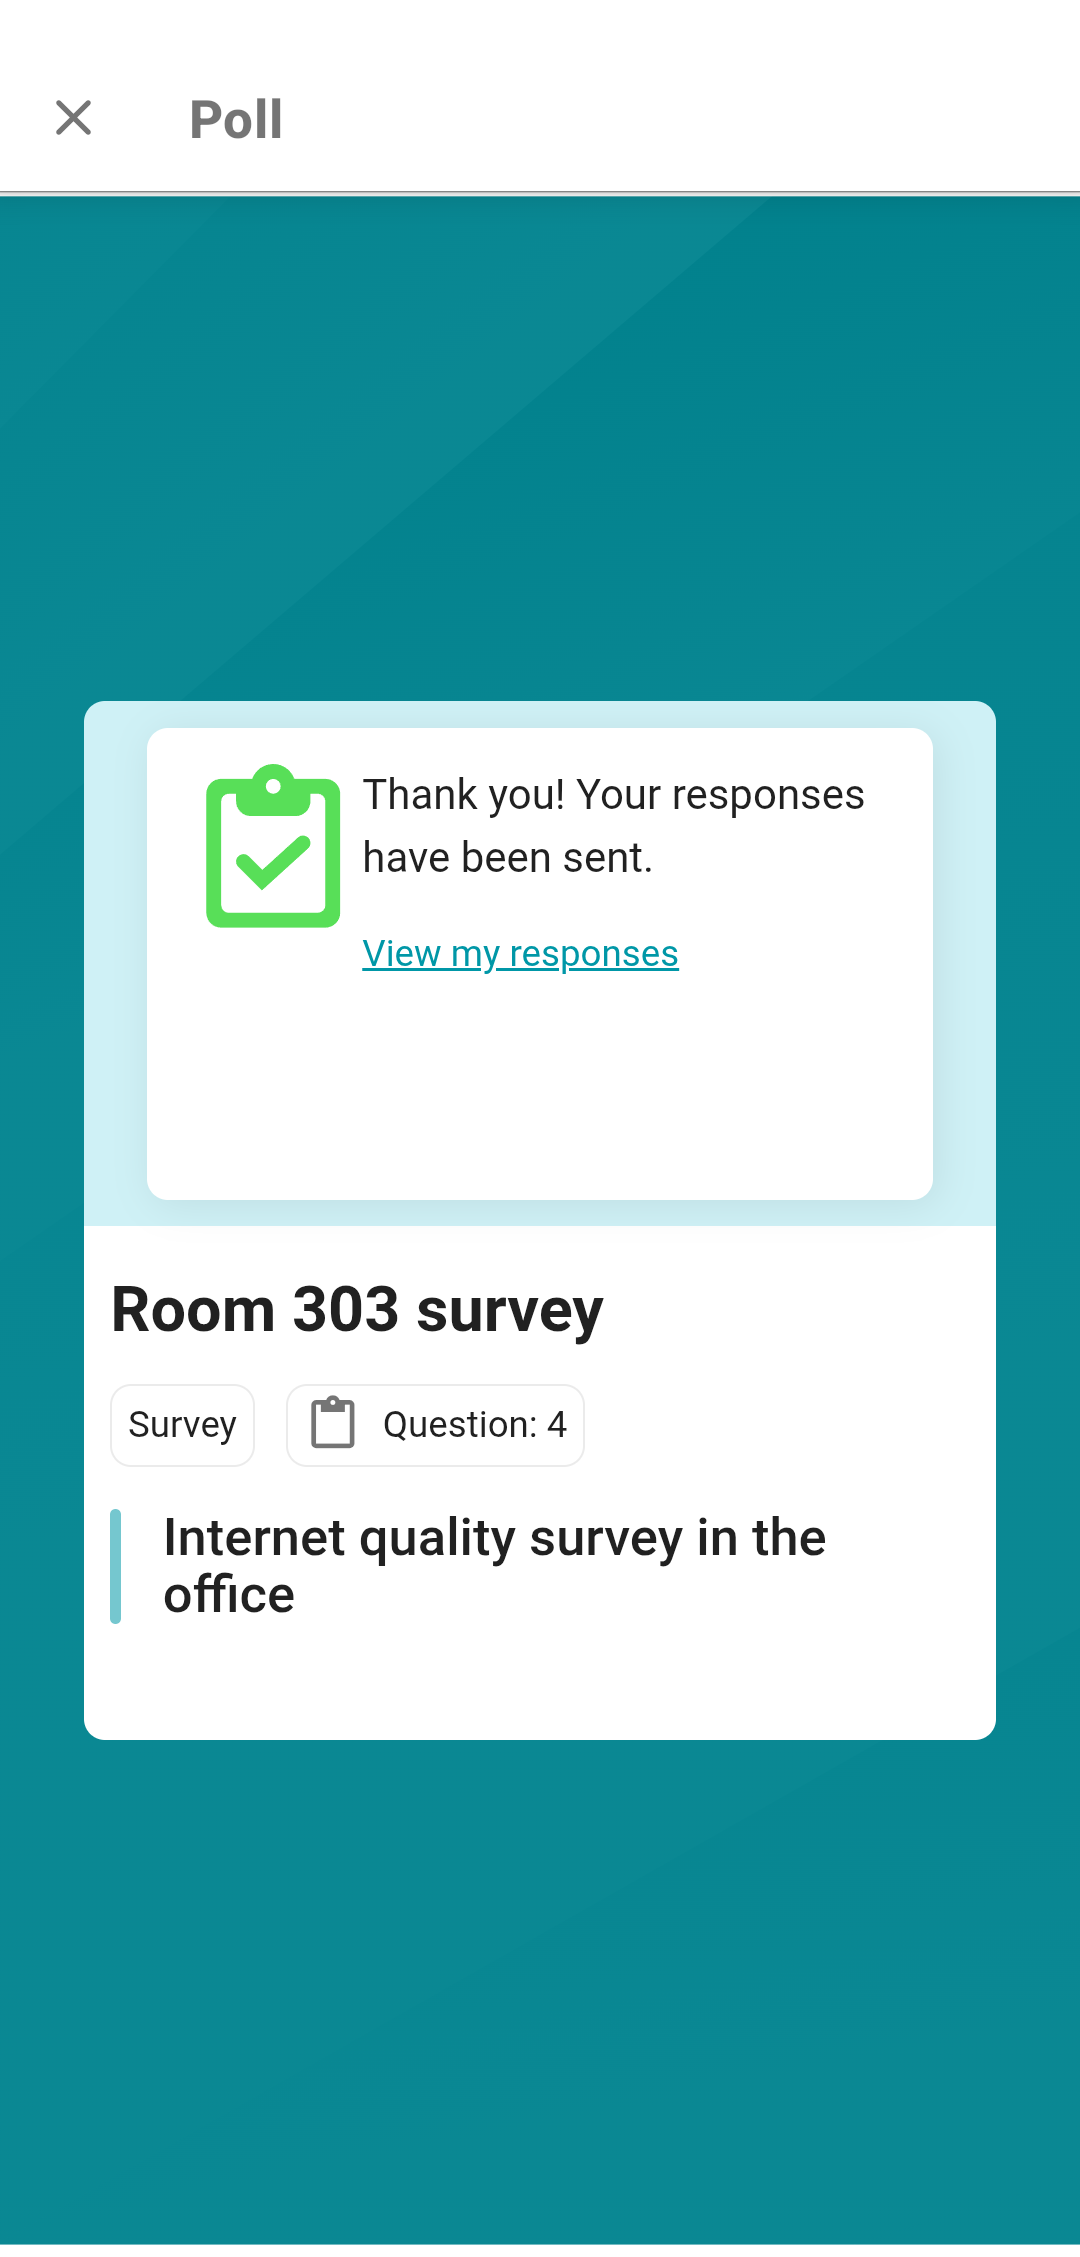
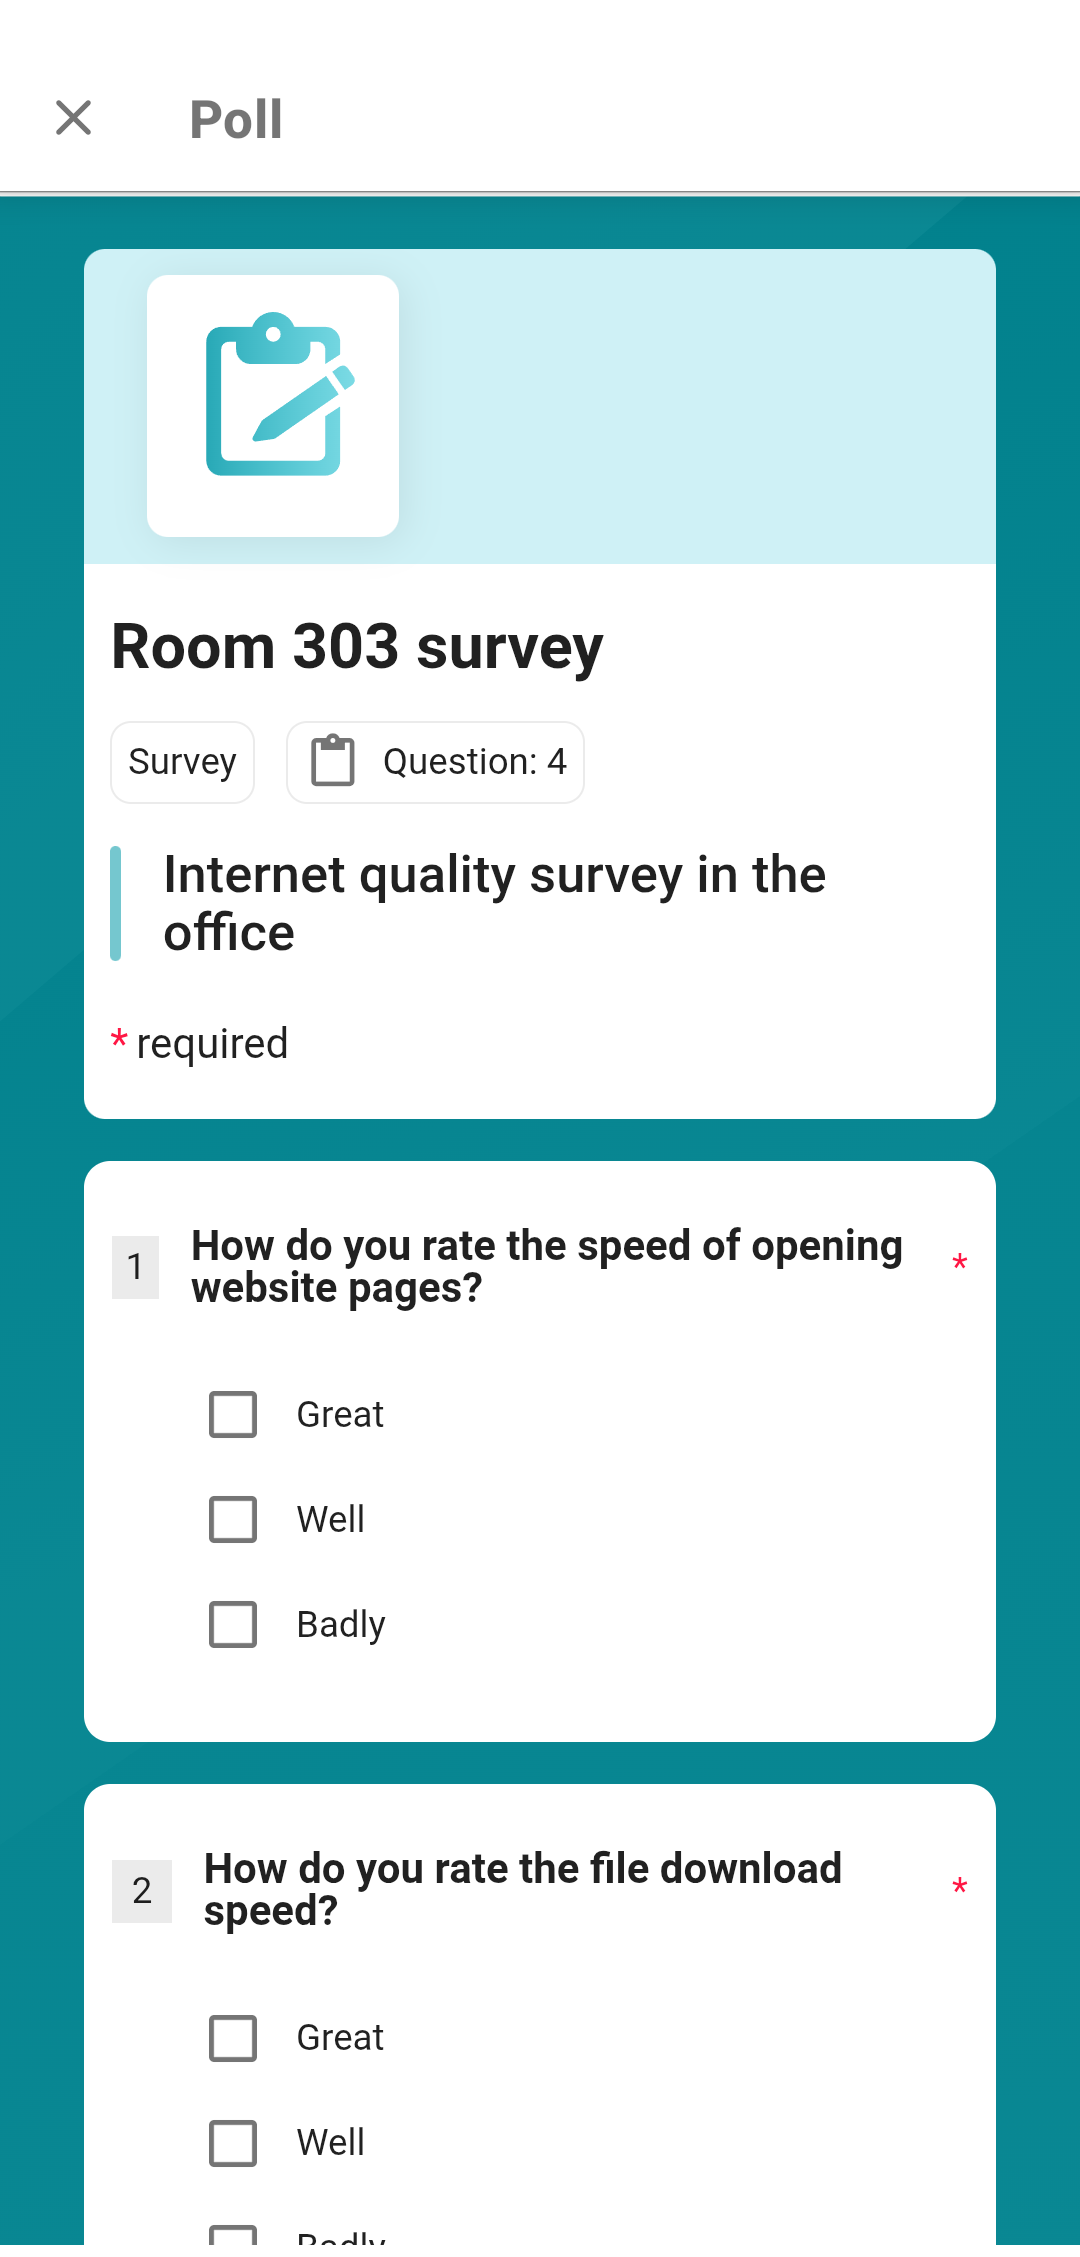
To respond to a survey which was shared in a chat, just tap on Go to survey in the corresponding message to open the survey window. In other cases, to respond to the survey, a user has to follow the link which is specified in the settings of the survey campaign. If the campaign is not anonymous, you will need to sign in before responding to questions. To take part in a public survey, you only need to enter your name.
After answering all the questions, tap the Send button to save your results. Depending on the campaign settings, on the opened page, you may be allowed to retake the survey and review your answers.