Collaboration
Collaboration tools
Chat
During video calls and group conferences (as well as outside of them), you can exchange text messages with other users.
If you sign in on a different device, your previous chat history won’t be available.
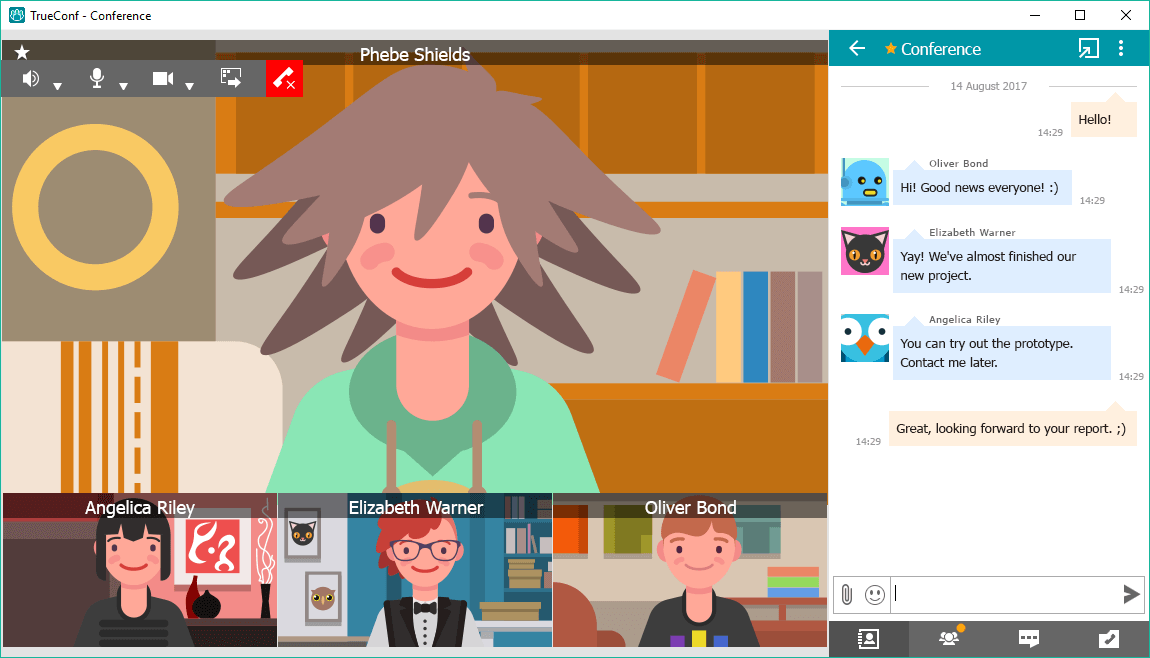
How to send files via chat
To send a file, simply drag and drop it into the chat window or use the paperclip button to the left of the message input field.

Click to select a file (it will be sent to chat immediately without prior confirmation).
If users are not currently online, you can send them an offline message, they will get it immediately after logging in.
The default location of downloaded files is:
C:\Users\User_Name\Downloads for Windows
/home/User_Name/Downloads for Linux
/Users/User_Name/Downloads for MacOS.
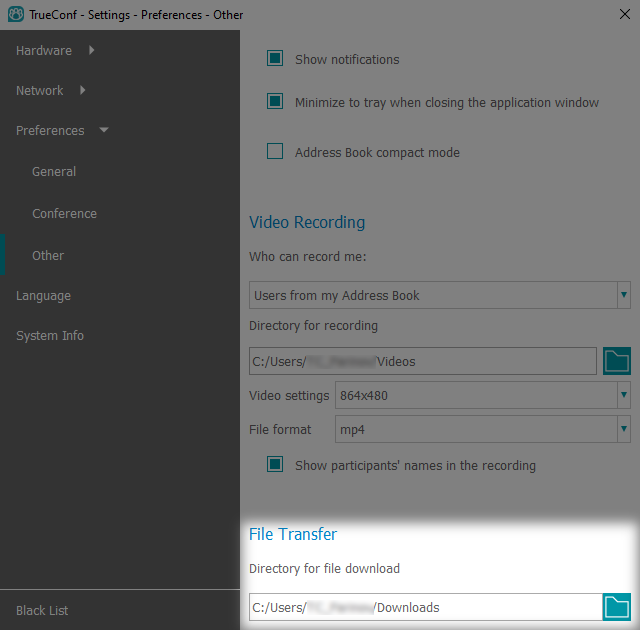
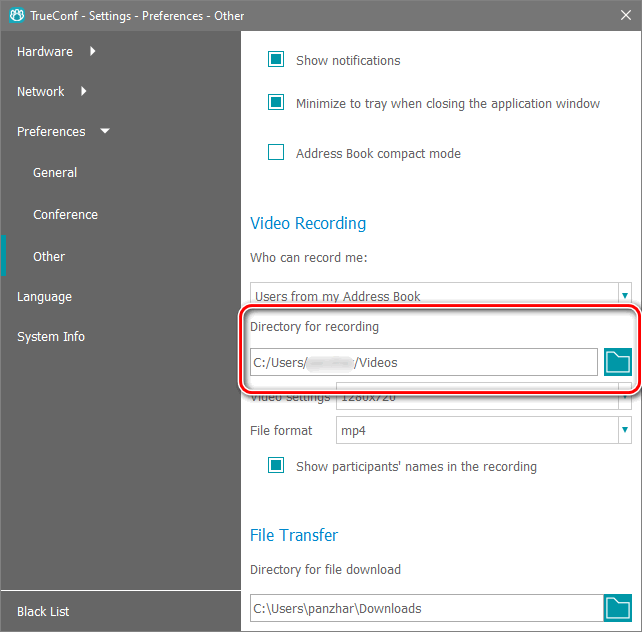
To change the download folder, go to the Settings → Preferences menu in the application window. Then, on the Other tab in the File Transfer section, click the  button and select the desired folder.
Recording Conferences
If other participants have the necessary permissions, you can record the conferences you are attending.
How to record a video conference
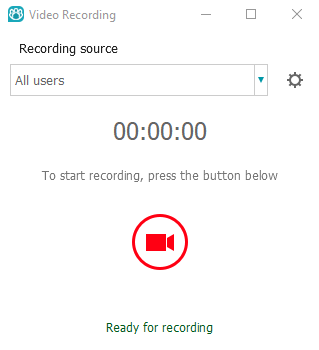
During a call or conference, open the Conference Manager → Tools tab using the panel in the lower right corner and click Recording. In the window that appears, select in the Recording source field whom you want to record (everyone, just yourself, or a specific participant) and press  .
.
Each recorded participant in the video conference will see an icon in the top left corner of their video window.
If you are recording a video call or conference using the client application and want the displayed screen or document to be included in the recording, use the “Content Sharing” feature. Start sharing the application window with the required presentation or document, or your entire desktop. The transmitted image will immediately be recorded instead of the webcam feed. Do not move the content sharing to a separate window, as it will stop being recorded.
How to set up recording permissions
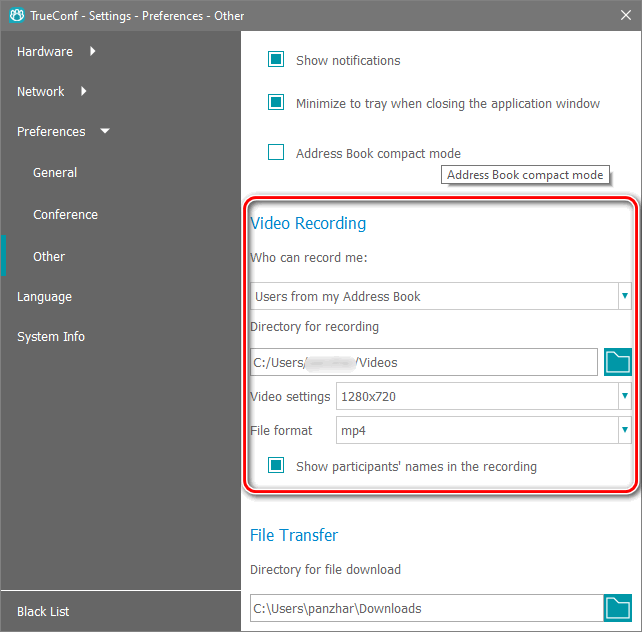
Each conference participant configures their own recording permission separately in the client application within the Who can record me field of the Settings → Preferences → Other menu.
Possible settings options:
- Nobody. Disable the ability to record your video window.
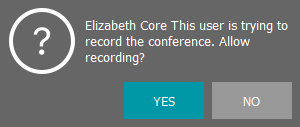
- Ask me each timeReceive a request at the moment when one of the participants starts recording your video window:
If granted, the permission cannot be revoked. Recording will stop only when you leave the conference.
- Users from my Address BookAllow automatic recording of my video window for participants in my contact list, and upon request for all others.
- EveryoneAllow automatic recording of your video window to anyone interested.
Where video conference recordings are stored
By default, video conference recordings in .mp4 format are saved on your computer in the Videos folder, located in your profile folder at the path specified in section Video recording of menu Settings → Preferences → Other.
How to watch a recorded video conference
You can watch recorded conferences on your PC using any video player (such as VLC) that supports VP8 codec.
Sharing presentations
During video conferencing sessions, participants can not only see and hear each other but also share various content, such as presentations.
Importing presentations from ppt and pptx files is only available in TrueConf for Windows and requires Microsoft PowerPoint to be installed on your computer.
TrueConf mobile app users on Android and iOS have access to the content sharing feature.
What formats are supported
We support the import of popular presentation formats such as ppt, pptx, vpl.
You can also create a slideshow from separate pictures directly in the program menu or even add pictures to the list of the slides imported from the presentation file. The following image formats are supported: jpeg, bmp, gif, png, tif, emf, wmf, ico and jfif.
How to share presentations
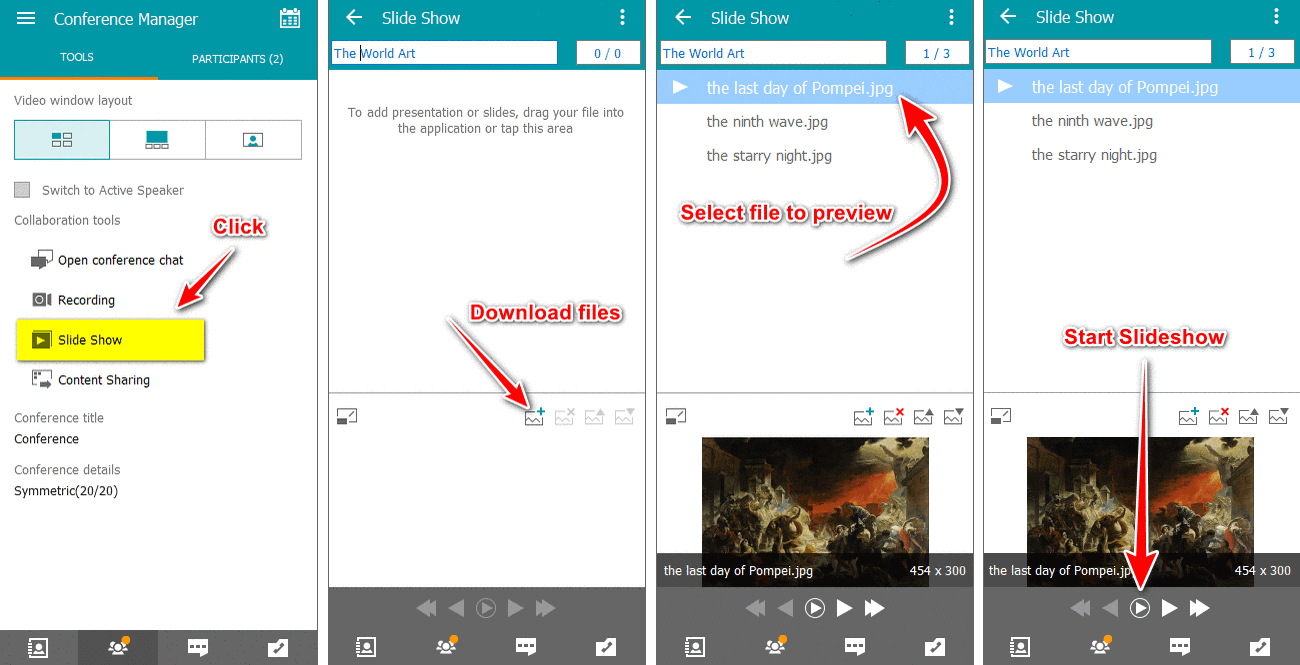
During the call, go to the meeting management menu (button  on the panel in the bottom right corner) and select
  Slide Show.
Select the files and click the start button  at the bottom.
To allow users of SIP/H.323 devices to view the presentation, the server must have support for BFCP and H.239 protocols enabled. We have already covered how to do this in a dedicated article.
Slides transmitted using this tool are not included in the conference recording created with the client application. To record the displayed content, use the “Content Sharing” tool.
All other slideshow control elements are listed below.
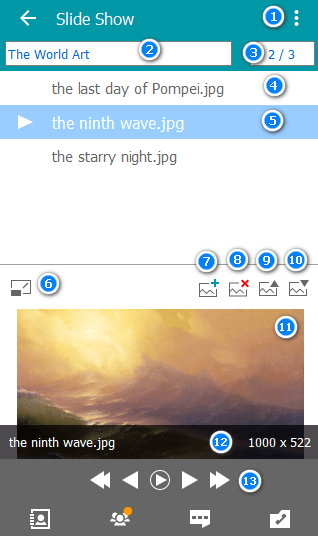
Slide export and import menu.
Slideshow description.
Number of slides and current slide number.
Slide visible to conference participants if the presentation has been started.
Slide selected for preview (see also Item 10).
Move presentation control menu to another window.
Add files to the list.
Remove files from the list.
Move files up and down on the list (you can drag files to change their order).
Selected slide preview (see also Item 5).
Image name and size (displayed when the mouse cursor is moved over preview area).
Preview and slide switch control panel.
How to save a presentation script in advance
Add slides to the list as described above and open the menu in the upper part of the window (see No 1 in the previous section). Save the list to the file that you will open when necessary.
Content Sharing
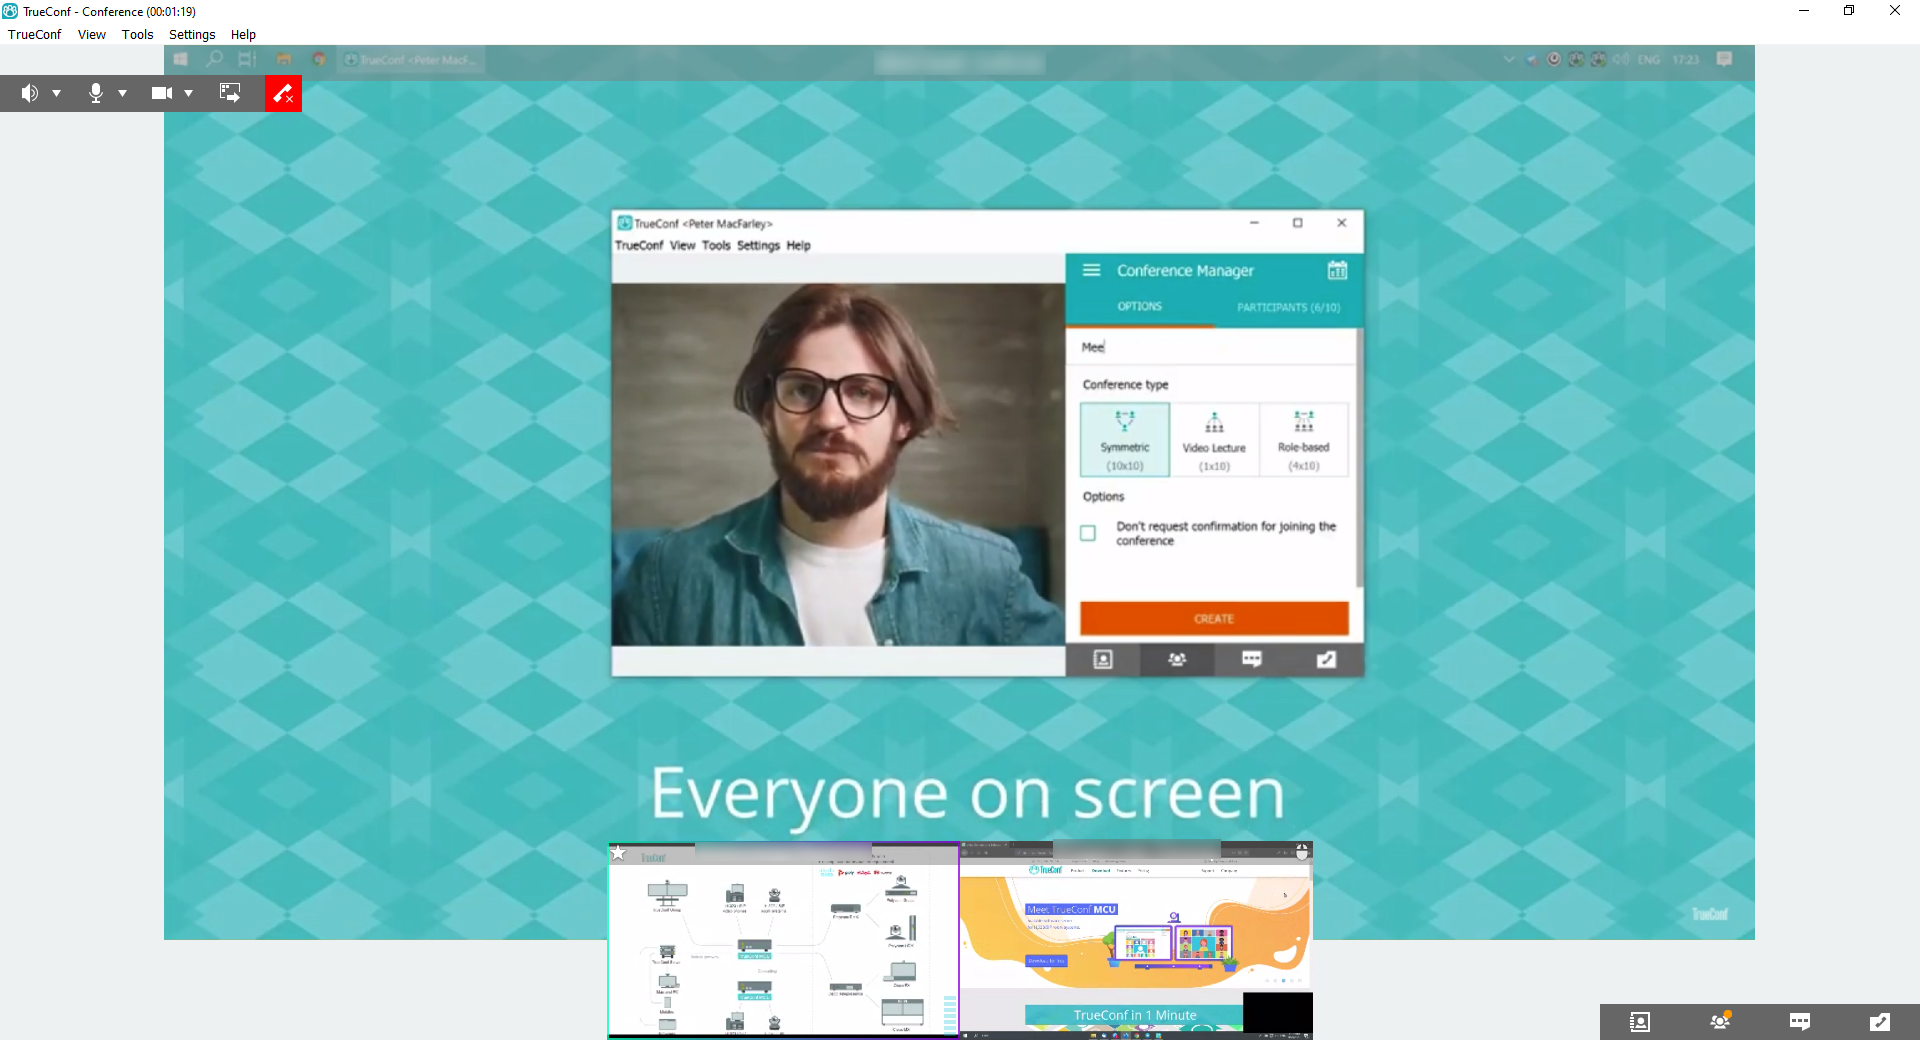
During conferences via the client application, you can share the content of your desktop and individual windows (including browser windows) with your participants in real-time.
All participants connected to the video conference via TrueConf client applications and browsers (using WebRTC technology) will be able to see it. Additionally, the content presented during the conference can be recorded.
Only maximized windows are correctly displayed during content sharing. Minimized windows will not be shared.
Start the conference and select the fourth icon in the conference toolbar.

Select the screen or application you wish to share in the drop-down list.

Afterward, the application window will be minimized, and a content management window Screen sharing will appear in the lower right corner of the screen. It will remain on top of all windows throughout the presentation. Your participants will see the image from your camera instead.
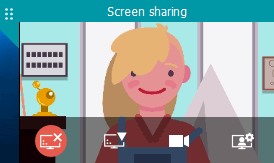
Here:
 – прекратить показ рабочего стола.
 – начать транслировать другое окно.
 – включить/отключить показ изображения с вашей камеры. При нажатии данной кнопки в окне Screen sharing вы увидите уменьшенное изображение со своей камеры (его также будут видеть другие участники конференции в углу вашего видеоокна).
 – переключатель показа изображения с вашей камеры на показ контента.
By clicking this button and selecting Show my video in a separate window from its menu, you can begin presenting content to conference participants in a slideshow format. The content presented in this way can be viewed on third-party video conferencing terminals (via BFCP/H.239 protocols).
Simultaneous content sharing
During a meeting, multiple speakers may share their screen or separate application windows. In this case, participants have a useful option to switch between the screens or move the video window to a secondary monitor so that they don't miss a single detail.
Remote desktop management
During the conference, you can start controlling the desktop of a participant who is sharing content.
To do this, click on the mouse icon  in the upper right corner of the video window.
After you have been allowed to control the desktop, the control panel will appear in the upper-right corner of the video window:
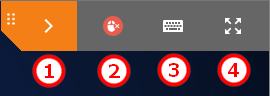
Collapse / expand the panel.
Finish the remote control session.
Remote key combination invocation.
Display remote desktop control window in full screen.
How to set up access for managing your desktop
You can set up remote desktop control policies in the client application settings: enable all users in your address book to access your remote desktop, disable users to access your remote desktop, or enable users to access your remote desktop on request.
To do this, in the Settings → Preferences → Conference menu, select the option that suits you in the Who can access my desktop and applications field.
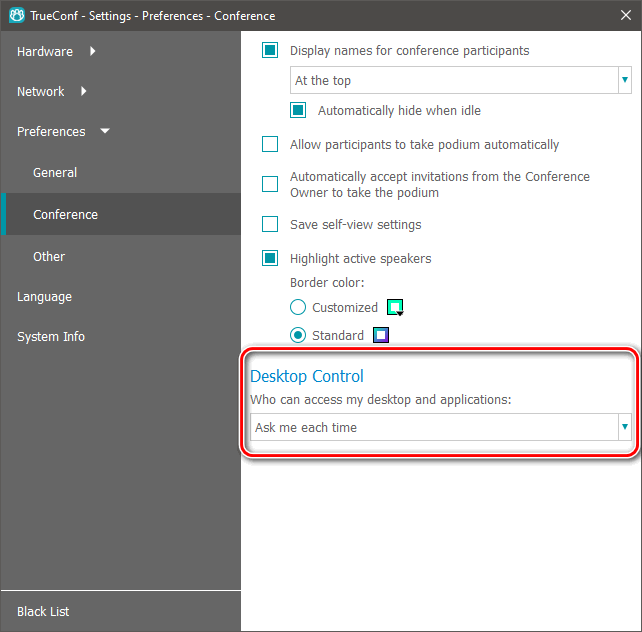
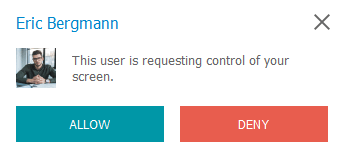
When selecting Ask me each time (the default setting), you will receive a notification if someone attempts to access control of your desktop:
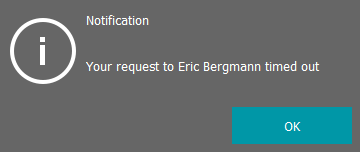
The notification will be visible for 100 seconds, after which the user who has requested access will see the following message:
Can multiple conference participants simultaneously control your desktop?
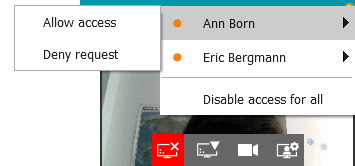
Multiple participants in the conference can request access to control your desktop.
In this case, an icon  with a counter displaying the number of received requests will appear in the upper right corner of the content management window.
Click on this icon to grant access to one or several participants, or deny requests:
PTZ Camera Control
During conferences, you can rotate and zoom users' PTZ cameras (including remote endpoint cameras).
Only the moderator of the conference can control the PTZ cameras of other participants.
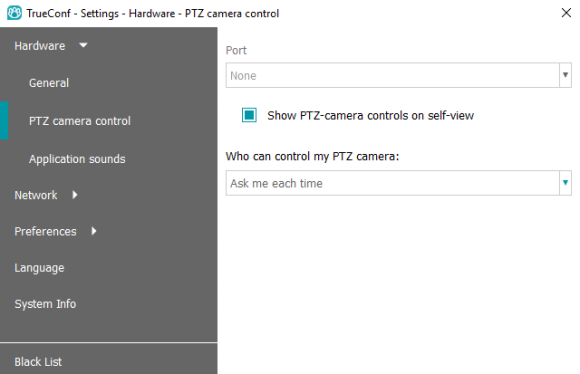
How to control access to managing your camera
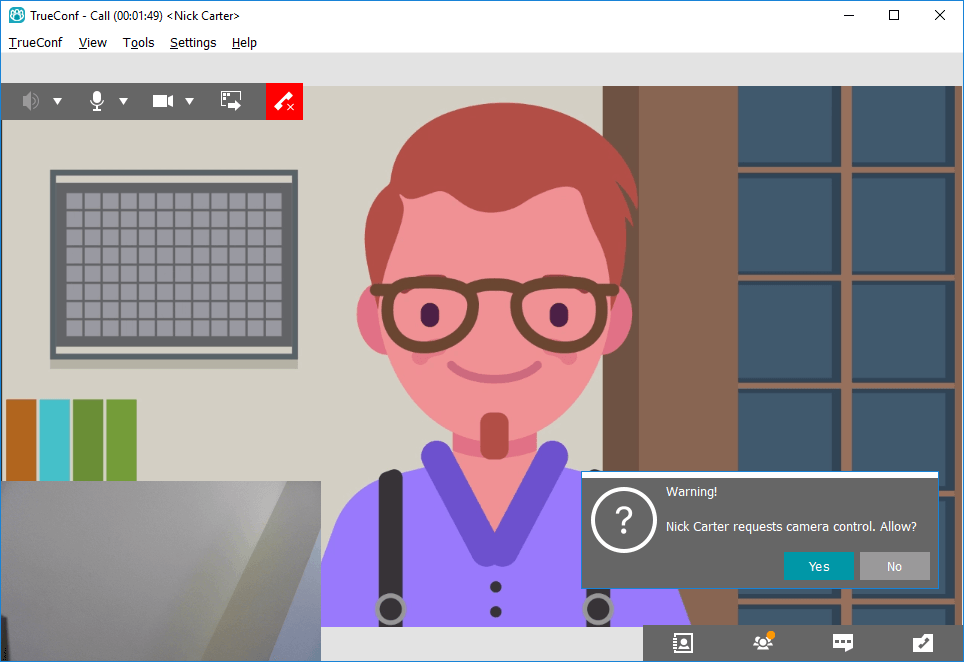
By default, control of a user's PTZ camera is available on request. This means that if you attempt to control a camera, its owner will see the notification about the request to take control of the camera.
In client application settings, you can disable this function. You can prohibit sending requests (thereby making your camera unavailable for external control) or allow all users to access your camera in one click without having to ask for permission.
To do this, go to the Settings → Video and audio → PTZ camera control menu and at the bottom under the Who can control my PTZ camera heading, select one of the options: Ask me each time, Everyone, or Nobody.
How to control the camera
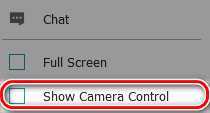
To start managing the camera, right-click on the participant's video window and select Show Camera Control from the menu that appears.
If the option Ask me each time is selected in the camera control permissions settings for your interlocutor, the application will prompt you to send such a request as a text message.
Once you’ve been granted access, the camera control panel appears in the corner of the video window.
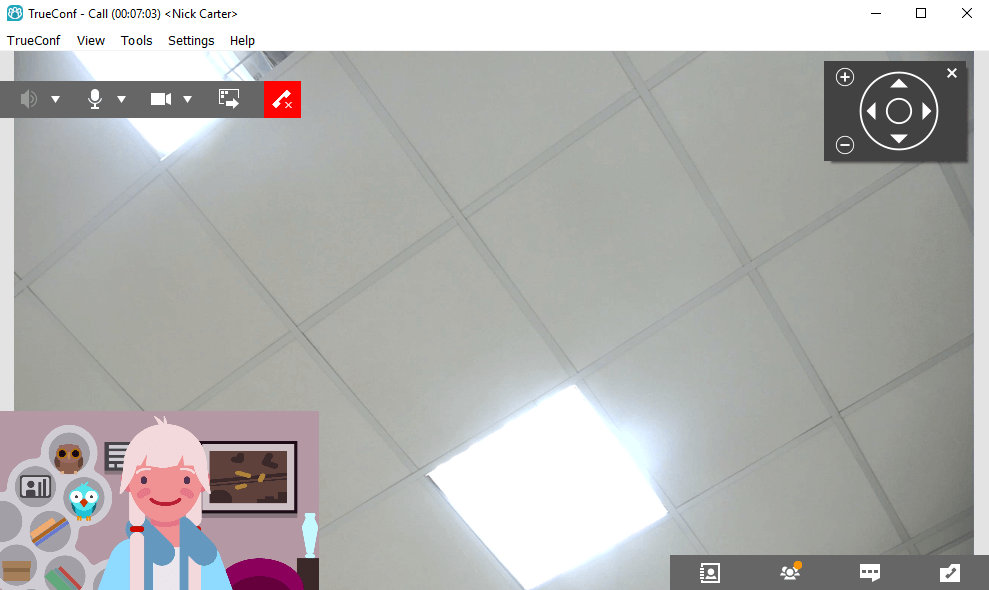
When you close the panel, it’ll be replaced with a small crossed arrows icon, upon clicking on which you can return the window.
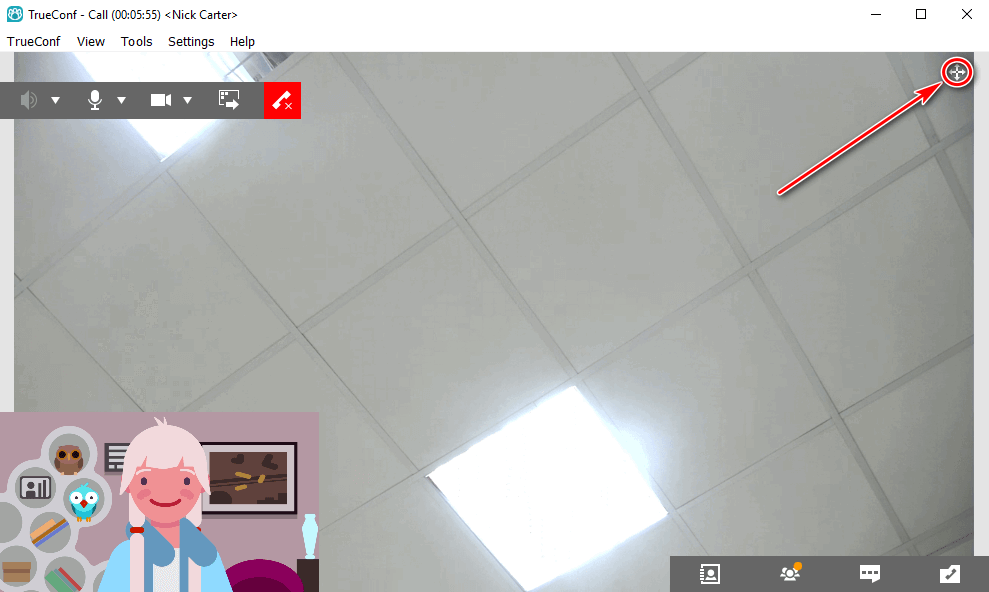
How to Control Your Own PTZ Camera
If you have selected a PTZ camera in the client application, a crossed arrows icon will appear in the corner of your video window. By clicking on this icon, you will open the camera control panel.