# Working with the calendar
# Scheduling an event in Outlook
Events are scheduled in your corporate calendar which can be a desktop application (such as Microsoft Outlook) or its browser-based version.
Click
 (in the web interface:
  → Calendar).
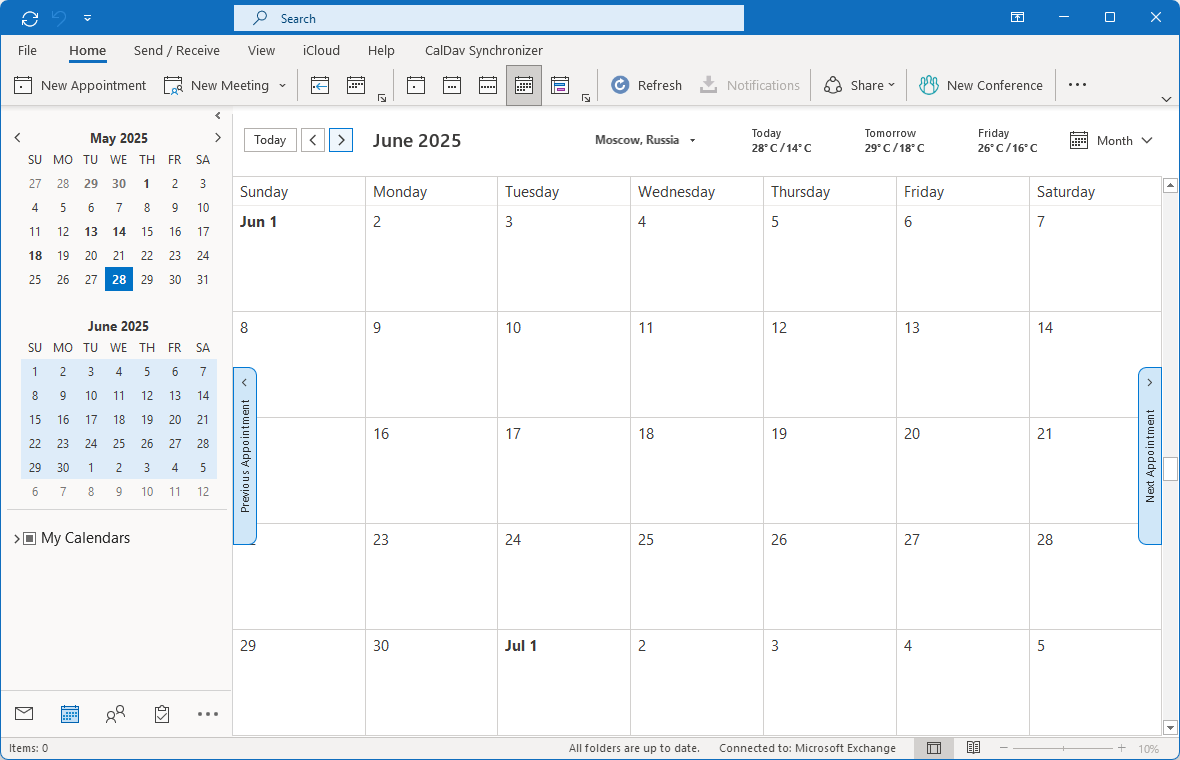
Right-click on the selected date and choose New Appointment.
You will see the UI for creating a meeting. Here, you can:
Set your status during the meeting which will be displayed to Microsoft Exchange users
Create a reminder
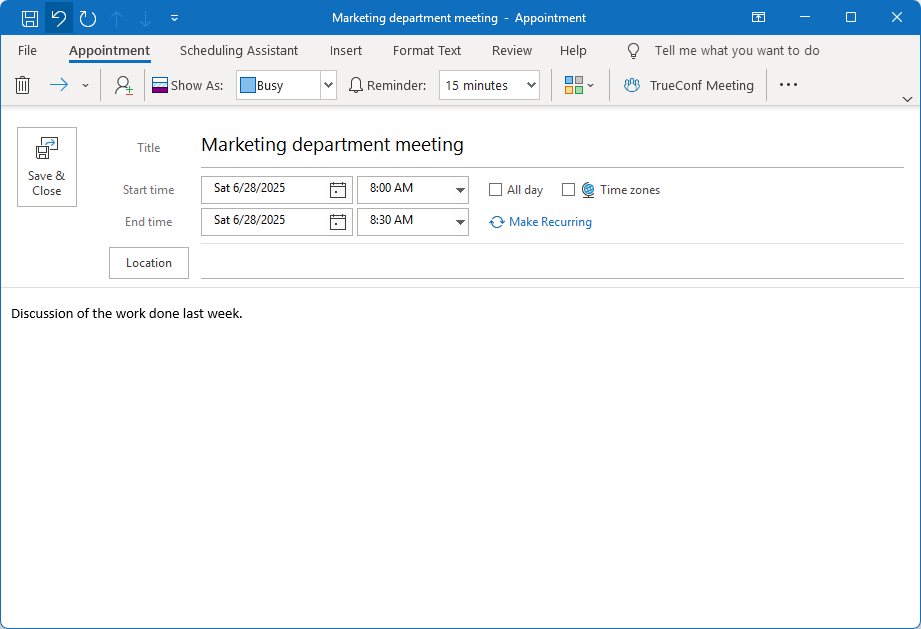
Enter the event name
Set the event time and configure its repetition
Provide additional information about the event.
Add event participants by clicking
 (in the web interface: People → Add people). In Microsoft Outlook, users can be divided into different groups by their attendance status as Required and Optional. This information will be displayed in TrueConf client application. However, these statuses are just for reference purposes. The conference will start automatically, regardless of whether the Required participants have joined or not.
An event will be displayed in the calendar of TrueConf client application, if the person specified in the "users" section is added to the list of invited participants or is the creator of the event.
5. Click Save & Close to create the event.
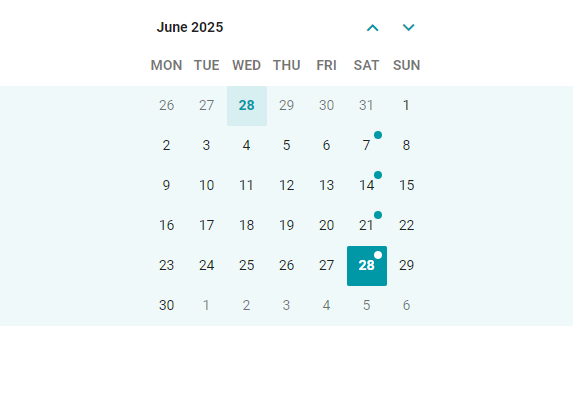
When the event is created, it will be immediately displayed in the calendar of participants’ client applications.
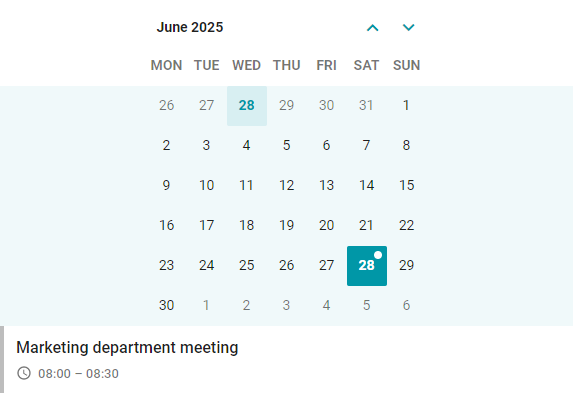
If a gray indicator is displayed on the left side of an event, there is no TrueConf conference scheduled for this event.
Click on the event name to view the details:
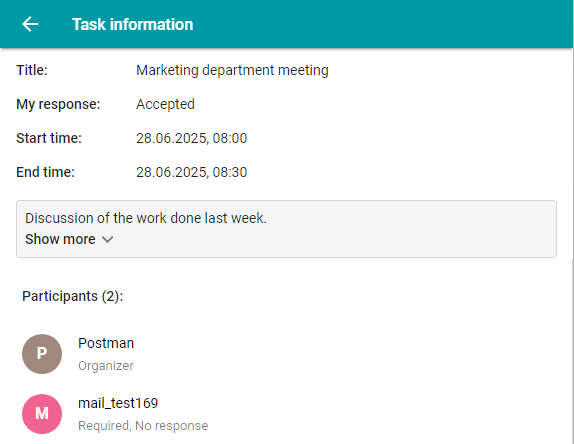
Event name
Your response to the event invitation
Time and date of the event
Additional information
List of participants with their responses to the event invitation.
# Event with a conference
To create events with conferences, you need to install the TrueConf add-in for Outlook.
If you are a Microsoft Exchange administrator, refer to the setup guide for configuring the add-in on the side of the mail server.
To link a calendar event to a conference, click the TrueConf Meeting button when creating the event. This will open the add-in menu for creating a conference.
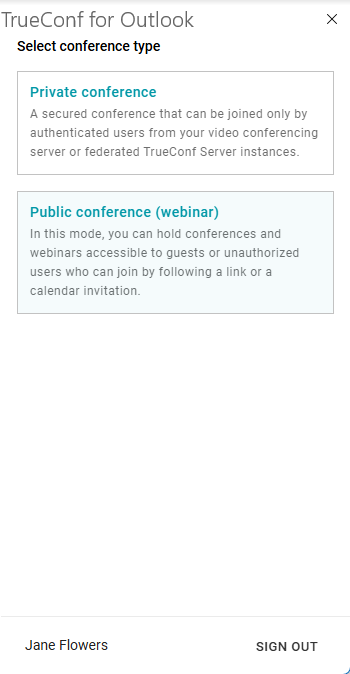
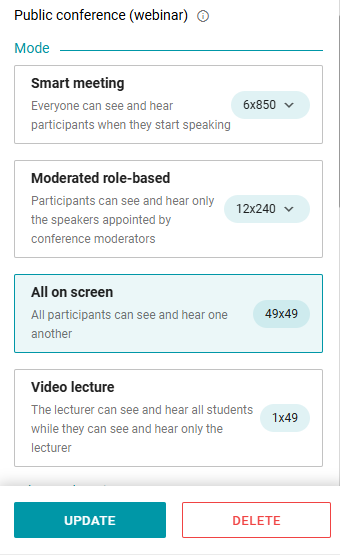
Specify the type: Private conference or Public conference (webinar)
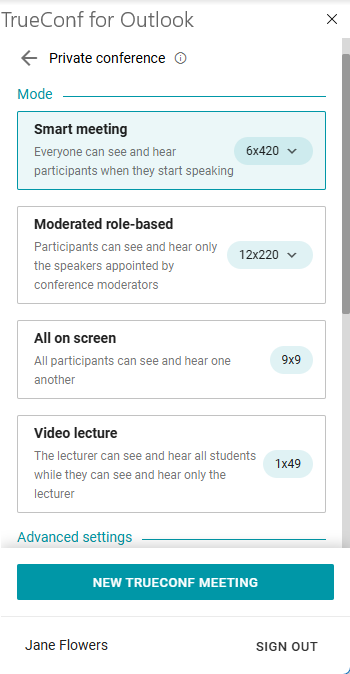
Select the conference mode:
- Smart meeting
- Moderated role-based
- All on screen
Video lecture.
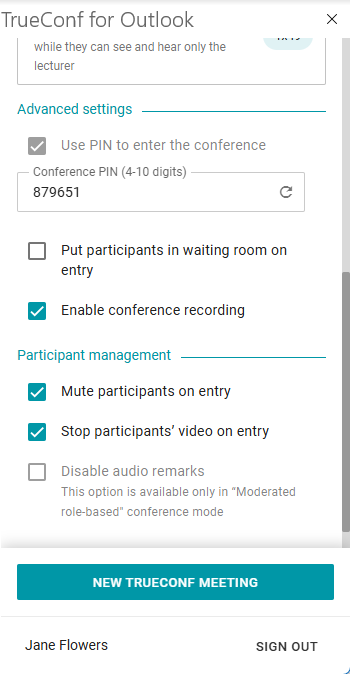
If necessary, set the parameters in the Advanced settings and Participant management sections.
Click New TrueConf Meeting to link the Microsoft Exchange event to the conference.
The event linked to a conference will be marked with a turquoise indicator.
On the right side of the event name, the Join button will be displayed.
# Editing conferences
A user can edit a conference in the personal area if he/she has required permissions: in other words, the participant has to be the conference owner, a moderator, or an operator. To learn more about changing conference settings, read the TrueConf Server user guide.
You can also edit the settings of an event directly in the TrueConf plugin for Outlook. To do it, click the Update button after making changes to the settings.
# Delegation of ownership rights
TrueConf Calendar Connector enables you to delegate ownership rights to a different user. In other words, someone else will be able to create events in Microsoft Exchange on your behalf. This role can be given to your secretary or assistant.
The secretary creates an event in the Microsoft Exchange calendar, invites participants, and sets the date. All you need to do is to join the meeting. You will be listed as the organizer in the event details. Invited users will not know that the event was created by the secretary.
How to delegate access to your calendar in the web version of Microsoft Outlook:
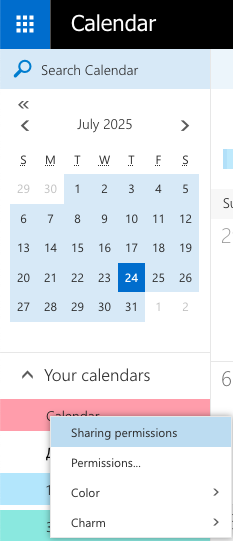
Go to the Calendar tab.
In the sidebar on the left, right-click on your calendar and select Sharing permissions.
3. Enter the email address of the user who should be given access to the calendar.
4. Select Delegate in the list of permissions and click Send.
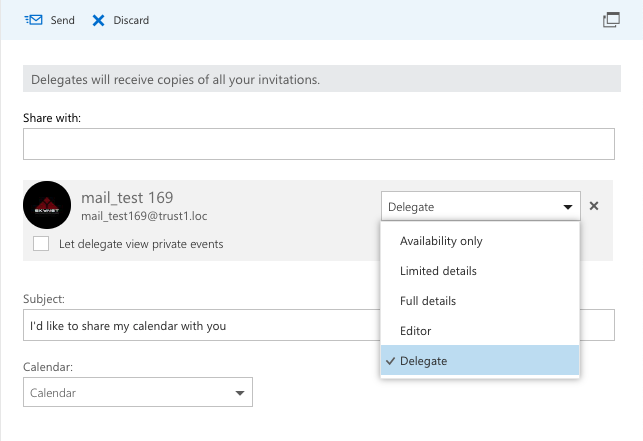
The delegated user now has access to your calendar and can create events on your behalf.
# How to reschedule events
If you are the event organizer, you can quickly change the event date. In the corporate calendar, select the event and drag it to another date by holding the left mouse button.
# Repeating event
You can configure repetition settings for frequently held events. To do it, click Make Recurring when creating or editing an event. You will see the menu with the following options:
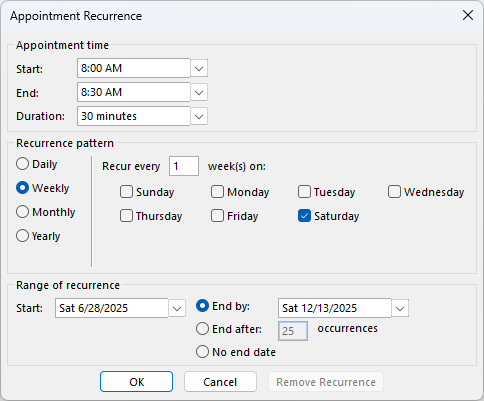
Repeat daily, weekly, monthly, and annually
Set the repetition pattern, for example: repeat every two weeks
Set the repetition limit: until a specific date, a certain number of repetitions, or no limit.
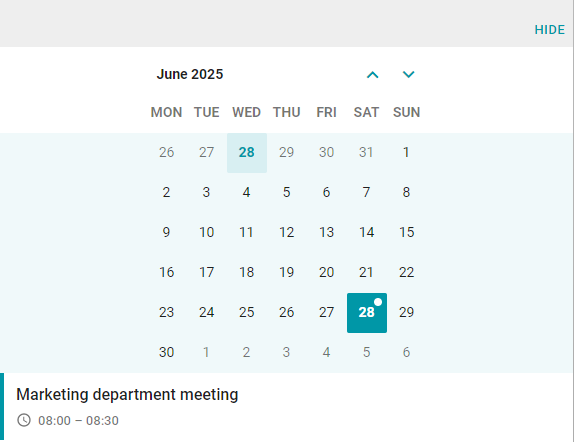
Below you can see the example of a repeating event: weekly on Mondays.
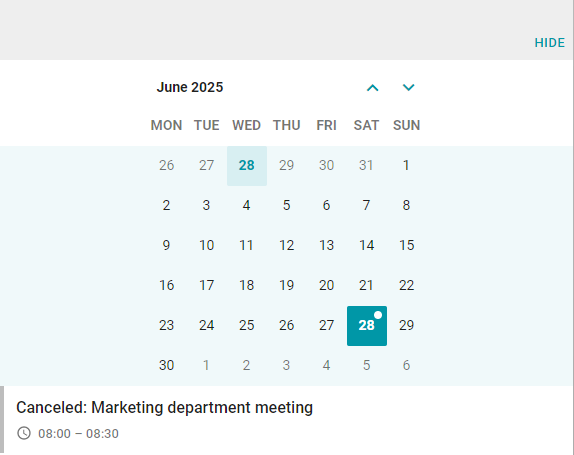
# Event cancellation
If the event, which includes a participant who was added to the "users" section, is cancelled in the corporate calendar, it will be marked as Canceled.
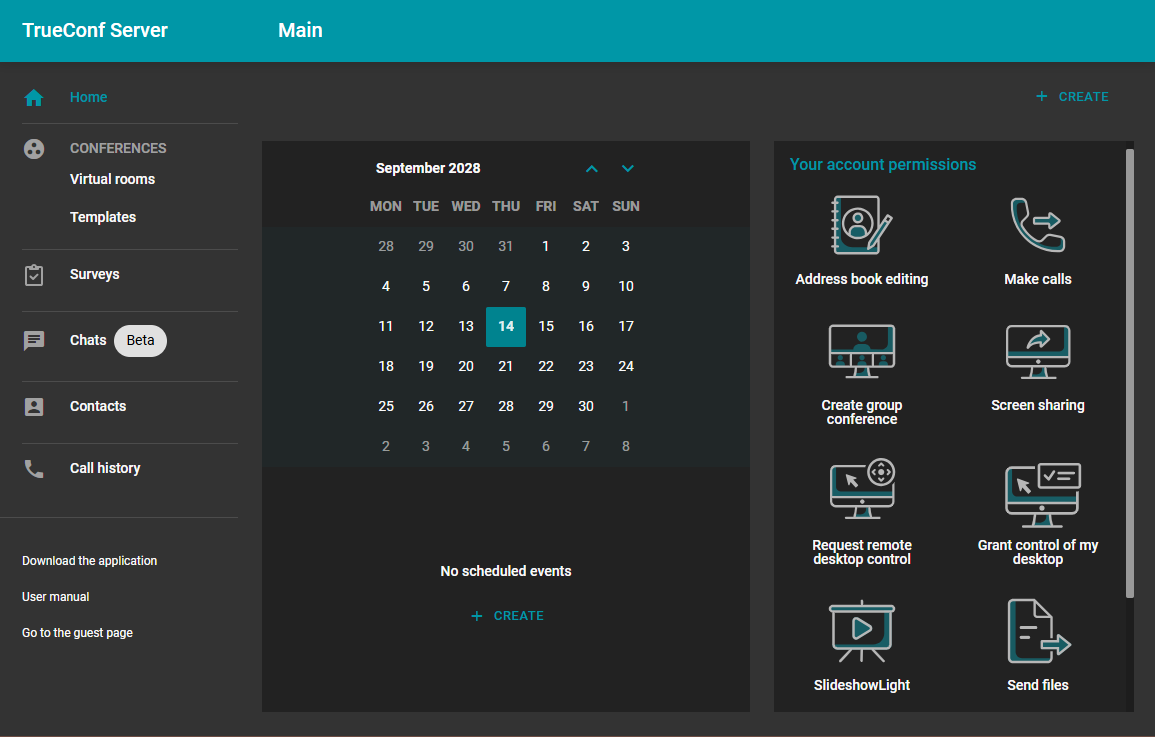
# Working with events in the scheduler of TrueConf Server
When the integration with TrueConf Calendar Connector 2.0+ is set up, TrueConf Server users will be able to create, edit, and delete events directly in the TrueConf scheduler (calendar) interface. The scheduler is available both in client applications and in the personal area.
To create an event with a conference, click Create in the scheduler:
You will see a window with advanced conference settings for creating an event on the side of the Microsoft Exchange corporate calendar:
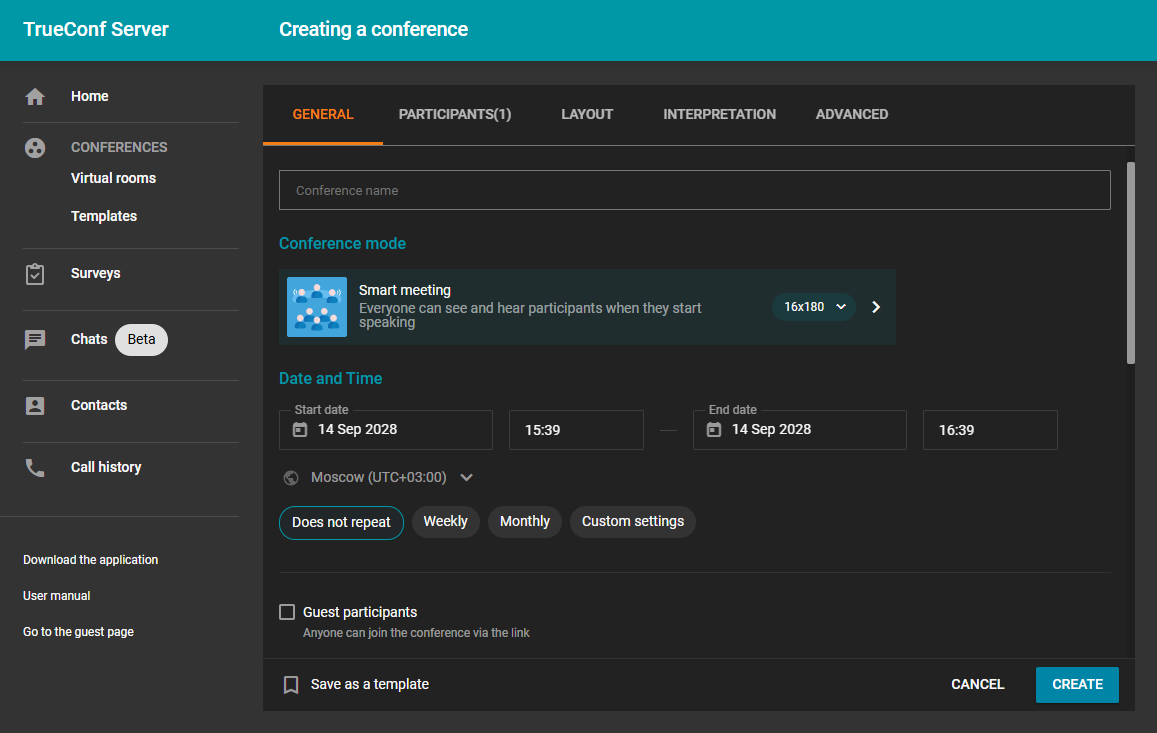
Specify all necessary parameters and click the Create button in the lower right corner. Now all participants will see this event in their Outlook calendar or their TrueConf application.
When you delete a recurring event (chain of events) from the TrueConf calendar, the entire chain will be deleted. If you want to delete only a specific event, you have to use Outlook.